33
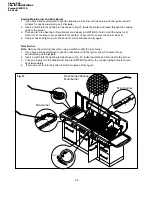
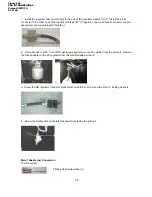
2. Use a pair of pliers to steady the orifice holder and use a 6mm wrench to unscrew and remove the LP
orifice. Replace with NG orifice.
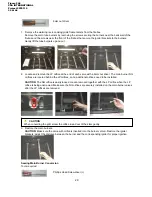
3. After the orifice is replaced, put the cover of the rear burner back to its original location and the rear
burner heat shield as well.
Note: The 3 steps below for main burner and side burner conversion only, not necessery for the
searing burner.
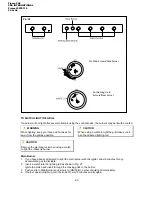
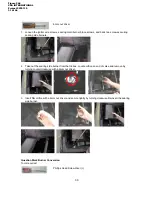
1. Remove each Control Knob of main tube burners and side burner by loosening the socket head grub
screw with the Allen Key.
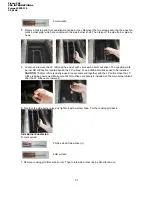
2. Use a screw driver to turn the High Flame Set Screw counterclockwise approximately 90 degree.
3. Check that burner operates at the new high fire setting - it may be necessary to adjust the screw
setting slightly to get the ideal burner flame height.
Warning!! Gas Valves are preset at the factory to operate on LP gas or NG gas. If you wish to
convert, be sure to consult your gas supplier or trained technician for the conversion.
REFRIGERATOR SAFETY GUIDE
IMPORTANT: READ THE FOLLOWING PRIOR TO CONNECTING POWER AND USE
To reduce the risk of fire, electrical shock or injury when using this unit, follow basic precaution, including
the following:
Figure 246
CSA INTERNATIONAL
Project 2078110
34 of 46

