background image

16

100472 - 3 iN. (7.6 cM) chiPPER ShREDDER

ASSEMbLY

3.  Insert four M6 x 15mm flange bolts through the four holes of 

the impeller housing and into the weld nuts in the shredder 
hopper. Tighten securely with a M10 socket or wrench.

4.  Using a 12mm socket or wrench, securely tighten the lock 

nuts that the slots on the bottom of the shredder hopper are 
aligned with. Use caution when tightening these nuts. If they 
are too loose, they can fall into the impeller housing.

5) install the handle

1.  From the rear of the shredder hopper, slide the handle onto 

either side of the shredder hopper and align the holes on the 
handle with the holes on the shredder hopper.

2.  Insert four M8 x 20mm bolts into the holes on the handle and 

shredder hopper.  Ensure that the threads are to the inside of 
the shredder hopper.

3.  Thread four M8 lock nuts onto the four bolts and tighten 

securely using 12mm and 10mm sockets or wrenches.  
Use caution to ensure that the lock nuts do not fall into the 
shredder hopper.

collection bag

The collection bag can be attached and removed from the chute 
deflector using the adjustable drawstring. It is recommended to 
be attached before operation and removed before completely full, 

after operation, or before storage. The collection bag will collect 
up to 2 bushels (70 L) of material. 


WARNiNG

Before operation, ensure the adjustable drawstring is tight 
around the chute deflector and secure.


WARNiNG

When the collection bag appears to be almost full, it is 
recommended to empty it. This will help to keep the bag from 
becoming dislodged from the deflector chute and will also 
prevent the bag from bursting. Do not allow the collection 
bag to become dislodged from the deflector chute during 
operation. If this occurs, stop operation at once and reconnect 
the collection bag. Always empty the collection bag when the 
engine is off and the spark plug has been disconnected.


NOTicE

Always inspect the collection bag prior to use. Do not use a 
frayed, worn, or damaged collection bag.

Add Engine Oil


cAUTiON

DO NOT attempt to crank or start the engine before it has been 
properly filled with the recommended type and amount of oil. 
Damage to the engine as a result of failure to follow these 
instructions will void your warranty.


NOTicE

The recommended oil type is 

10W-30 automotive oil

1.  Place the chipper-shredder on a flat, level surface.

2.  Remove oil fill cap/dipstick to add oil.

3.  Using a funnel, add up to 20.3 fl. oz (600 ml) of oil (not 

included) and replace oil fill cap/dipstick. DO NOT OVERFILL.

4.  Check engine oil level before every use and add as needed.

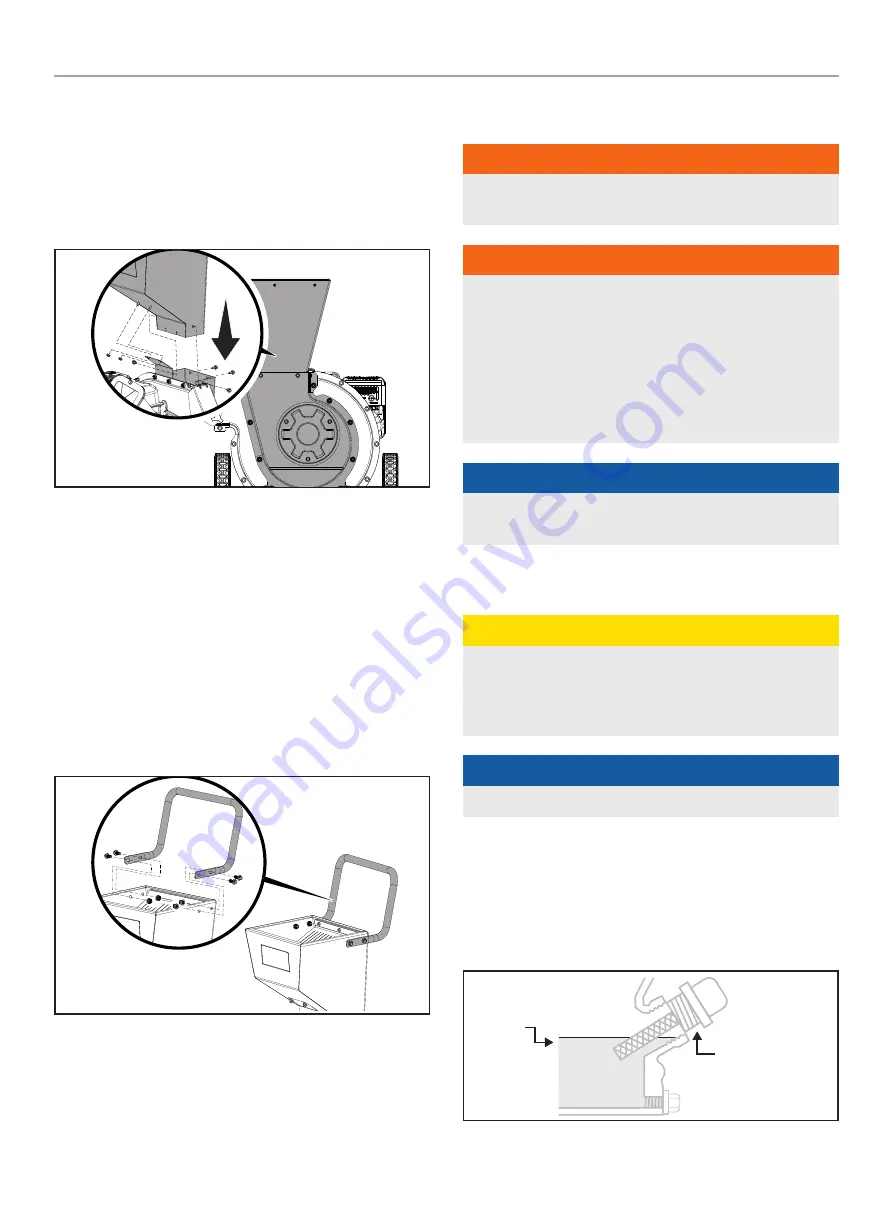
MAX

OIL DIP STICK

Содержание 100472

Страница 1: ...ual contains important safety precautions which should be read and understood before operating the product Failure to do so could result in serious injury This manual should remain with the product Sp...

Страница 2: ...ocation 18 Work Area 18 Before Each Use Inspect the Chipper Shredder 19 Starting the Engine 19 Chipper Shredder Operation 20 Chipping and Shredding Tips 21 Clearing the Shredder Hopper 21 Stopping the...

Страница 3: ...ays exercise common sense and always err on the side of caution when operating the product to ensure no accident property damage or injury occurs We want you to continue to use and be satisfied with y...

Страница 4: ...or items that could become caught WARNING Operation of this equipment may create sparks that can start fires around dry vegetation A spark arrestor may be required The operator should contact local fi...

Страница 5: ...osion can cause severe burns or death Gasoline and gasoline vapors Gasoline is highly flammable and explosive Gasoline can cause a fire or explosion if ignited Gasoline is a liquid fuel but its vapors...

Страница 6: ...not allow children pets bystanders and assistants to be within 75 ft 22 9 m of the unit during operation Do not lean directly over any chute entry or exit during operation Keep the operator zone and...

Страница 7: ...turn the fuel valve off and let the unit run until dry turn off the engine let the unit cool down unplug the spark plug wire and take apart the unit to see where the clog has occurred Remove clog bef...

Страница 8: ...Avoid hand injury Peligro de impacto Evite lesiones de la mano Risque d impact viter les blessures la main Objects placed into chipper chute will feed rapidly Los objetos colocados en la tolva de la...

Страница 9: ...parties without the explicit consent of Champion Power Equipment 2064 L SF A Shredder hopper inside WARNING Operation of this equipment may create sparks that can start fires around dry vegetation A s...

Страница 10: ...ell as full ear protection when operating this product Footwear Always wear safety shoes or heavy boots when operating the machine Gloves Always wear nonslip heavy duty protective gloves when operatin...

Страница 11: ...death Use only in a well ventilated area Clearance Keep all objects including others at least 10 feet 3m from this machine Only one person should operate the chipper shredder and load the logs Never o...

Страница 12: ...il level Recommended oil is 10W 30 2 Move the fuel valve to the OPEN position 3 Move the engine switch to the ON position 4 Move the choke lever to the CHOKE position 5 Pull the starter cord 6 Move th...

Страница 13: ...n this chute 3 Engine 224cc OHV 4 stroke air cooled 4 Wheels 12 in 30 5 cm never flat 5 Support Leg with Vibration Mount used to help stabilize the unit 6 Fuel Valve 7 Choke 8 Chipper Chute place stic...

Страница 14: ...15 2 n a Chipper Chute 1 Lock Nut M8 Flange 3 1 12mm wrench or socket Shredder Hopper Support Bracket 1 Flange Bolt M8 20 2 2 12mm wrench or socket Lock Nut M8 Flange 2 n a Lock Nut M6 Flange 2 1 10m...

Страница 15: ...2 Thread the M8 lock nuts onto the threaded studs and tighten securely using a 12mm socket or wrench 3 Install the Shredder hopper Support Bracket 1 With the angled part of the bracket pointing toward...

Страница 16: ...full after operation or before storage The collection bag will collect up to 2 bushels 70 L of material WARNING Before operation ensure the adjustable drawstring is tight around the chute deflector an...

Страница 17: ...tic 10W 40 5W 30 NOTICE Weather will affect engine oil and engine performance Change the type of engine oil used based on weather conditions to suit the engine needs Add Fuel 1 Use clean fresh regular...

Страница 18: ...near vents or intakes where exhaust fumes could be drawn into occupied or confined spaces Carefully consider wind and air currents when positioning the unit Allow the unit to properly cool before tra...

Страница 19: ...spark arrestor maintenance schedule 7 Always inspect the collection bag for any fraying holes or damage Never use a damaged collection bag 8 Always inspect the work area for any distractions or factor...

Страница 20: ...cified This may damage the unit or cause injury 6 Make sure the materials that are going to be chipped or shredded are free of any rocks trash metals and other foreign objects 7 Make sure wood to be c...

Страница 21: ...recommended as they can clog or damage the blades WARNING Never insert any item into the shredder hopper to assist in the feeding of any load Never insert wet material into the shredder hopper If mat...

Страница 22: ...t The alternative main jet and installation instructions can be obtained by contacting our Technical Support Team Installation instructions are also available in the Technical Bulletin area of the CPE...

Страница 23: ...r for safe disposal recycling facilities Cleaning and Adjusting the Spark Plug s 1 Remove the spark plug cable from the spark plug 2 Use a spark plug socket not included to remove the plug 3 Inspect t...

Страница 24: ...he recoil starter slowly pull the starter rope to rotate the rotor into position so the blades can be seen To sharpen or replace the chipper knives see the Repair section Repair Shredder Blade and Fla...

Страница 25: ...ay be sharpened at a 30 degree angle until the distance between the edge of the blade bevel and the mounting hole is less than 1 16 1 6mm 1 16 MIN 30 Top View Side View CHIPPER KNIFE CUTTING EDGE To i...

Страница 26: ...50 HOURS OR PER 6 MONTHS Clean and adjust spark plug Check cooling fan EVERY 100 HOURS OR PER 1 YEAR Check adjust valve clearance Clean fuel tank and filter EVERY 200 HOURS OR PER 2 YEARS Check replac...

Страница 27: ...tank 2 Run the engine for a minimum of 3 minutes with treated fuel to cycle through the fuel system and carburetor 3 Turn the fuel valve to the OFF position 4 Let the engine run until fuel starvation...

Страница 28: ...Synthetic 10W 40 5W 30 NOTICE Weather will affect engine oil and engine performance Change the type of engine oil used based on weather conditions to suit the engine needs Spark Plug Specifications O...

Страница 29: ...der Specifications Parts Diagram 1 2 3 4 5 6 7 4 8 9 10 11 12 13 14 4 15 16 17 18 20 22 23 24 25 22 23 24 26 27 28 29 30 31 4 32 33 27 37 4 20 38 39 40 41 42 43 44 45 20 46 47 48 49 50 4 46 47 48 49 5...

Страница 30: ...25 602 303006 01 Bush 18 5 10 5 24 5 2 26 602 303006 00 Bush 18 5 10 5 19 5 2 27 1 6182 10 Lock Nut M10 4 28 1 70 3 0825 Machine Screw M8 x 25 4 29 601 303002 00 Chipper Blade 2 30 1 848 08 Washer 8...

Страница 31: ...40 42 43 15 16 17 18 96 118 119 112 110 109 108 106 105 50 49 48 20 47 46 45 51 52 53 54 50 57 59 58 60 61 62 63 64 65 66 67 68 70 44 22 71 83 89 90 91 88 87 86 93 74 75 76 78 80 81 82 72 31 114 111 1...

Страница 32: ...1 34 21 127000 02 Oil Level Sensor 1 35 27 101000 12 2 Muffler Assembly Black 1 36 27 050200 00 Connecting Rod 1 Part Number Description Qty 37 27 050100 03 Crankshaft 1 38 1 276 6205 Bearing 6205 2 3...

Страница 33: ...pe 1 95 2 08 121 Flange Bolt M10 x 65 1 96 27 071000 01 2 Fuel Tank 1 97 24 070011 03 Pipe 1 98 24 070030 00 Venthole 1 99 21 070600 03 Fitting Fuel Tank 1 100 27 061000 02 Recoil Assembly 1 101 27 12...

Страница 34: ...ect spark plug take apart flail housing to clear clog Deflector chute clogged Stop engine immediately disconnect spark plug take apart deflector chute to clear clog Collection bag is full Stop engine...

Страница 35: ...lved in an accident abused loaded beyond the product s limits modified installed improperly or connected incorrectly to any electrical component Normal maintenance is not covered by this warranty and...

Страница 36: ...l system is warranted for two years subject to provisions set forth below If during the warranty period an emission related part on your engine is defective in materials or workmanship the part will b...

Страница 37: ...placement point for that part If the part fails prior to the first scheduled replacement the part shall be repaired or replaced by CPE according to Subsection d below Any such emissions related part r...

Страница 38: ...ister Mounting Brackets Carburetor Purge Port Connector TO OBTAIN WARRANTY SERVICE You must take your CPE engine or the product on which it is installed along with your warranty registration card or o...

Отзывы: