T R O U B L E S H O O T I N G
Make sure the phone line is not being used by another device at the same time
(fax machine, answering machine, etc.).
Check to make sure there is no delay in hearing a dial tone on your phone line.
T H E R E C E I V E R T U R N S O F F A F T E R A F E W M I N U T E S O F O P E R AT I N G .
Make sure the CEIVA Digital Photo Receiver
TM
is properly plugged in to an active outlet.
Check
Settings
at the CEIVA web site to verify the “turn on and turn off” times for
your CEIVA Receiver. Press the black button on the back of your Receiver a few times
to make sure your Receiver has not defaulted to the “lights out” mode.
W H Y D O N ’ T T H E P I C T U R E S S C R O L L ?
Make sure that you have at least two pictures on your Receiver.Then, press the white
button on the back of the Receiver until you see the message that reads, “You can let
go now to start the slide show, or keep holding to connect.”
H OW D O I S TO P T H E P I C T U R E S F R O M S C R O L L I N G ?
To stop the slide show, press the white button on the back of the CEIVA Digital Photo
Receiver
TM
once.Your Receiver will continue to display the current picture, until you
restart the slide show (see Pictures Won’t Scroll, above) or advance to the next picture
by manually pressing the white button once.
T H E R E C E I V E R ’ S S C R E E N I S DA R K .
Make sure the power supply is securely plugged in to the back of the CEIVA Digital Photo
Receiver
TM
, as well as into a working power outlet.You’ll want to make sure the outlet you
have selected is not a switched outlet (controlled by a light switch). Press the black button
on the back of the Receiver a few times to ensure that the CEIVA
TM
Receiver is not in the
lights out mode.
>
>
>
>
>
8
25
S H A R I N G M A D E E A S Y
S E T T I N G U P
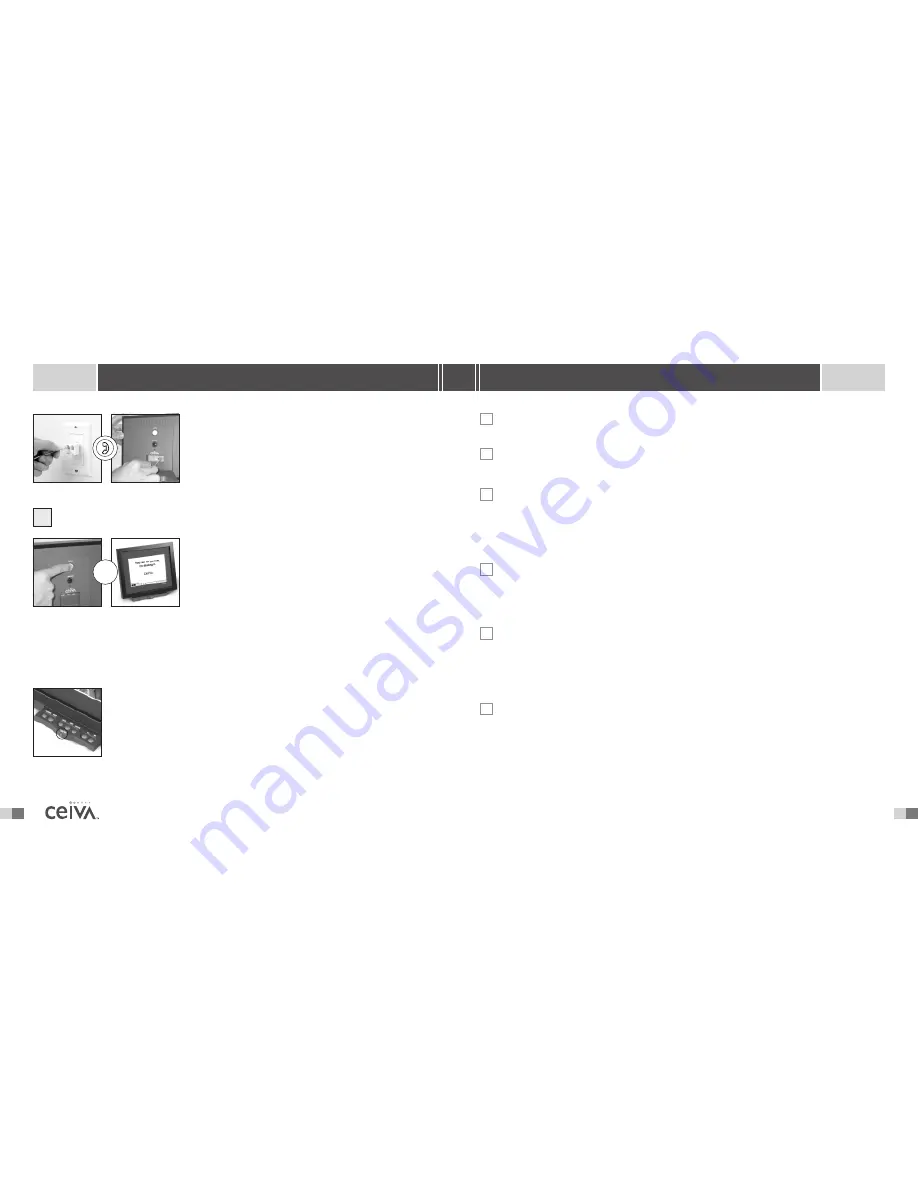
If you need to share a phone jack with an answering
machine, fax machine or another phone, use the dual
phone jack (included). It will provide you with an
additional outlet. Insert the other end of the phone
cord into the square phone access hole on the back
of the CEIVA Digital Photo Receiver
TM
.
P U S H A N D H O L D I N T H E W H I T E
“ P I C T U R E ” B U T T O N O N B A C K
Push and hold in the white
Picture
button located on
the back of your Receiver until you see the following
message, “You can let go now, I’m dialing in”.
That’s it!
Wait as it dials in to pick up your personal photos. A
status bar is displayed at the bottom of the screen,
slowly moving from left to right.
Your CEIVA Digital Photo Receiver
TM
is now ready to receive photos! When new photos have
arrived, the green light on the front of your CEIVA
TM
Receiver will glow to alert you.
N E W P I C T U R E L I G H T I N D I C ATO R
This light will glow to alert you when new pictures have been received on
your CEIVA Digital Photo Receiver
TM
. Touching any button on the Receiver
will turn the light off.
A photo congratulating you on joining the CEIVA
TM
Community and informing
you that you are ready for your own personal pictures will appear.
3
▲
>


