22
11
S H A R I N G M A D E E A S Y
F A Q ’ S
C A N I U S E A R E C E I V E R I N M Y O F F I C E ?
The answer is yes, however, there is one requirement.Your office must have an analog phone line.
If your office uses a digital phone system, your Receiver can share the same phone line your fax
machine uses, as this will be an analog phone line. If a dialing prefix, such as dialing a 9 or 8 is
needed to access a dial tone, it will be necessary to adjust your Receiver Settings to reflect this
dialing requirement.
NOTE:
Do not plug the CEIVA
TM
Receiver into a digital phone jack. If you have questions regarding the type of phone
service used in your home or office, please contact your local phone company.
H OW D O I D E L E T E O R L O C K P I C T U R E S T H AT A R E D I S P L AY E D
O N M Y R E C E I V E R ?
Gently push in on the button tray located on the front of the Receiver. Using the Next or Previous
buttons, locate the picture you wish to Delete or Lock. Once you have located the picture, press
the button of the action you wish to perform.Then simply use the Yes or No button to answer the
on screen instructions. Photos deleted in this manner are removed from the slide show and will be
physically removed from your Receiver the next time it dials in.
H OW D O I O R D E R P R I N T S D I R E C T LY F R O M M Y R E C E I V E R ?
Gently push the button tray located on the front of the Receiver.To find the photo you want to
make a print of, use the
Next
and
Previous
buttons on your Receiver. Push the
button
and answer the on screen questions.The next time your Receiver dials in, it will send your print
order to us. If you wish to cancel the print order for a specific picture, first locate the picture and
press
.Then simply answer the on screen questions to cancel the order. Remember that once
your CEIVA
TM
Receiver has dialed into the CEIVA Network
TM
, the order has been placed and cannot
be canceled.
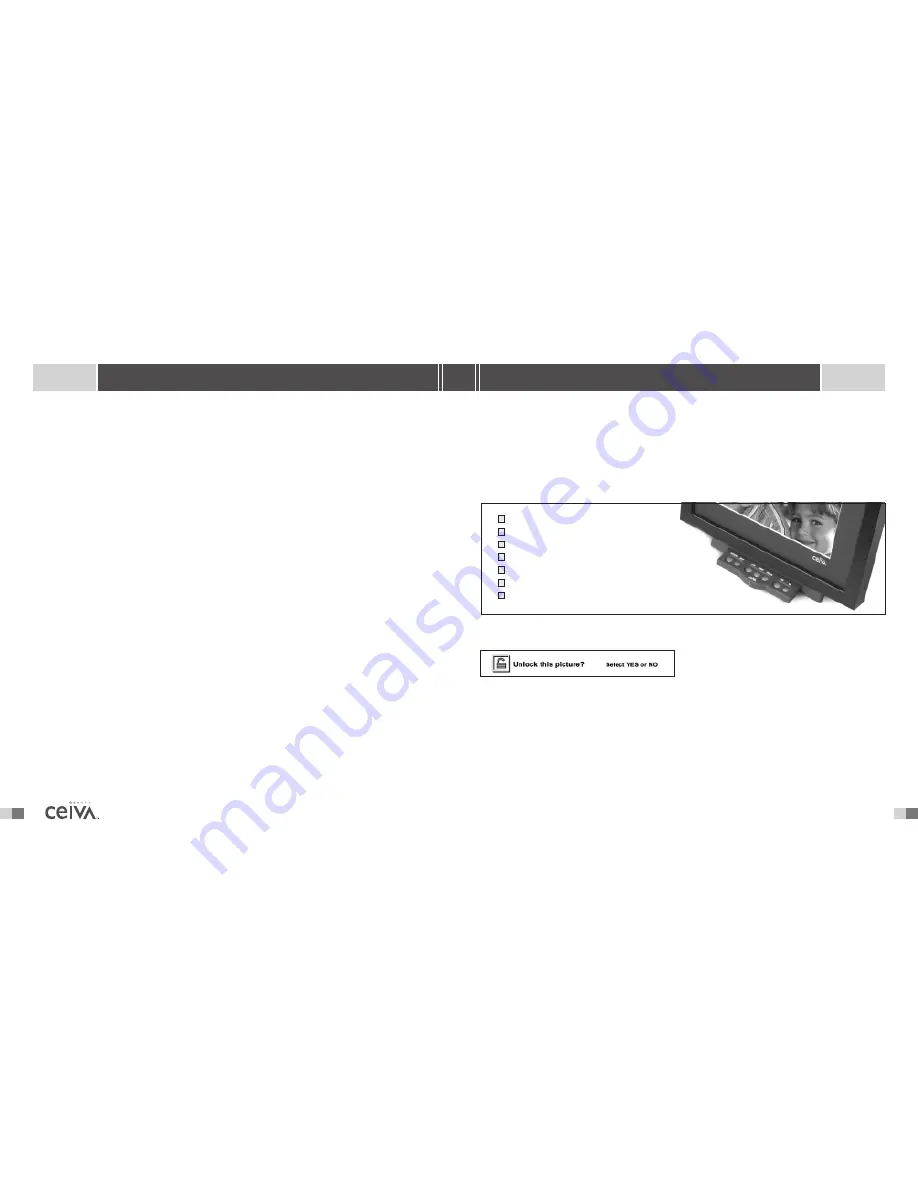
Your Digital Photo Receiver
TM
has many features that will add to your viewing pleasure.To access
these features, gently push in on the “button tray” on the front of your Receiver, just below the
image screen.The tray will slowly glide open, and reveal the buttons which are displayed in the
diagram below. Instructions on the next pages explain its functions.The
Advanced Features
allow you to make use of a variety of functions directly from your Receiver.The following pages
will describe each feature in detail.
A C T I O N B A R
The
Action Bar
is displayed, at the top of
the Receiver’s screen anytime an action such
as
Deleting, Locking
or
Ordering
a print
is requested. Simply answer “Yes” or “No” to the question displayed on the Receiver’s screen
to confirm or deny the action requested.
NOTE:
Any action performed on the CEIVA
TM
Receiver will override any action requested on the website
(e.g. A picture marked for deletion at the CEIVA
TM
website will not be Deleted if the picture is currently
Locked on the CEIVA
TM
Receiver).
A D V A N C E D F E A T U R E S
1
2
3
4
5
6
7
1
2
3
4
5
6
7
PREVIOUS
NEXT
LOCK
DELETE
YES
NO


