Casio QV-700 Скачать руководство пользователя страница 25

97

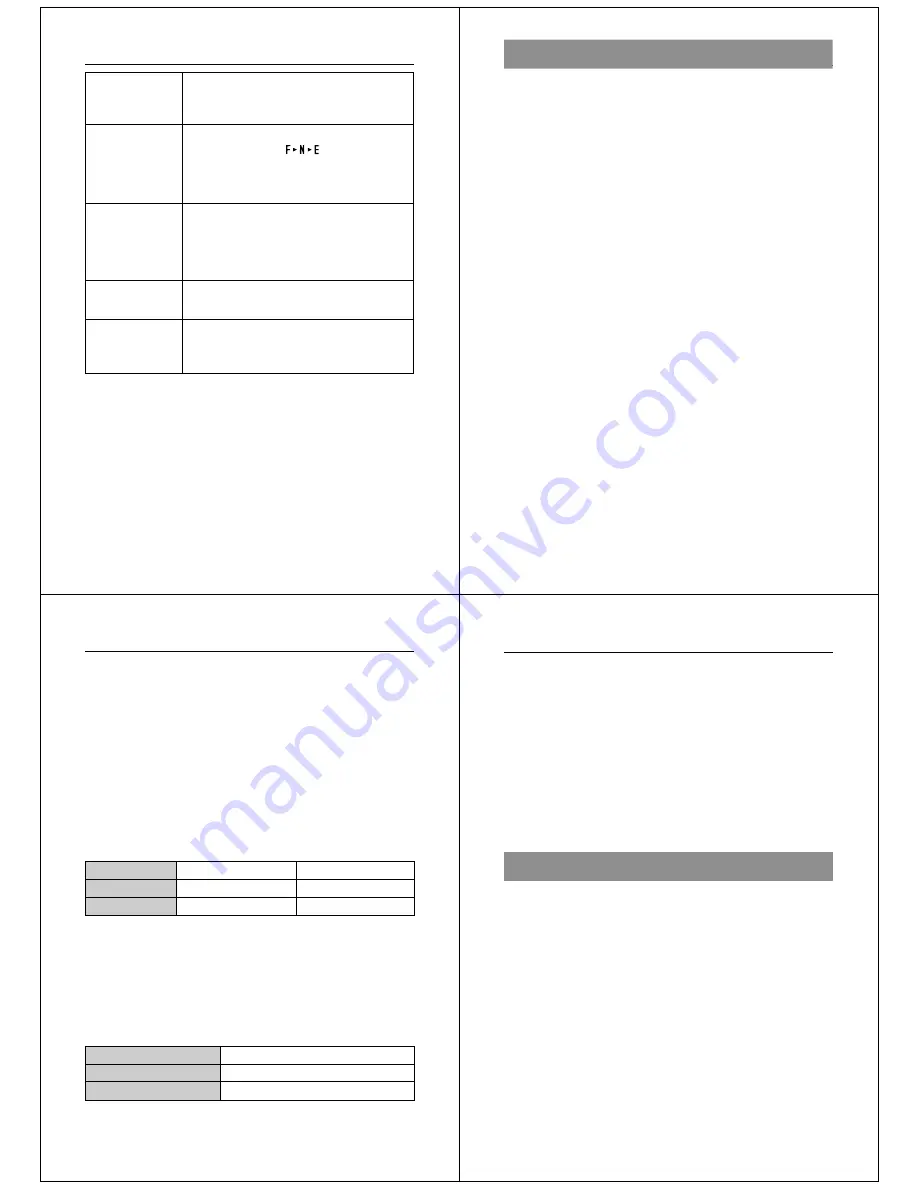
Problem with internal memory. Contact your dealer or
an authorized CASIO service provider.

Not  enough  memory  for  recording  in  current
resolution mode. Press                    to change to another
resolution mode, delete some images from memory,
or change resolution of stored images from FINE to
NORMAL or NORMAL to ECONOMY.

Not  enough  memory  for  further  recording.  Delete
some images from memory or change resolution of
stored images from FINE to NORMAL or NORMAL to
ECONOMY. When a folder name is displayed, this
message indicates folder is full.

Folder is full. Note that each folder can contain up to
250 images.

No images are stored in memory. When a folder name
is  displayed,  this  message  indicates  there  are  no
images in the folder.

SYSTEM ERROR
CALL TECH
SUPPORT

REMAINING

MEMORY FULL

FULL

Error Messages

NO IMAGE

98

Reference

Specifications

Recording System ........ Digital (JPEG base)

Signal System .............. NTSC

Recording Medium ....... Memory card (2MB card included)

Memory Capacity (2MB Card)

FINE ............................ Approximately 14 images

(Approximately 133KB compressed)

NORMAL ..................... Approximately 26 images

(Approximately 70KB compressed)

ECONOMY ............... Approximately 47 images

(Approximately 38KB compressed)

Image Deletion ............. Single image; all images in a folder; all images in

memory (with image protection)

Imaging Element .......... 1/4-inch CCD (350,000 pixels)

Lens ............................. Fixed focal point with macro position; F2,

f = 3.94mm

Focus Range ................ NORMAL :

0.7m to 


(2.3' to 

)

MACRO

:

14cm to 16cm (5.5" to 6.3")

(From surface of protective lens.)

Light Metering .............. TTL center priority by CCD

Exposure Metering ....... Program AE, Aperture Priority AE

Exposure Range .......... EV +5 to 18

Exposure Correction .... -2EV to +2EV

Shutter ......................... CCD shutter

Shutter Speed .............. 1/8 to 1/4000 second

White Balance .............. Automatic, Fixed

Self-timer ...................... 10 seconds, 2 seconds

Flash Modes ................ Auto Flash, Flash On, Flash Off

Resolution Modes ........ FINE, NORMAL, ECONOMY

Monitor ......................... 2.5" TFT, low-glare color LCD (84,480 pixels)

99

Computer Output Image .. 480 x 640 pixels

Input/Output Terminals ... DIGITAL OUT, VIDEO OUT, AC adaptor con-

nector, memory card connector

Clock ............................ January 1, 1997 00:00:00 to December 31, 2049

11:59:59 (Auto Calendar)

Power Supply ............... Four batteries (AA-size alkaline or lithium batter-

ies)/AC adaptor (AD-C620)

Power Consumption ..... Approximately 6.4 W

Battery Life

The values noted below indicate the number of hours before battery
failure under normal operating temperature (25

°

C), as estimated by

battery manufacturers. These values are for reference only, and do not
guarantee that any particular set of batteries actually will provide the
service life indicated. Low temperatures shorten battery life.

“Continuous recording” is made without use of the camera’s flash.
Regardless of use of the camera’s flash, turning on and off the power
switch, as well as other operating conditions may affect the above values.

Note
The above values  are obtained based on Panasonic’s alkaline batteries
and Fujifilm’s lithium batteries.
They may vary if other manufacturer’s batteries are used. For your refer-
ence, the values when the camera is operated with Duracell’s batteries
are shown below.

Type of Operation

Continuous Playback

Continuous Recording

AA-size Alkaline Batteries LR6

Approximately 160 minutes

Approximately 550 shots

AA-size Lithium Batteries FR6

Approximately 270 minutes

Approximately 1,050 shots

Specifications

Type of Operation

Auto Play

Continuous Recording

AA-size alkaline batteries LR6

Approximately 80 minutes

Approximately 170 images

100

Reference

About the camera’s backlight…

• The camera is equipped with a fluorescent light source to provide

the back lighting for its LCD.

• The normal service life of the backlight is approximately six years,

when the camera is used for about two hours a day.

•  Should the LCD image appear abnormally dark, take the camera to

your dealer or an authorized CASIO service provider to have the
light source replaced. Note that you will be charged for this replace-
ment.

• Under very cold conditions, the backlight may require more time

than normal to light, or reddish bands may appear in the image.
These conditions do not indicate malfunction, and normal operation
should return at higher temperatures.

Dimensions ................ 147(W) x 69(H) x 50(D) mm /

5.8" (W) x 2.7" (H) x 2.0" (D)

Weight ........................ Approximately 290g / 10.2oz (excluding batteries)

Standard Accessories .. Memory card; wrist strap; soft case; special video

cable; four LR6 alkaline batteries;owner’s manual

• The liquid crystal panel built into this camera is the product of preci-

sion engineering, with an effective pixel rate of 99.99%. This also
means, however that 0.01% of the pixels can be expected to fail to
light or to remain lit at all times.

Содержание QV-700

Страница 1: ...ing Images on the Camera s LCD 51 Playback Mode Displays 52 Producing a Multi Page Display 53 Using the Zoom Function 55 Superimposing a Title on an Image 57 Rotating an Image 61 Filtering an Image 62...

Страница 2: ...memory card Removal of camera batteries disconnection of the AC adaptor or removal of the memory card while a record or data communication operation is taking place Disconnection of the cable while a...

Страница 3: ...ate the equipment Properly shielded cables with ferrite core must be used for con nection to host computer and or peripherals in order to meet FCC emission limits THE SPECIAL VIDEO CABLE THAT COMES WI...

Страница 4: ...own in the illustration Important Be sure to keep the wrist strap around your wrist whenever using the camera to protect against accidentally dropping it Using the Soft Case Keep the camera in its sof...

Страница 5: ...ake backup copies of important images on other media magnetic optical disk floppy diskette computer hard disk etc Memory card problems can be corrected by reformatting the memory card page 18 Reformat...

Страница 6: ...lways make sure that the positive and negative ends of the bat teries are facing correctly as noted by the markings on the camera itself Improper loading of batteries can re sult in bursting or leakin...

Страница 7: ...amaged AC adaptor cord creates the danger of fire or electrical shock Caution AC outlet AC adaptor 27 Always be sure to use the AD C620 AC adaptor only Using any other AC adaptor can cause damage to t...

Страница 8: ...tion indicated by the arrow The POWER switch automatically slides back to its original position when you release it When power comes on the image of the object that is in front of the camera s lens ap...

Страница 9: ...towards the front Rotates up to 180 towards the back 35 Recording Images Any images recorded while the lens body is rotated so the lens is pointed from the back of the camera are stored as mirror imag...

Страница 10: ...name Battery indicator Low Battery Indicator A low battery indicator appears on the monitor screen when ever remaining battery capacity drops below a certain level Appear ance of this indicator tells...

Страница 11: ...sed and three images 0 05 0 1 and 0 15 seconds before the shutter button is pressed TIME Recording Future With this method the camera records a series of four shots based at intervals of about 0 05 se...

Страница 12: ...interval of from 1 to 60 minutes in 1 minute steps 7 Use and to select the start time of the record opera tion and then press the shutter button You can specify any amount of time up to 24 hours from...

Страница 13: ...k Images Playing Back Images This section describes how to recall and view images stored in cam era memory Displaying Images on the Camera s LCD The following procedure describes how to display images...

Страница 14: ...an use the following procedure to select one of the memory pages in a multi page display Then when you return to the 1 page display the memory page you selected will be the one displayed The following...

Страница 15: ...tle on a rotated image page 61 The recording date of an image remains as that when the image was recorded even if you superimpose a title on the image 1 Slide the Function switch to the PLAY position...

Страница 16: ...message You cannot filter on a rotated image page 61 To filter an image 1 Slide the function switch to the PLAY position 2 Use the and buttons to scroll through the images in memory until the one you...

Страница 17: ...a do not operate while a page change operation is in progress Make sure that an image is shown on the display when you press a button to stop the auto play operation 1 second 1 second 2 Start the auto...

Страница 18: ...ed here tell you how to protect images against accidental deletion You can protect a single image all the images in a particular folder or all images currently stored on the memory card Note that you...

Страница 19: ...cannot protect or unprotect pages pages 73 74 while pro tected pages are hidden To unhide protected memory pages While holding down the button turn on the camera 75 Deleting Memory Pages Deleting Memo...

Страница 20: ...Menu 3 Select ALL Use and to select ALL and press the shutter button 4 Select ALL Use and to select ALL To clear the selection screen and quit this procedure select the EXIT icon 5 Press the shutter...

Страница 21: ...en after the original image is cleared Be sure not to leave an image on a TV or CRT screen for long periods 83 Using the Camera with a Connected Device After connecting the camera and TV use the same...

Страница 22: ...utter button receives the selected image from the other camera You can receive only one image at a time To send more images repeat steps 2 through 5 Important Never disconnect the cable turn power off...

Страница 23: ...rd Adaptor to read memory card contents See the instructions that come with the PC card reader writer and the PC Card Adaptor for details on using this type of configuration 91 Troubleshooting No powe...

Страница 24: ...of con nected camera are disabled 1 Correct the situation and try again 2 Correct the situation and try again 3 C h a n g e f u n c t i o n switch setting of re ceiving camera to PLAY page 51 4 The s...

Страница 25: ...W Battery Life The values noted below indicate the number of hours before battery failure under normal operating temperature 25 C as estimated by battery manufacturers These values are for reference...

Отзывы: