


45
Recording Images
4.
Use [+] and [–] to select the type of self-timer recording you
want to perform, and then press the shutter button.
5.
Point the camera at the subject and press the shutter but-
ton.
Note
During self-timer recording, you may find it helpful to rotate the swivel
lens mechanism 180 degrees so the monitor screen faces the same
direction as the lens. This way you can always see how much time is
left until the start time is reached and recording begins.
Using the Timer
You can use the timer to perform any one of the following operations.
• Interval Recording
Use this method to record a series of images at fixed time inter-
vals.
• Timer Recording
Use this method to record a single image after passage of a fixed
amount of time.
• Interval Timer Recording
Use this method to record a series of images at fixed time inter-
vals, starting after passage of a fixed amount of time.
Operation
46
To record using timer recording
1.
Mount the camera onto a tripod.
2.
Slide the function switch to the REC position.
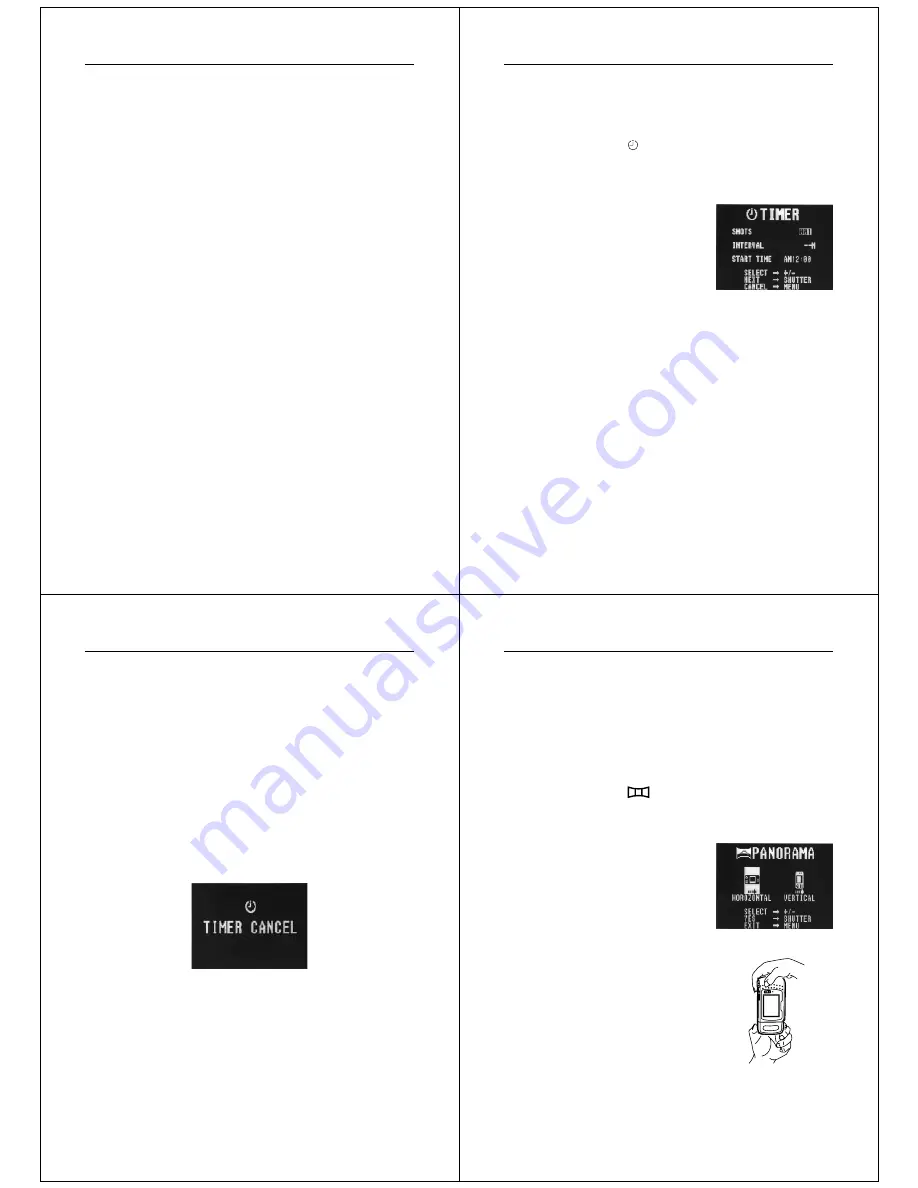
3.
Align the dial with
to select timer recording.
•
Pressing the shutter button here, performs timer recording
using the last method you previously selected.
4.
Press MENU.
5.
Use [+] and [–] to select the number of shots you want to
record, and then press the shutter button.
•
If you select 1, jump skip step 6 and jump directly to step 7.
6.
Use [+] and [–] to select the interval between shots, and
then press the shutter button.
•
You can specify an interval of from 1 to 60 minutes, in 1-
minute steps.
7.
Use [+] and [–] to select the start time of the record opera-
tion, and then press the shutter button.
•
You can specify any amount of time up to 24 hours from the
present.
47
Recording Images
Turning on Power During Timer Operation
The display shown below appears on the monitor screen whenever
you turn on camera power while a timer operation is in progress, and
the timer operation is automatically cancelled.
8.
Point the camera at the subject and press the shutter but-
ton.
•
When the start time you set is reached, the charge lamp
lights and image recording starts.
•
Following exposure correction (page 37), the corrected ex-
posure value is applied to the first image recorded only. The
exposure automatically returns to its initial default setting of
zero for subsequent images.
Operation
48
Using Panorama Recording
You can link multiple images together on your personal computer to
create an exciting panoramic effect. Use the following procedure to
record images to be used to create a panorama.
To record a panorama
1.
Slide the function switch to the REC position.
2.
Align the dial with
to select panorama recording.
•
Pressing the shutter button here, performs panorama re-
cording using the last method you previously selected.
3.
Press MENU.
4.
Use [+] and [–] to select either HORIZONTAL or VERTICAL.
•
If you select VERTICAL, you
should position the camera as
shown in the illustration when
shooting the image.
5.
Point the camera at the subject and press the shutter button.
•
The previous image you recorded remains on the monitor
screen, so you can use it to correctly compose the next im-
age.
REC
PLAY


