


49
Recording Images
Manual Recording
With manual recording, you can set the aperture and white balance
manually to produce exactly the effect you want.
To record an image manually
1.
Slide the function switch to the REC position.
2.
Align the dial to
for normal recording.
3.
Press MENU.
•
APT (Aperture Priority)
You can specify AUTO, F2, or F8 for this setting. F8 pro-
vides the widest photographic range.
•
WB (White Balance)
AUTO : Automatic
WB1
: Corrects for reddish tint under incandescent lighting
WB2
: Corrects for reddish tint under fluorescent lighting
WB3
: Outdoors
Operation
50
4.
Use [+] and [–] to select the APT (Aperture Priority) setting
you want, and then press the shutter button.
5.
Use [+] and [–] to select the WB (White Balance) setting you
want, and press the shutter button.
•
The setting you make here remains in effect until you turn off
camera power.
6.
After you are finished making the setting, press MENU.
•
The letter “
” appears in the upper left of the monitor
screen.
7.
Compose the image on the monitor screen and press the
shutter button.
•
To return to the camera to its standard settings, turn it off.
51
Playing Back Images
Playing Back Images
This section describes how to recall and view images stored in cam-
era memory.
Displaying Images on the Camera’s LCD
The following procedure describes how to display images on the
camera’s built-in LCD.
1.
Enter the Playback Mode and turn on the camera.
•
Slide the function switch to the
PLAY position.
2.
Scroll through the memory pages until the image you want
to view is displayed.
•
Press [+] to display the next memory page or [–] to display
the previous memory page.
•
To jump to the first (lowest numbered) image in memory,
press the shutter button and [–] button at the same time.
•
Holding down [+] or [–] starts high-speed scrolling of images.
【+】
【+】
【−】
【−】
REC
PLAY
Notes
• If you set the function switch to PLAY after recording an image, that
image appears on the LCD first.
• The message “NO IMAGE” appears on the LCD if there are no
images stored in folder when you enter the Playback Mode.
Operation
52
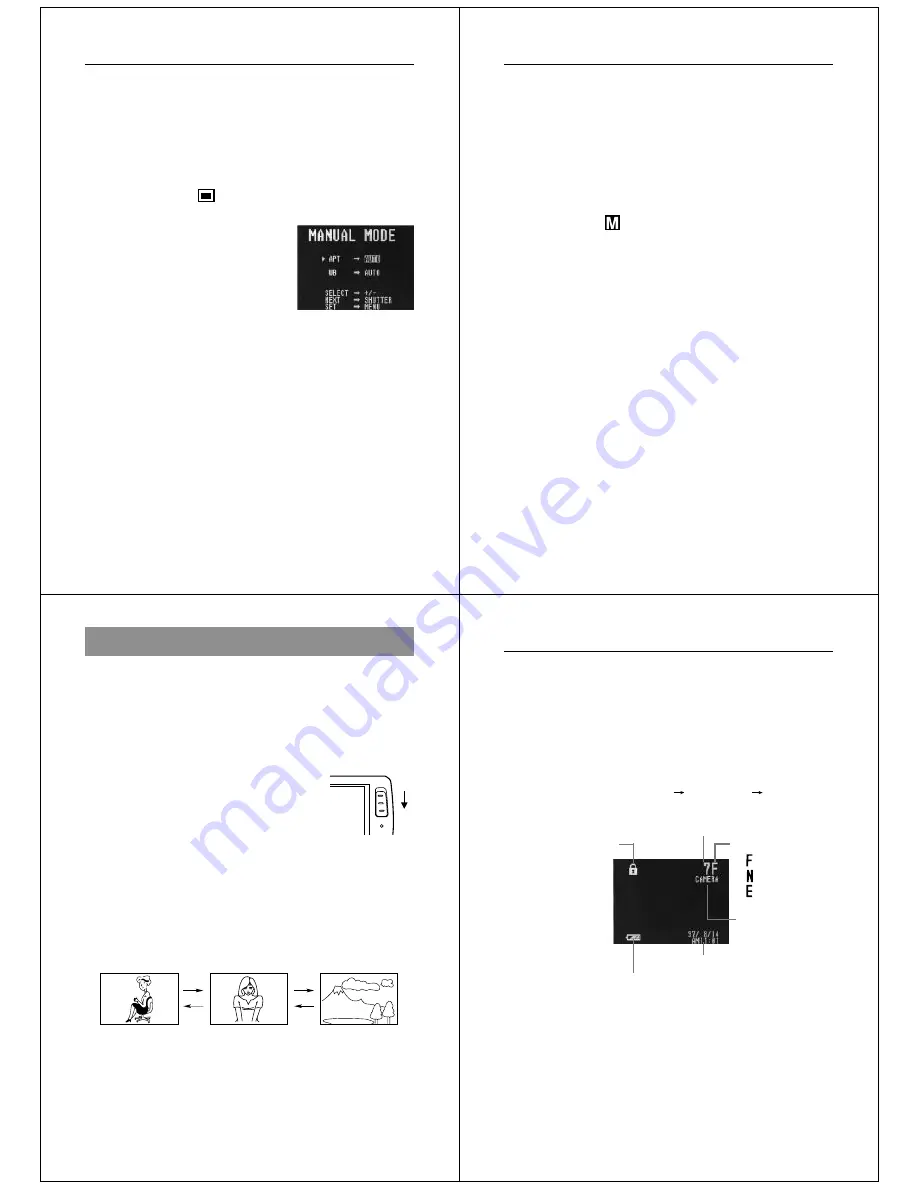
Playback Mode Displays
Use the following procedure to display various parameters about an
image.
1.
Enter the Playback Mode.
•
Set the function switch to the PLAY position.
2.
Press the DISP button.
•
Each press of DISP cycles the contents of the display in the
following sequence : page
date and time
page/date and
time.
pages
Mode
(FINE)
(NORMAL)
(ECONOMY)
Date and time
Folder name
protect indicator
Battery capacity


