OTHER RECORDING FUNCTIONS
E-68
3.
Use [ ] and [ ] to select the aperture setting
you want to use.
4.
Compose the image and then record it.
Monochrome and Sepia Recording
Use the following procedure to record an image in mono-
chrome (black and white) or sepia. Note that you cannot con-
vert an image to color after recording it in monochrome or
sepia.
1.
Align the POWER/Function Switch with REC.
2.
Press MENU.
3.
Use [ ], [ ], [ ] and [ ] to select “Color” and
then press SET.
• On the advanced menu, select “Functions 2”
“Color.”
Aperture
value
Downloaded From camera-usermanual.com
E-70
3.
Compose the image and then record it.
• The Self-timer Lamp flashes with the passage of each
second.
• You can cancel a self-timer operation by pressing the
shutter button at any time while the Self-timer Lamp is
flashing.
Performing Manual White Balance
Certain lighting conditions can cause auto white balance to
take a very long time or can result in a limitation of the ad-
justable range (color temperature). If you suspect your cur-
rent lighting conditions are causing problems, try performing
manual white balance. This sets white balance to a level that
can be used under any lighting conditions.
The following procedure describes how to perform manual
white balance using a white piece of paper. For optimum re-
sults, you should use a special reflective plate that should be
commercially available from a local camera equipment
shop.
1.
Align the POWER/Function Switch with REC.
2.
Press MENU. If the basic menu appears, press
DISP to switch to the advanced menu.
3.
Select “Functions 1”
“White Balance”
“Manual”.
• “Functions 1” appears on the advanced menu only.
Downloaded From camera-usermanual.com
E-72
Mode 1 (Mode Memory 1)
Multi
Auto
Normal
Normal
Setting at
power off
Setting
Available
Options
Mode Memory
Status
P Mode
AF
Auto
Off
Setting at
power off
Recording
Mode
Focus
Flash
Digital Zoom
P,
,
, A, S,
,
,
AF, MF,
,
Auto, ,
,
Off, On
On
Off
Mode 2 (Mode Memory 2)
Setting
Available
Options
Mode Memory
Status
Metering
White Balance
Flash Intensity
Sensitivity
Multi, Center, Spot
Auto, Daylight,
Shade, Tungsten,
Fluorescent, Manual
Strong, Normal,
Weak
+3.0, +2.0, +1.0,
Normal
On
Off
Turning power on default settings on and off
1.
Align the POWER/Function Switch with REC.
2.
Press MENU. If the basic menu appears, press
DISP to switch to the advanced menu.
3.
Select “Options”.
• “Options” appears on the advanced menu only.
4.
Select “Mode 1” or “Mode 2”.
5.
Select “Mode 1” or “Mode 2”.
Downloaded From camera-usermanual.com
E-74
Item
Initialized Setting
Power Save
Sleep
1 min
Auto Power Off
2 min
Mode 1 (Mode Memory 1)
Recording Mode
Off (P Mode)
Focus
Off (AF)
Flash
On (Last mode select)
Digital Zoom
On (Last mode select)
Mode 2 (Mode Memory 2)
Metering
Off (Multi)
White Balance
Off (Auto)
Flash Intensity
Off (Normal)
Sensitivity
Off (Normal)
Using the REC Menus
The REC menus make it easy to control image quality, white
balance, and other settings to suit specific conditions and
preferences. Each REC menu has two formats: a basic
menu and an advanced menu. Press DISP to toggle be-
tween the basic menu and advanced menu.
NOTE
Recording Mode, Focus, Flash, Digital Zoom, Metering,
White Balance, Flash Intensity and Sensitivity settings
are retained when camera power is turned off by only if
you specify them as power on defaults (page E-71). All
other settings are retained when you turn off camera
power.
REC Menus
See “Menu Screens” on page E-31 for information about
how to use menus.
Basic menu items are indicated by
BASIC
.
Downloaded From camera-usermanual.com
E-76
Functions 2
Movie
Mode
BASIC
Digital
Zoom
BASIC
Color
BASIC
Grid
Time
Stamp
BASIC
Select the movie mode you want to use.
Normal / Past
This item fixes digital zoom at the setting you want.
Off / On
Use this setting to select the color mode you want.
Color / B/W / Sepia
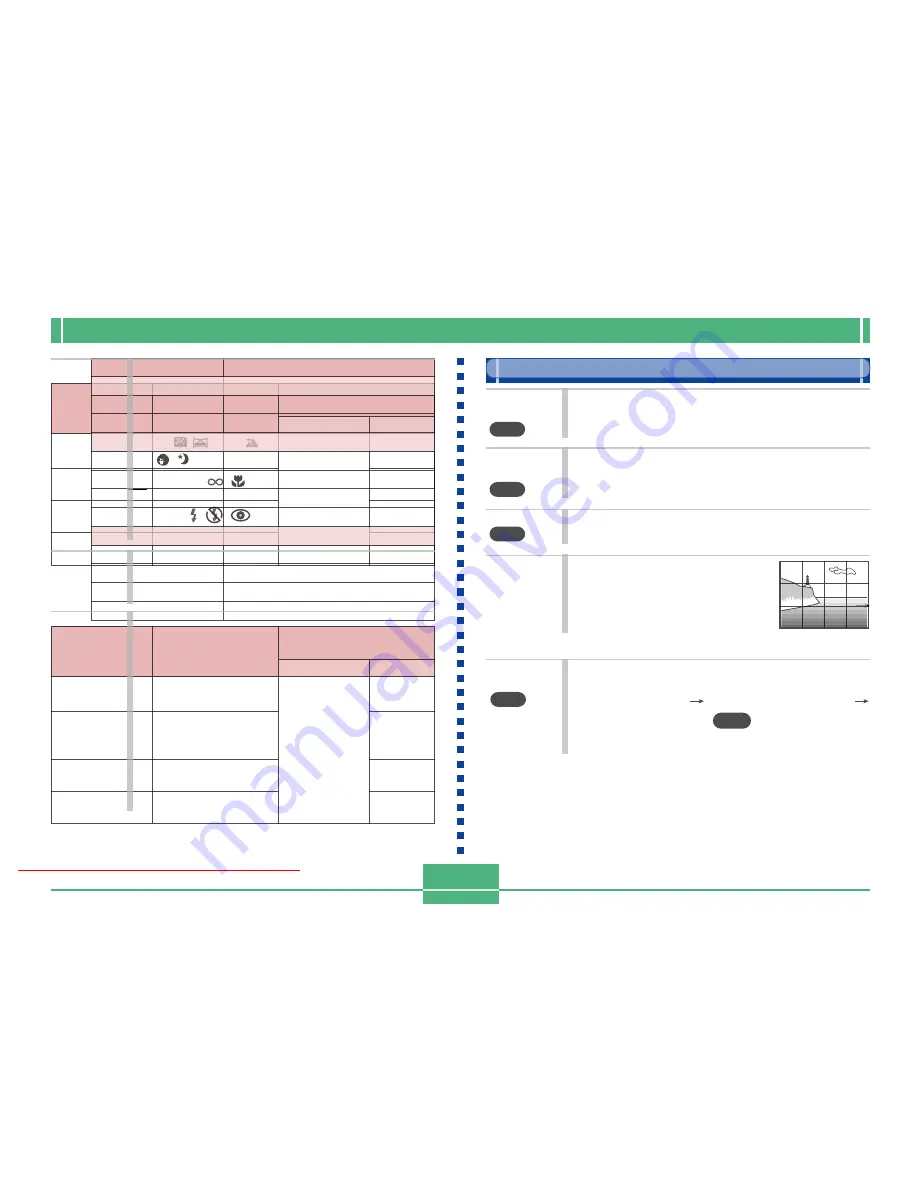
This item turns an on-screen grid
on or off. The grid can be used to
help align image components
vertically and horizontally.
Off / On
Use this item to turn time stamping on and off, and to
control the format of the stamp.
Off / YMD (Year-Month-Day) / D H:M (Day-Hour-Min-
utes) / YMD H:M (Year-Month-Day-Hour-Minutes)
Note that the time stamp cannot be deleted from an
image.
Use this setting to select the white balance setting
that makes the colors of the subject appear most
natural.
(Auto / Daylight / Shade / Tungsten /Fluorescent/
Manual)
Daylight
: Outdoors
Shade
: Blue tinted sunlight
Tungsten
: Red tinted incandescent light
Fluorescent : Green tinted fluorescent light
Manual
: Sets up the camera for recording of
a white sheet of paper under
currently available light (page E-70).
Select the setting for the flash intensity you want to
use.
Strong / Normal / Weak
Select the approximate sensitivity level.
+3.0 / +2.0 / +1.0 / Normal
• Higher sensitivity can increase the chance of noise
in the image.
• Higher sensitivity can make it difficult to obtain
proper focus using Auto Focus. It does not change
the minimum brightness required for Auto Focus.
• In the Night Scene Mode, setting sensitivity to +3.0
results in actual sensitivity of about +2.0.
• Use of the flash automatically employs the "Nor-
mal" sensitivity setting.
• This setting automatically changes to “Normal” in
the Aperture Priority (A) Mode.
White
Balance
Flash
Intensity
Sensitivity
Downloaded From camera-usermanual.com


