INTRODUCTION
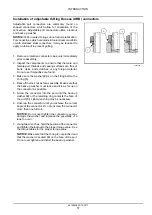
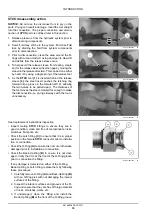
4. Install the new O-Ring
(A)
in the groove behind
the Back-Up Ring
(B)
and inspect to ensure that
the O-Ring and Back-Up ring are secure in the
groove. Lubricate the O-Ring with clean hydraulic
fluid
CASE AKCELA NEXPLORE™ FLUID
.
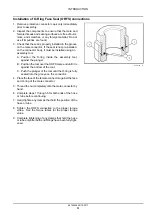
5. If the Latch Ring
(C)
is damaged, carefully remove
the Latch Ring without damaging the interior sur-
faces of the connector.
6. Carefully insert the Latch Ring in the Latch Ring
groove. The new Latch Ring should be able to ro-
tate in the groove.
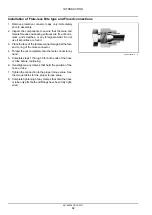
7. Inspect and reinstall the connector. Follow the in-
stallation/connection steps for installation.
48194558 20/10/2017
67

