Final Checks
Your cycle is now assembled. Please make the following final checks before you use it for the first time
•
Make sure all screws, bolts and nuts are tightened securely
•
Make sure you have positioned it on a flat, level surface
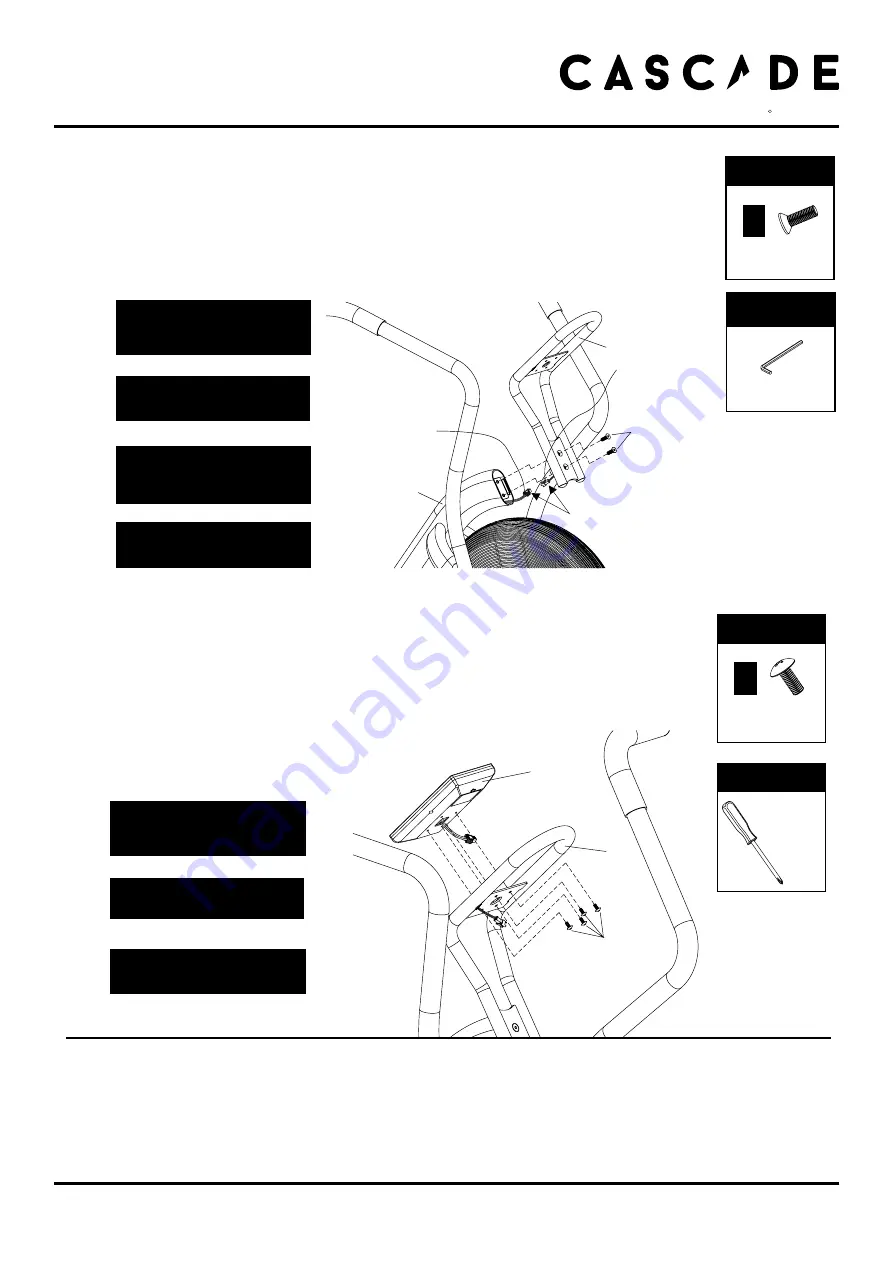
6. Attach the Console
Remove the four screws which are located in the back of the
•
Console(8)
.
Connect the
•
Console Cable
and
Middle Wire
together and
then attach the
Console (F)
to the
Console Support (E)
with four
M5 x 12mm screws (F1)
and
secure with the Screwdriver.
Be sure to fit the parts in the
same order as the diagrams
shown.
!
Make sure the screws are fully
tightened with the screwdriver.
!
Make sure the cables are fully
connected.
!
5. Attach the Console Support
Be sure to fit the parts in the
same order as the diagrams
shown.
!
Take care not to trap the cables
when attaching
the console Support
!
Make sure the cables are fully
connected.
!
FIXINGS:
PARTS:
x
2
Part
No.
E4
Connect the
•
Sensor Cable
and
Middle Wire
together
and then attach the
Console Support (E)
to the front end
of the
Main Frame (A)
with two
M8x 25mm Screws (E4)
and secure with the 5mm Allen Key.
FIXINGS:
TOOLS:
5mm
FIXINGS:
PARTS:
x
4
Part
No.
F1
FIXINGS:
TOOLS:
Phillips
Screwdriver
11
Make sure the screws are fully
tightened with the allen key.
!
F
F1
E
console
cable
cascadehealthandfitness.com
H E A L T H & F I T N E S S
R
E4
E
A
wire
connect
middle wire
sensor wire
Содержание AIR UNLIMITED 402007
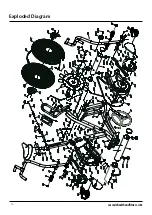
Страница 20: ...Exploded Diagram 20 cascadehealthandfitness com...
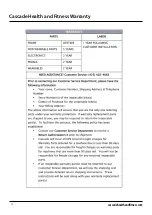
Страница 22: ...22 Cascade Health and Fitness Warranty cascadehealthandfitness com...
Страница 23: ......
Страница 24: ...H E A L T H F I T N E S S R...


