


87
4.2.3 - STARTING UNIT AND SELECTING AN OPERATING
TYPE
The unit can be started in local mode, or unit operating
type can be changed at any time using the Start/Stop
button. In the example that follows, the unit is stopped
(LOFF) and the user wants to start the unit in local mode.
4.3 - MENUS
4.3.1 - SELECTING A MENU
The MENU button authorises you to select a menu from
the 10 main menus that are available. Each time you
press this button one of the 10 LEDs lights up in turn
alongside each of the icons representing a main menu.
The active menu is the one against which the LED is lit. If
a menu is empty then its LED is not lit. To scroll quickly
through the menus, hold the MENU button down.
4.3.2 - SELECTING A MENU ITEM
The up and down Arrow buttons let you scroll through
the menu items. Menu item numbers are displayed in
the two-digit display. The item number increases or
decreases every time you press the up or down Arrow
button. The menu items that are not in use or
incompatible with the configuration are not displayed.
The value or status associated with the active item is
displayed in the four-digit display. To scroll quickly
through the items, hold the up or down Arrow button
down.
4.3.3 - MODIFYING THE VALUE OF A PARAMETER/
ACCESS TO A SUBMENU
Press the Enter button for more than 2 seconds to enter
the modification mode or to select a sub-menu. This lets
you correct the value of an item or select a sub-menu
with the aid of the up and down Arrow buttons (if you are
authorised to overwrite the item concerned). When
modification mode is activated, the LED for the main
menu to which the item belongs as well as the 2-digit
display flash in the menu block. Once the required value
is obtained, press the Enter button again to validate the
change or to access the sub-menu. The LED for the menu
to which the item and the 2-digit display belong then
stops flashing, indicating that modification mode no
longer applies.
In modification mode, the value to be modified increases
or decreases in steps of 0.1 every time you press the
Arrow buttons. Holding one of these buttons down
increases the rate of increase or decrease.
NOTE: The access to a sub-menu may require entering a
password. This is automatically requested. See section
4.3.11.2.
The following example shows how to modify the value of
item 1 in the Setpoint menu.
4.3.4 - EXPAND DISPLAY
Pressing the Enter button causes a 23 character text
expansion to be scrolled across the four-digit display.
All user menus provide an expansion of the current
displayed parameters. If the expansion is complete the
four-digit display reverts to item value. This function can
be inhibited through the User Configuration menu.
BUTTON
ACTION
The unit is in local stop mode. The
previously used operating type is local on
(L-ON)
Press the Start/Stop button for 4 seconds
(one short press-down is sufficient). L-ON
illuminates immediately. "C" flashes in the
2-digit display to show that the controller is
awaiting confirmation.
Press the Enter button to confirm the
operating type. "t" is displayed in the 2-digit
display to indicate the operating type
selected. If the Enter button is not pressed
soon enough, the controller will cancel the
change and remain in the stop mode.
2-DIGIT
4-DIGIT
DISPLAY
DISPLAY
LOFF
L-On
t
L-On
START UP WITH THE PREVIOUSLY USED OPERATING TYPE WHEN THE UNIT
IS STOPPED IN LOCAL MODE (LOFF)
CHANGING THE OPERATING TYPE
BUTTON
ACTION
Continually press the operating type
selection button for more than 4 seconds.
Hold down the Start/Stop button.
The available operating types are displayed
one by one until the button is released.
Release the Start/Stop button if the
operating type you want is displayed (in this
example L-On). "C" flashes in the 2-digit
display to show that the controller is
awaiting confirmation.
Press the Enter button to confirm the
operating type selected (in this example:
L-On). "t" is displayed in the 2-digit display
to indicate the operating type selected. If the
Enter button is not pressed soon enough,
the controller will cancel the change and
continue to use the previous operating type.
2-DIGIT
4-DIGIT
DISPLAY
DISPLAY
C
LOFF
L-On
L-Sc
rEM
L-On
t
L-On
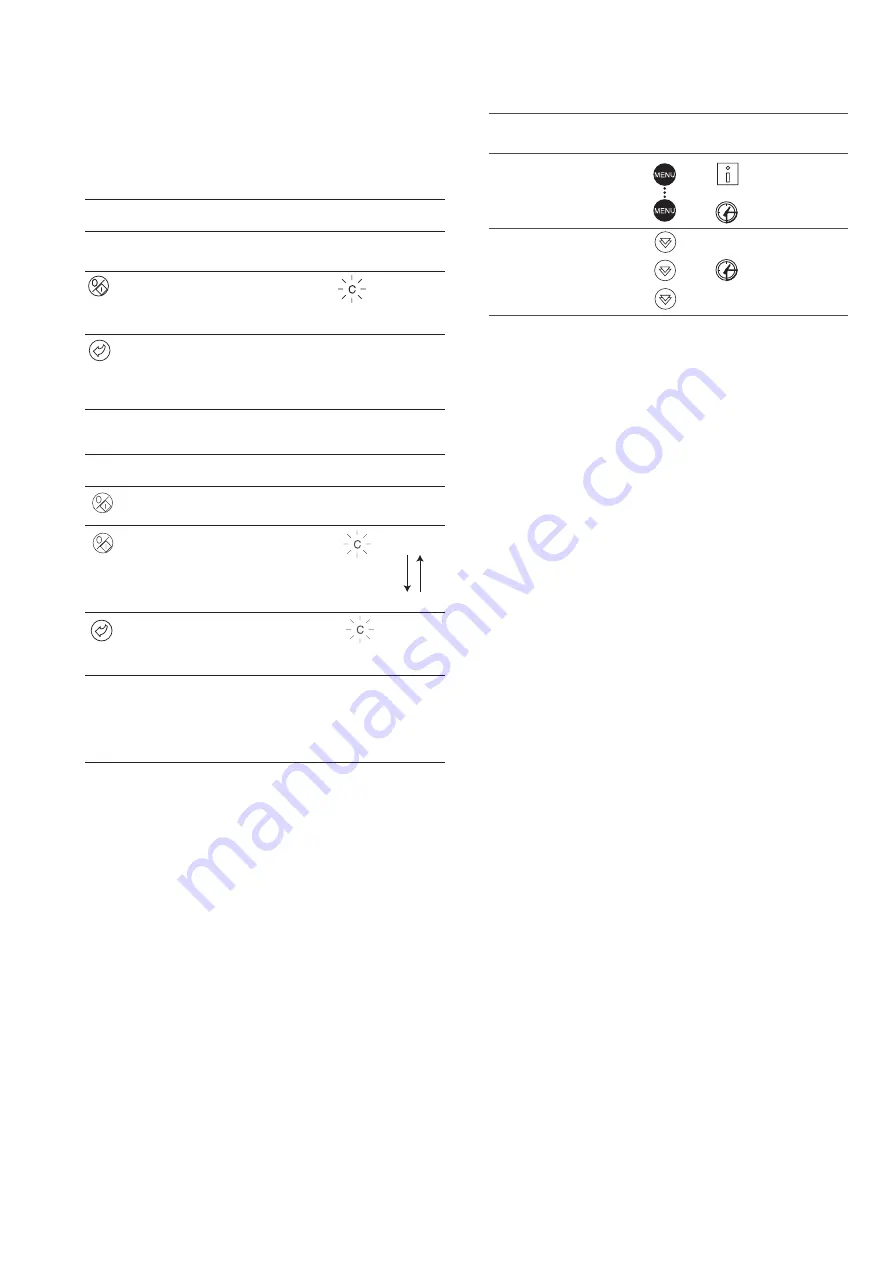
SELECTING A MENU ITEM
OPERATION
PRESS
MENU LED
ITEM NUMBER
BUTTON
2-DIGIT
DISPLAY
Press the MENU button until the
LED marked PRESSURE lights.
0
0
Press one of the Arrow buttons
1
until the two-digit display shows 3
(item number 3).
2
3
kPa
kPa
The following example shows how to access item 3 in
the Pressures menu.


