Basic Operation of the Camcorder
29
Setup Menus
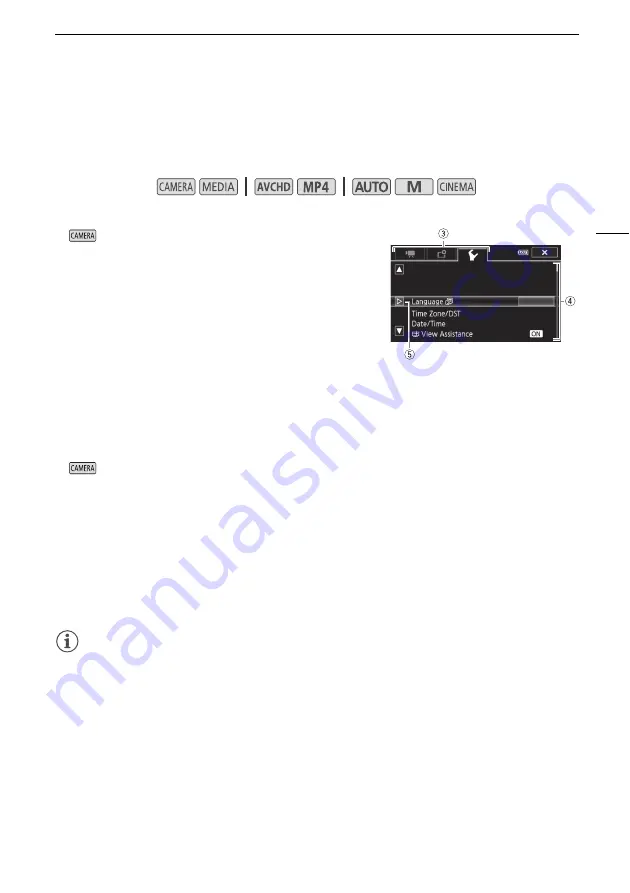
In this manual, navigating the setup menus is explained using the touch panel controls but they can
also be navigated using the joystick and other buttons. The procedure below explains how to use both
methods. If necessary, refer back to this section for details on using the joystick.
To use touch panel controls
1
mode only: Touch [FUNC.].
2 Touch [MENU].
3 Touch the tab of the desired menu.
4 Drag your finger up and down to bring the desired setting
into the orange selection bar.
• You can also touch [
Í
] and [
Î
] to scroll up and down.
• Menu items not available appear grayed out.
• You can touch any menu item on the screen to bring it
directly into the selection bar.
5 When the desired menu item is inside the selection bar, touch [
æ
].
6 Touch the desired option and then touch [
X
].
• You can touch [
X
] to close the menu at any time.
To use the joystick
1
mode only: Push the joystick (
Ý
/
Þ
) to select [FUNC.] and then press
S
.
• Alternatively, you can press
F
.
2 Push the joystick (
Ý
/
Þ
) to select [MENU] and then press
S
.
3 Push the joystick (
Þ
) to select the desired tab and then press
S
.
4 Push the joystick (
Ý
) to move the selection bar to the desired setting and then press
S
.
• Menu items not available appear grayed out.
5 Push the joystick (
Ý
/
Þ
) to select the desired option and then press
S
.
6 Push the joystick (
Ý
/
Þ
) to select [
X
] and then press
S
.
• You can press
F
to close the menu at any time.
NOTES
• For brevity's sake, references in the text to settings in the setup menus will include only the tab of
the desired menu and the setting name. For example, "You can adjust the date and time later on
with the
q
>
[Date/Time] setting."
• You can also press
M
on the wireless controller to open the setup menus.
Operating modes:


