Saving Movies to a Computer
110
Transferring Movies to the Computer
After you install the software Data Import Utility, you can save movies to your computer.
1 Camcorder: Power the camcorder using the compact
power adapter.
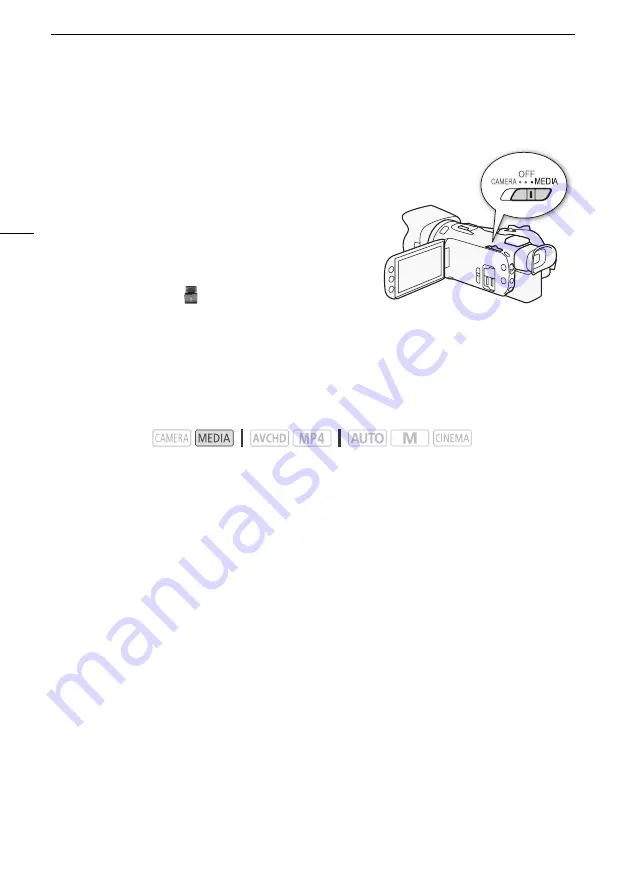
2 Camcorder: Set the power switch to MEDIA.
3 Camcorder: Open the desired movie index screen
(
A
4 Connect the camcorder to the computer using the
supplied USB cable.
5 Camcorder: Touch [All (for PC only)].
6 Computer: Click the
icon on the desktop to start
Data Import Utility.
7 Computer: Use Data Import Utility to save the movies onto the computer.
• Follow the onscreen instructions and refer to the Data Import Utility Software Guide (PDF file).
Saving Photos to a Computer
Use the software CameraWindow to save your photos on a computer.
Installation
You can download the software CameraWindow (in the CAMCORDER Software package) for free
from the following Canon Web site. The site also has the system requirements, latest information
about the software, instructions on how to open the software package and how to run the installer. To
download and install the software, click on your country/region and follow the onscreen instructions.
After you download, follow the onscreen instructions to install the software.
• An Internet connection is required to install the software.
• For Windows users, if a User Account Control dialog box appears, follow the instructions.
• When the screen of the last step is displayed, the software is correctly installed. Click
Finish
to
close the installer.
Transferring Photos to the Computer
1 Camcorder: Power the camcorder using the compact power adapter.
2 Camcorder: Set the power switch to MEDIA.
3 Camcorder: Open the photo index screen (
A
106).
4 Camcorder: Connect the camcorder to the computer using the supplied USB cable.
5 Computer: CameraWindow will start automatically and the main screen will appear.
• Windows: If the AutoPlay dialog box appears instead, click
Downloads Images From Canon
Camera
to start the CameraWindow program.
Operating modes:


