Using Canon Printer Agent Creator
2-15
2 Using Canon NDPS Gateway
4
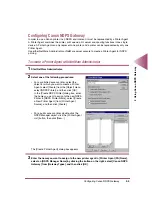
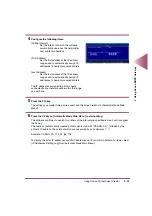
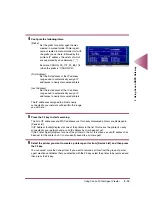
Configure the following items.
[Prefix]:
Set the prefix for printer agent names
created in manual mode. Printer agent
names created in manual mode start with
the prefix you set here; followed by the
printer's IP address, the octets of which
are separated by an underscore ("_").
Example: CANON_PA_172_20_88_118
(when the prefix is “CANON_PA”)
[First Address]:
Set the first address of the IP address
range used to automatically assign IP
addresses to newly discovered printers.
[Last Address]:
Set the last address of the IP address
range used to automatically assign IP
addresses to newly discovered printers.
The IP addresses assigned to printers newly
connected to your network will be within the range
you set here.
5
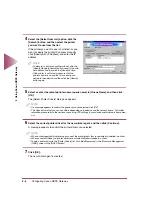
Press the F3 key to start searching.
The list of IP addresses and MAC addresses set for newly discovered printers are displayed in
[Device List].
If [IP Address Invalid] displays for one of the printers in the list, this means the printer is newly
connected to your network and a valid IP address has not been set yet.
If [No Printer Agent] displays for one of the printers in the list, this means a valid IP address has
been set for the printer, but it is not currently bound to a printer agent.
6
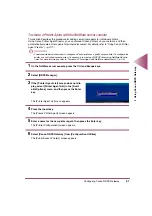
Select the printer you want to create a printer agent for from [Device List], and then press
the F5 key.
You can select more than one printer. If you want to remove a printer from the group of printer
agent creation candidates that you selected with the F5 key, select the printer to be removed and
then press the F6 key.

