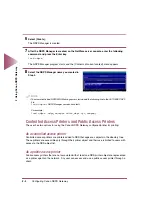
Configuring Canon NDPS Gateway
2-6
2 Using Canon NDPS Gateway
4
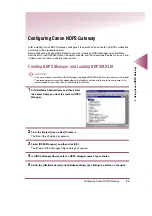
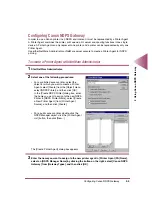
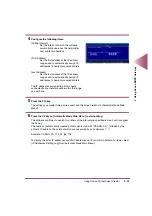
Select the [Select from List] option, click the
[Search] button, and then select the printer
you want to use from the list.
If the printer you want to use is not listed, or you
want to specify the printer IP address manually,
click [Specify with IP Address] and enter the IP
address.
NOTE
• To discover a printer on another subnet, click the
[Specify Range to Search] button, specify the sub-
net address, and then click the [Search] button.
• If the printer is not listed, make sure that the
printer’s power is on and that it is correctly con-
nected to the network, and then click the [Search]
button again.
5
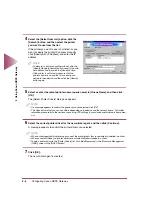
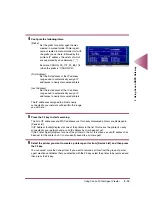
Select or enter the remote printer name (queue name) in [Queue Name], and then click
[OK].
The [Select Printer Drivers] dialog box appears.
NOTE
• If a message appears to confirm the queue name you selected, click [OK].
• The Queue Name that you can use differs depending on the device and the network board. For further
reference, please refer to the sections concerning LPD settings in your device and/or network board man-
ual.
6
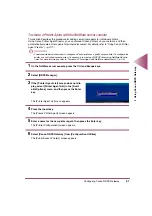
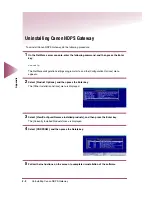
Select the correct printer driver for the new printer agent, and then click [Continue].
A message appears to confirm the printer drivers you selected.
NOTE
• When a client specifies this printer agent, one of the printer drivers that you selected is installed to a client.
• When you select [None], no printer drivers are automatically downloaded to a client.
• To add a printer driver to the [Printer Drivers] list, click [Add Resources] in the [Resource Management
(RMS)] screen in the [NDPS Broker].
7
Click [OK].
The new Printer Agent is created.

