


Printing CAD Drawings
8.
After conrming that
E
Easy Settings
is selected, click
CAD (Line Drawing)
or
CAD
(Monochrome Line Drawing )
in the
F
Print Target
list.
Note
•
You can check the settings values selected in the
F
Print Target
list by clicking
G
View set.
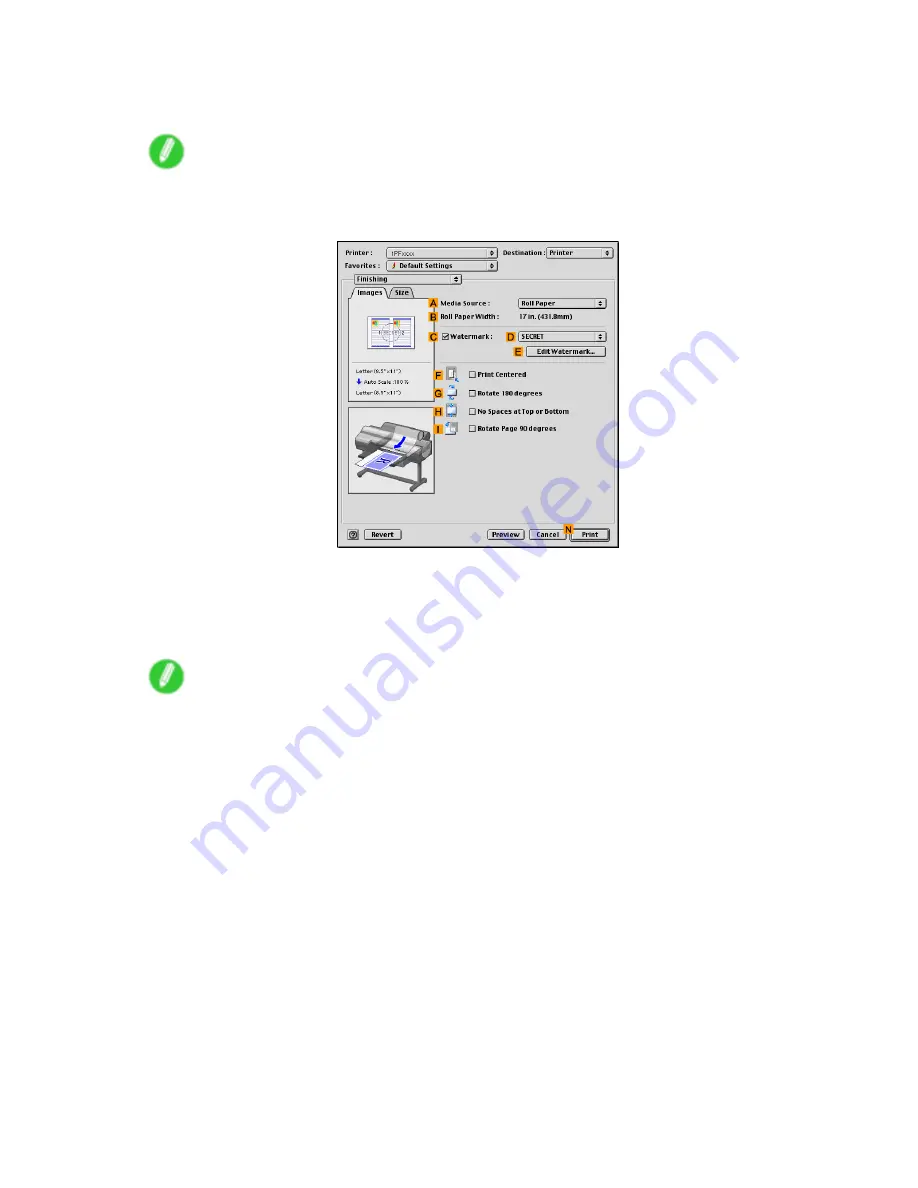
9.
Access the
Finishing
pane.
10.
Click
Roll Paper
in the
A
Media Source
list.
11.
Specify additional printing conditions.
For details on available printing conditions, see “Printer Driver Settings (Mac OS 9)”. (→P.534)
12.
Conrm the print settings, and then click
N
to start printing.
Note
•
For tips on conrming print settings, see “Conrming Print Settings (Mac OS 9)”. (→P.535)
446 Enhanced Printing Options
Содержание iPF610 - imagePROGRAF Color Inkjet Printer
Страница 1: ...User Manual ENG Large Format Printer ...
Страница 2: ......
Страница 98: ...Printing procedure 5 Select the paper type P 130 6 Specify the paper length P 131 84 Basic Printing Work ow ...
Страница 657: ...Cleaning the Printer 4 Plug the power cord into the outlet Maintenance 643 ...
Страница 734: ...720 ...
Страница 745: ......
Страница 746: ... CANON INC 2007 ...


