


1-10
Bef
or
e U
sing the M
achine
6
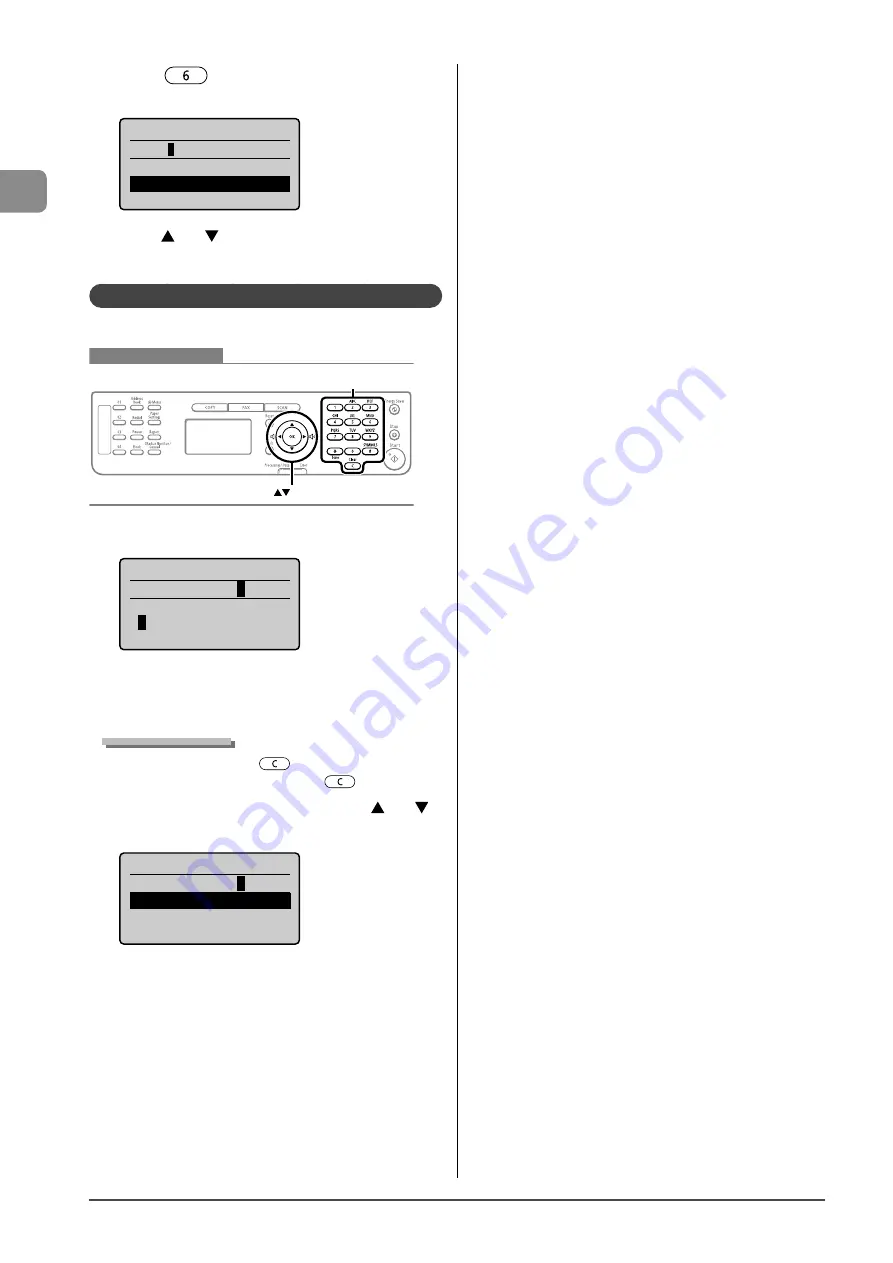
Press
[
] until the letter “N” appears on the
display.
Register Unit Name
CANON
<Apply>
Entry Mode: A
7
Press
[
] or [
] to select <Apply>, and then
press [OK].
Entering IP Address (MF4570dn Only)
Enter numbers using the following keys.
Keys to be used for this operation
OK
Numeric keys, Clear
1
Use the numeric keys to enter numbers.
IP Address
192.168.000.08
0
<Apply>
1
2 3 4 5 6 7 8 9 0
<BS>
* Enter numbers by three digits.
To specify “192.168.0.80,” enter “192.168.000.080.”
(If the number is less than three digits, add “0” before the
number.)
Deleting numbers
To delete a number, press [
] (Clear).
To delete all numbers, press and hold [
] (Clear).
2
When you are finished entering, press [
] or [
]
to select <Apply>, and then press [OK].
IP Address
192.168.000.08
0
<Apply>
1 2 3 4 5 6 7 8 9 0
<BS>
Содержание imageCLASS MF4450
Страница 24: ...xviii...
Страница 54: ...2 18 Document and Paper Handling...
Страница 64: ...3 10 Copying...
Страница 70: ...4 6 Printing from a Computer...
Страница 84: ...5 14 Registering Destinations in the Address Book...
Страница 114: ...7 4 Using the Scan Functions...
Страница 132: ...8 18 Maintenance...


