


Fax
5-29
Changing Standard Mode
1
2
3
4
5
6
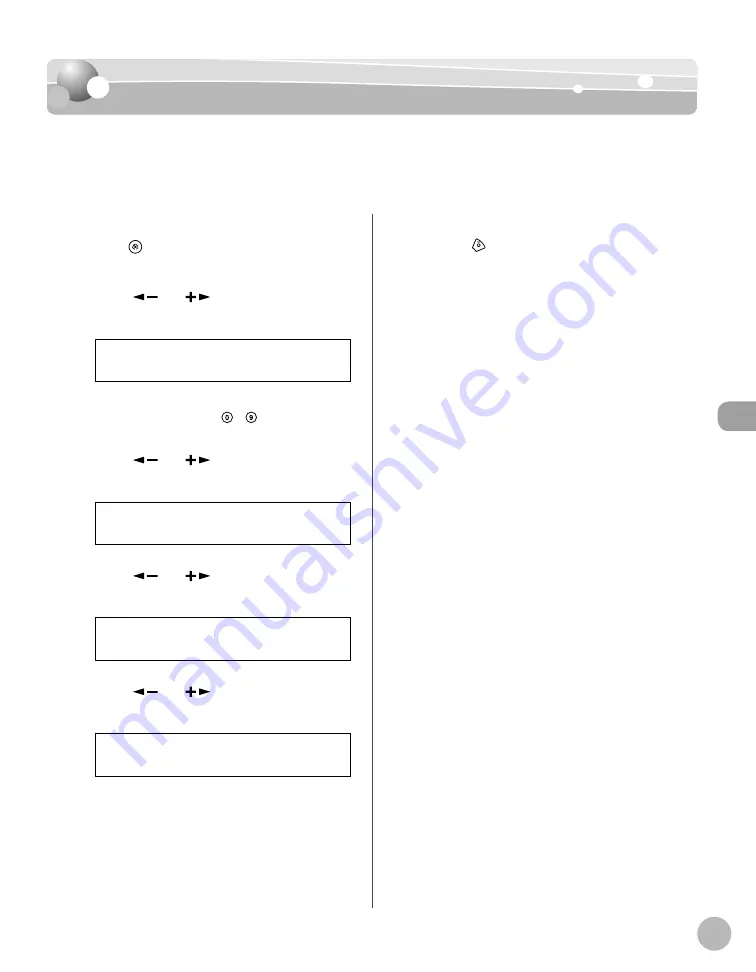
Send Start Speed
Send Start Speed
Send Start Speed
This function enables you to change the send start speeds, which is useful when there is
diffi
culty initiating the sending of a document.
The default setting is <33600bps>.
1
Press [Menu].
2
Press [
] or [
] to select <SYSTEM
SETTINGS>, then press [OK].
1 1 S Y S T E M S E T T I N G S
M E N U
If the System Password has been set, enter the
System Password using – [numeric keys],
then press [OK].
3
Press [
] or [
] to select
<COMMUNICATIONS>, then press [OK].
4 C O M M U N I C A T I O N S
S Y S T E M S E T T I N G S
4
Press [
] or [
] to select <TX START
SPEED>, then press [OK].
1 T X S T A R T S P E E D
C O M M U N I C A T I O N S
5
Press [
] or [
] to select the desired
start speed, then press [OK].
3 3 6 0 0 b p s
T X S T A R T S P E E D
If your document transmission is slow in
starting, this may mean that the telephone lines
in your area are in poor condition. Select a
slower speed. You can select <33600bps>,
<14400bps>, <9600bps>, <7200bps>,
<4800bps>, or <2400bps>.
6
Press
[Stop/Reset] to return to the
standby mode.
Содержание imageCLASS D480
Страница 31: ...Before Using the Machine 1 4 Machine Components External View Back External View Back MF4370dn ...
Страница 45: ...Before Using the Machine 1 18 ...
Страница 61: ...Documents and Print Media 2 16 ...
Страница 76: ...Copying 4 3 Overview of Copy Functions p 4 10 p 4 18 p 4 15 ...
Страница 97: ...Copying 4 24 ...
Страница 100: ...Fax 5 3 Overview of Fax Functions p 5 18 p 5 40 p 5 35 ...
Страница 143: ...Fax 5 46 ...
Страница 146: ...Printing 6 3 Overview of the Print Functions p 6 9 ...
Страница 155: ...Printing 6 12 ...
Страница 161: ...Scanning 7 6 ...
Страница 171: ...Settings from a PC MF4370dn Only 9 6 ...
Страница 179: ...10 8 Maintenance Cleaning the Machine ...
Страница 199: ...10 28 Maintenance ...


