


57
Monitor Folder Function (Function for Use with the WFT-E2/A, E2 II A/B/C/D, E3/A, E4/A, E4 II A/B/C/D, or E5A/B/C/D)
This is a function for checking your images with Digital Photo
Professional (hereinafter DPP) in real time using the Wireless File
Transmitter WFT-E2/A, E2 II A/B/C/D, E3/A, E4/A, E4 II A/B/C/D, or
E5A/B/C/D (sold separately).
For setting the WFT-E2/A, E2 II A/B/C/D, E3/A, E4/A, E4 II A/B/C/D, or
E5A/B/C/D refer to the Instruction Manual provided with each product.
1
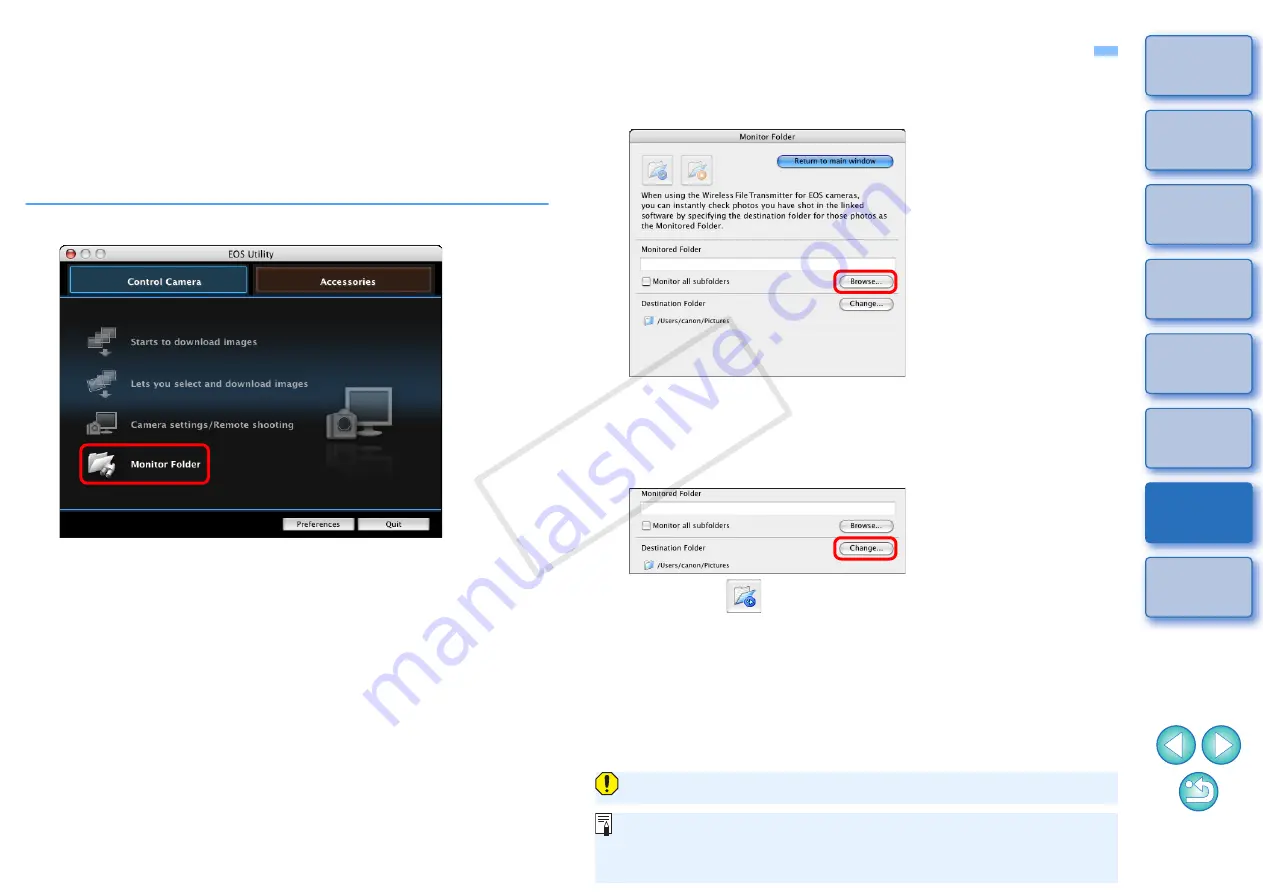
Click [Monitor Folder].
¿
The [Monitor Folder] dialog box appears.
2
Click the [Browse] button and specify the save
destination folder for shot images.
O
You can specify the save destination folder for the shot images set in the
WFT-E2/A, E2 II A/B/C/D, E3/A, E4/A, E4 II A/B/C/D, or E5A/B/C/D.
3
Click the [Change] button and specify the transfer
destination folder.
4
Click the [
] button.
¿
Image transfer preparation is complete.
5
Take a shot.
¿
If images are saved in the folder specified in step 2, they are
transferred/saved in the folder specified in step 3.
¿
DPP starts up and the images saved in the folder specified in
step 3 are displayed.
You cannot specify the same folders in step 2 and step 3.
You can change the software that starts up in step 5, from DPP to
ImageBrowser or other software in preferences ([Linked Software]
window)
.
COP
Y


