10
Advanced Print Features
The S750 automatically adjusts printer settings to improve print quality based on
the media type (plain paper, Glossy Photo Paper, and so on). You can also
customize the print quality settings if desired.
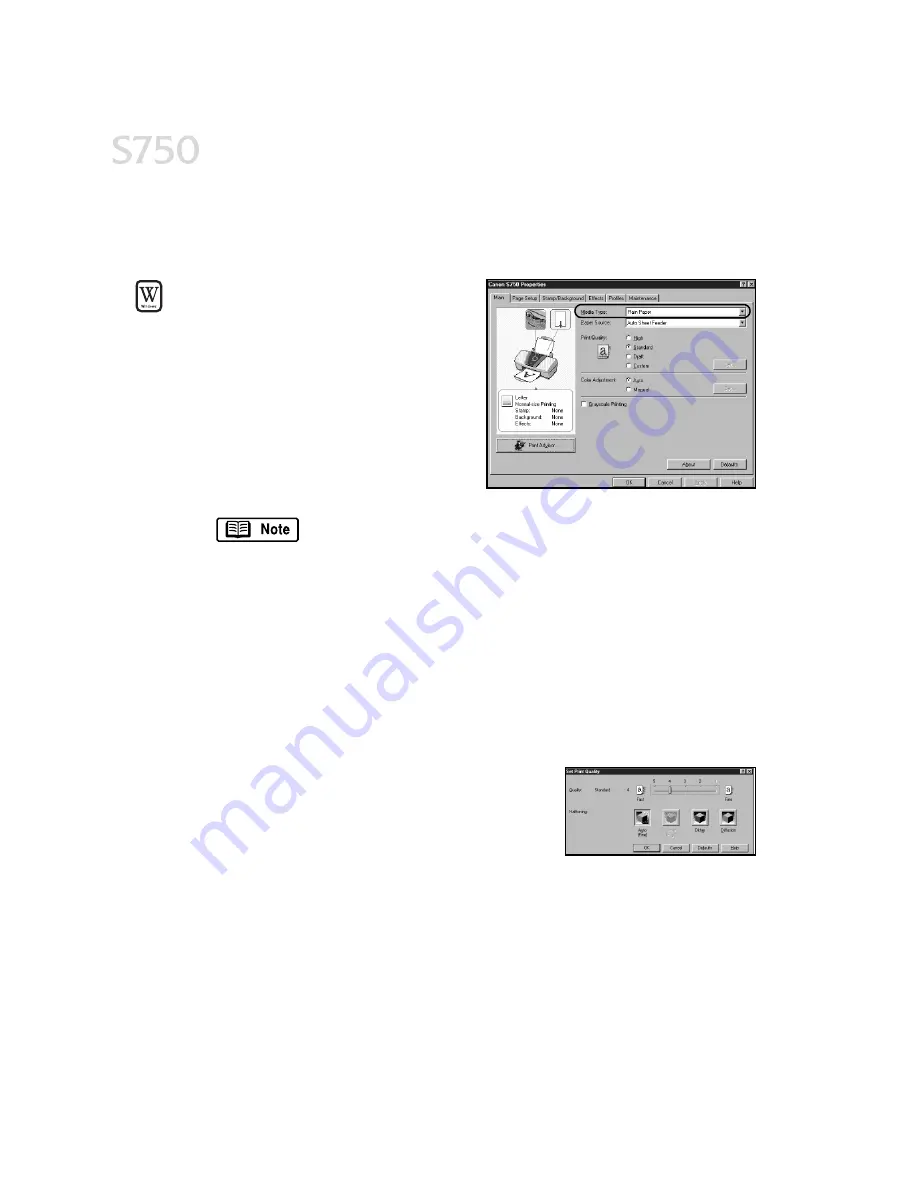
To manually adjust print quality
To manually adjust print quality
To manually adjust print quality
To manually adjust print quality
settings in Windows:
settings in Windows:
settings in Windows:
settings in Windows:
1.
From an application File
File
File
File menu, click
Print.
Print.
Print.
Print.
2.
With Canon S750
Canon S750
Canon S750
Canon S750 as the selected
printer, click Properties
Properties
Properties
Properties. The Canon
S750 Properties dialog box will open
to the Main tab.
3.
Select the appropriate option from
the Media Type
Media Type
Media Type
Media Type.
If printing envelopes, select Envelope
Envelope
Envelope
Envelope as the
media type.
4.
Each media type has its own default print quality, but you can change this
under Print Quality
Print Quality
Print Quality
Print Quality:
High
High
High
High For high quality when printing a color document.
Standard
Standard
Standard
Standard For high quality when printing text.
Draft
Draft
Draft
Draft For printing text drafts at a faster speed.
Custom
Custom
Custom
Custom For more control when printing. If you select Custom
Custom
Custom
Custom, the Set
button becomes active. Click Set
Set
Set
Set to open the Set Print Quality dialog box.
There are two features you can control:
Print Quality
Print Quality
Print Quality
Print Quality The printer driver provides
several settings for custom print quality,
ranging from Fast (prints at 600 dpi for faster
printing and less ink) to Fine (prints at 2400
x 1200 dpi).
Halftoning
Halftoning
Halftoning
Halftoning This controls the pattern in which the ink is laid down when
printing graphic images.
5.
When done, click OK
OK
OK
OK.
Содержание Color Bubble Jet S750
Страница 4: ...iv Contents ...
Страница 36: ...32 Using Your Photo Applications ...
Страница 46: ...42 Troubleshooting ...


