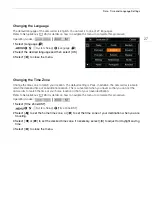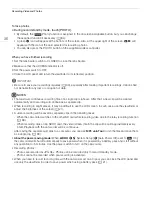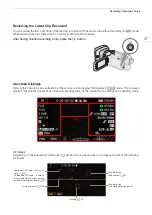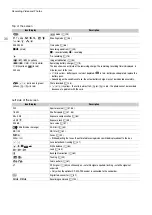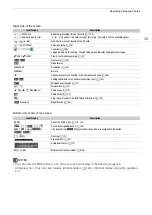
Date, Time and Language
S
etting
s
26
Date, Time and Language Settings
Setting the Date and Time
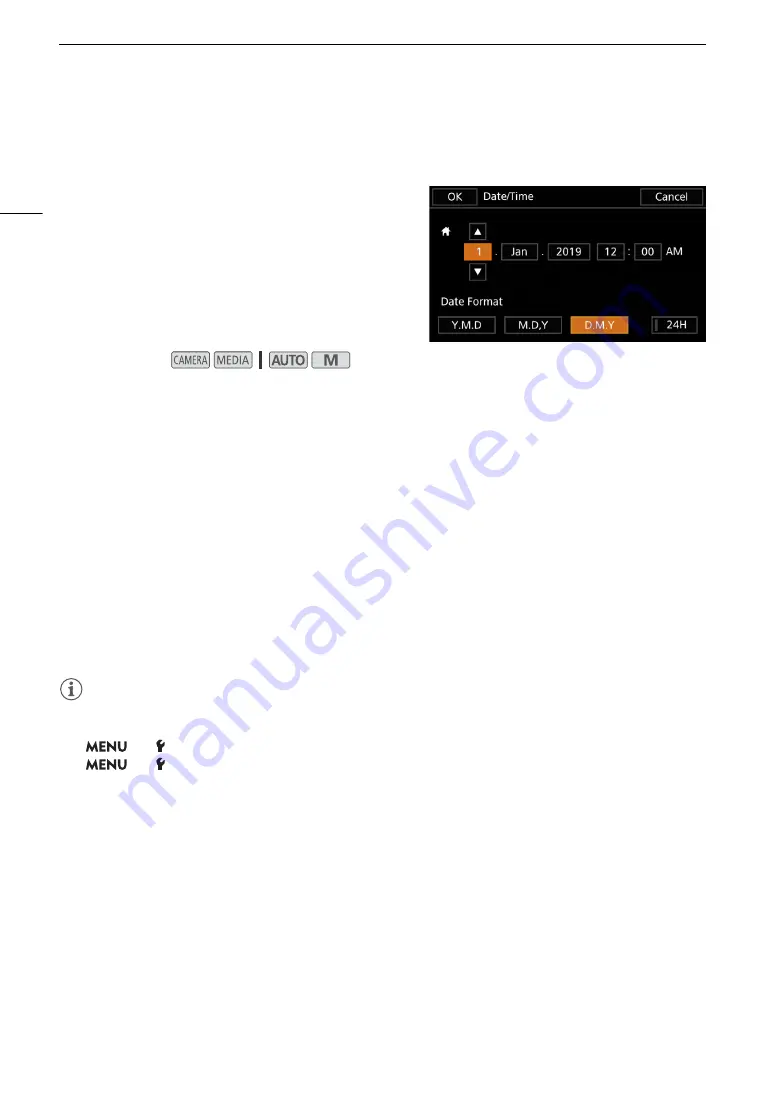
You will need to set the date and time of the camcorder
before you can start using it. The [Date/Time] screen will
appear automatically when the camcorder’s clock is not set.
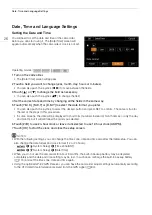
1 Turn on the camcorder.
• The [Date/Time] screen will appear.
2 Touch a field you want to change (year, month, day, hour
s
or minute
s
).
• You can also push the joystick (
ÏÐ
) to move between the fields.
3 Touch [
Í
] or [
Î
] to change the field a
s
nece
ss
ary.
• You can also push the joystick (
Ý
) to change the field.
4
S
et the correct date and time by changing all the field
s
in the
s
ame way.
5 Touch [Y.M.D], [M.D,Y] or [D.M.Y] to
s
elect the date format you prefer.
• You can also push the joystick to select the desired button and press SET to confirm. The same is true for
the rest of the steps in this procedure.
• In some screens, the date will be displayed in short form (numbers instead of month names or only the day
and month), but it will still follow the order you selected.
6 Touch [24H] to u
s
e 24-hour cloc
k
or leave it un
s
elected to u
s
e 12-hour cloc
k
(AM/PM).
7 Touch [OK] to
s
tart the cloc
k
and clo
s
e the
s
etup
s
creen.
NOTES
• With the following settings, you can change the time zone, date and time also after the initial setup. You can
also change the date format and clock format (12 or 24 hours).
-
>
[
System Setup]
>
[Time Zone/DST]
-
>
[
System Setup]
>
[Date/Time]
• When you do not use the camcorder for about 3 months, the built-in backup battery may be depleted
completely and the date and time setting may be lost. In such case, recharge the built-in backup battery
(
A
115) and set the time zone, date and time again.
• Using the optional GP-E2 GPS Receiver, you can have the camcorder adjust settings automatically according
to the UTC date/time information received from the GPS signal (
A
80).
Operating modes:
Содержание 3670C005
Страница 1: ...4K Camcorder PUB DIE 0536 000 Instruction Manual PAL ...
Страница 4: ...4 ...
Страница 16: ...Names of Parts 16 ...
Страница 82: ...Using the Optional GP E2 GPS Receiver 82 ...
Страница 94: ...Clip and Photo Operations 94 ...
Страница 100: ...Working with Clips on a Computer 100 ...


