5. Commissioning
5. Commissioning
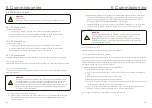
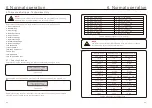
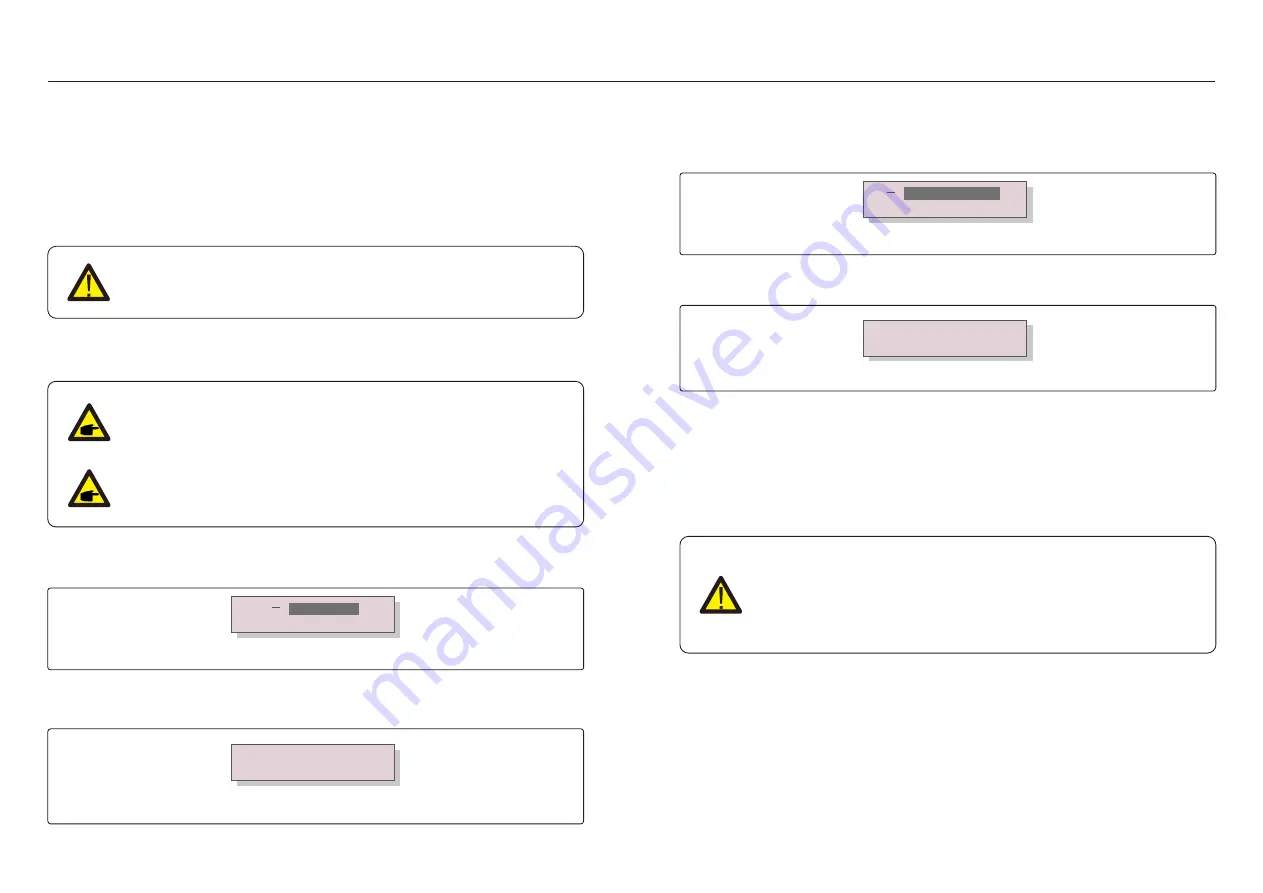
3). Use the UP/DOWN keys to highlight the SELECT STANDARD option. Press enter to
select.
Figure 5.4
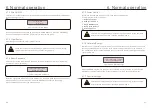
4). Select the grid standard for the country of installation.
YES=<ENT> NO=<ESC>
Standard:UL-600V
Press the UP or DOWN key to select the standard. Press the ENTER key to confirm the setting.
Press the ESC key to cancel changes and return to the previous menu.
5.3 Setting a custom grid standard
WARNING
● Failure to set the correct grid standard could result in improper operation
of the inverter, inverter damage or the inverter not operating at all.
Only certified personnel should set the grid standard.
●
Only set the grid configuration that is approved by your location and
●
national grid standards.
1). Please refer to section 6.7 “Advanced Settings” for procedures to create a custom grid
configuration for User-Def menu option.
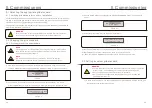
Figure 5.3
Select Standard
Grid ON/OFF
UL-600V, R21P3-600, ISONE600 are available for U.S. and Canada markets.
5.1 Selecting the appropriate grid standard
WARNING
Failure to set the correct grid standard could result in improper operation
of the inverter, inverter damage or the inverter not operating at all.
5.2 Changing the grid standard
5.2.1 Procedure to set the grid standard
NOTE
This operation is for service technicians only. The inverter is customized
according to the local grid standard before shipping. There should be no
requirement to set the standard.
NOTE
The “User-Def” function can only be used by the service engineer.
Changing the protection level must be approved by the local utility.
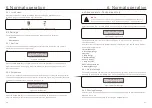
Figure 5.1
Information
Settings
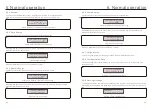
Figure 5.2
YES=<ENT> NO=<ESC>
Password:0000
.33.
.32.
5.1.1 Verifying grid standard for country of installation
Canadian Solar inverters are used worldwide and feature preset standards for operating on
any grid. Although the grid standard is set at the factory, it is essential the grid standard be
verified for the country of installation before commissioning.
The menu for changing the grid standard or for creating a custom standard is accessible as
described in Section 6.7 and below.
1). From the main screen on the display, select ENTER. There are 4 sub-menu options,
use the UP/DOWN arrows to highlight ADVANCED SETTINGS. Press enter to select.
2). The screen will show that a password is required. The default password is "0010",
press the DOWN key to move cursor, press the UP key to change the highlighted digit.

