- 8 -
Robot Programming
Programming and other.
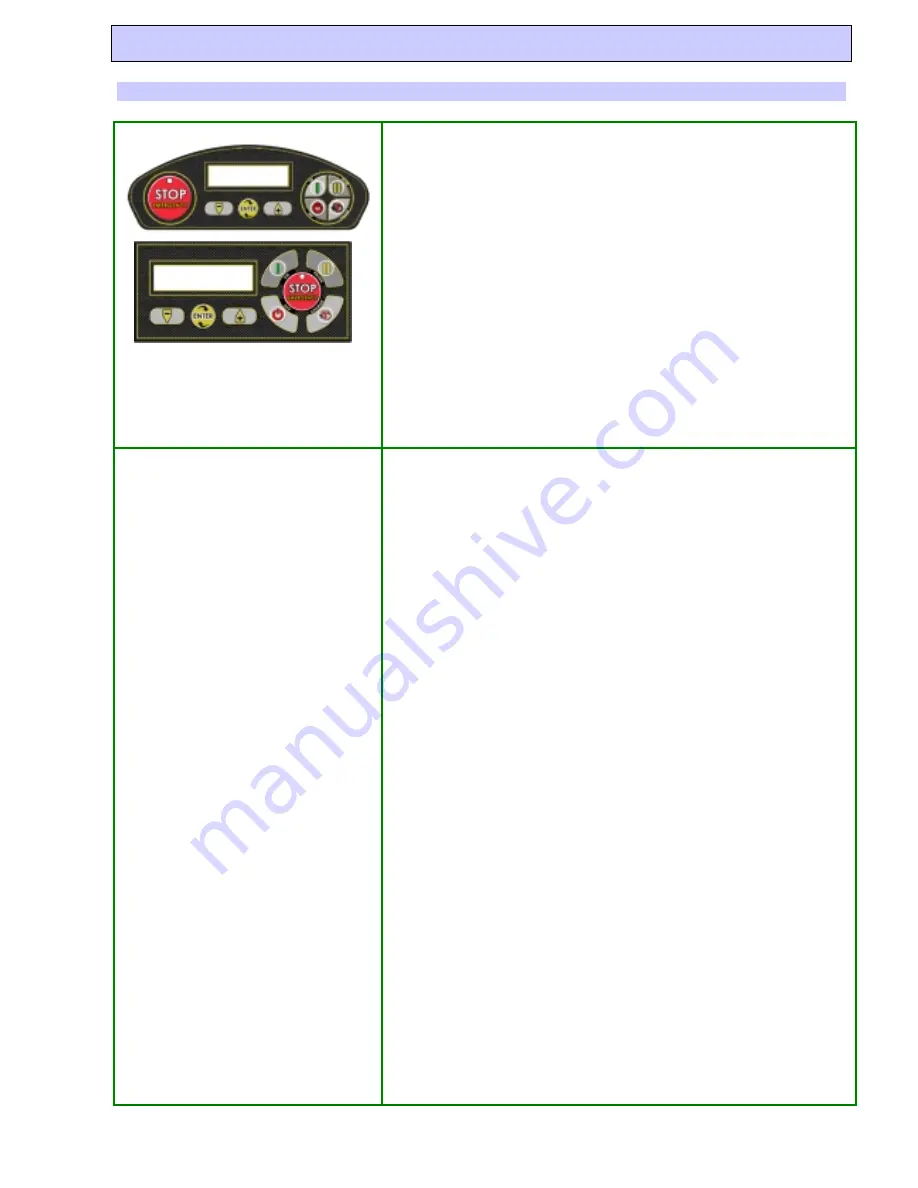
Explanation of the keys
“ON” : To switch the robot on.
“OFF “: To switch the robot off.
“STOP-EMERGENCY“ : It is needed to switch the robot off in case of
emergency. We must use this key in case of emergency and when we need to
work on the cutting motor. In order to restart the robot, we must press it
once again. The emergency Led will switch off . Then it is possible to switch
it on again by pressing on the key ON.
“PAUSE”: To put the robot in Pause mode or to resume working.
“CHARGE”: To make the robot come out while is in the recharging base. To
let it enter the recharging base while working.
“-“: To change the values during the programming. To turn off the blade
while the robot is working.
“+ “: To change the values during the programming. To turn the blade on
while the robot is working.
“ENTER”: To confirm the choice during the programming. To activate the
spiral while the robot is working.
Programming Menu
To enter the programming menu, it is necessary to put the robot in
“PAUSE” and push “ENTER”. The menu consists in menus and under
menus. With the key “+” and “-“ you can scroll the menu entries or change
the value displayed. With the “ENTER” key, you can select the entry, enter
the under menu or confirm the displayed value.
Here below only the most correct parameters for a proper functioning are
listed:
-
Working days: For every working day, it is possible to show with
“1” if the robot must work and with “0” if not. The robot must
work every day or every other day to exploit the mulching effect.
-
Working hours : It is possible to plan two working hours to make
the robot come out. Always remember that in order to charge the
batteries the robot needs from 3.5 to 4 hours. So between the
working time 1 and the working time 2 this break will be necessary.
-
Secondary area 1 _ Dimension % : it allows to set out the dimension
of the secondary area in relation with the entire surface.
o
20% Indicates a very very small area.
o
30% Indicates an area which is approximately ¼ of the
whole garden.
o
50% Indicates an area, which is approximately the half of
the whole garden.
o
80% Indicates a secondary area which is bigger than the
primary area.
o
100%. Every time the robot goes out of the docking station,
it will follow the border cable to mow the secondary area.
-
Secondary area 1_Direction: it indicates the fastest direction to
follow in order to reach the secondary area. The direction can be
both clockwise and anticlockwise. Coming out the recharging base,
the robot will follow the cable according to the settled direction in
order to cut in the secondary area.
-
Secondary area 1_Distance: it allows to set out the distance (in
meters) the robot needs to reach the secondary area, following the
perimeter cable. It is recommended to measure the distance on the
half of the secondary area, so that you can be sure that the robot
will be in the secondary area when it starts mowing.


