


47
System time: You can set system date and time. After you modify setting, you must save
your change to make changes effective.
Date format: There are three types: YYYY-MM-DD: MM-DD-YYYY or DD-MM-YYYY.
Date separator: There are three denotations to separate date: dot, beeline and solidus.
Time format: There are two types: 24-hour mode or 12-hour mode.
Language: To switch menu language (as English and Simplified Chinese)
HDD full: You may select working mode when hard disk is full. There are two options: stop
recording or rewrite. If current working HDD is overwritten or the current HDD is full while
the next HDD is no empty, then system stops recording, If the current HDD is full and next
HDD is not empty, then system overwrites the previous files.
Video standard: There are two formats: NTSC and PAL.( different models have different
options)
Device NO.: Used to set vehicle license plate.
Device ID: You may edit device ID.
value is 120 minutes.
Auto logout: You may set standby interval which is a specified period of time between the
moment once login user becomes inactive and the auto logoff of this user. It ranges from 0
to 60 minutes. 0 is log off immediately once this use becomes inactive. Users are required to
log in again for operations in this case.
Interval: To set interval between each tour of monitoring. It ranges from 10 to 120s.
Resolution for main screen: Default is 1280*1024.
Startup wizard: Once you check the box here, system will go to the startup wizard directly
when the system restarts the next time. Otherwise, it will go to the login interface.
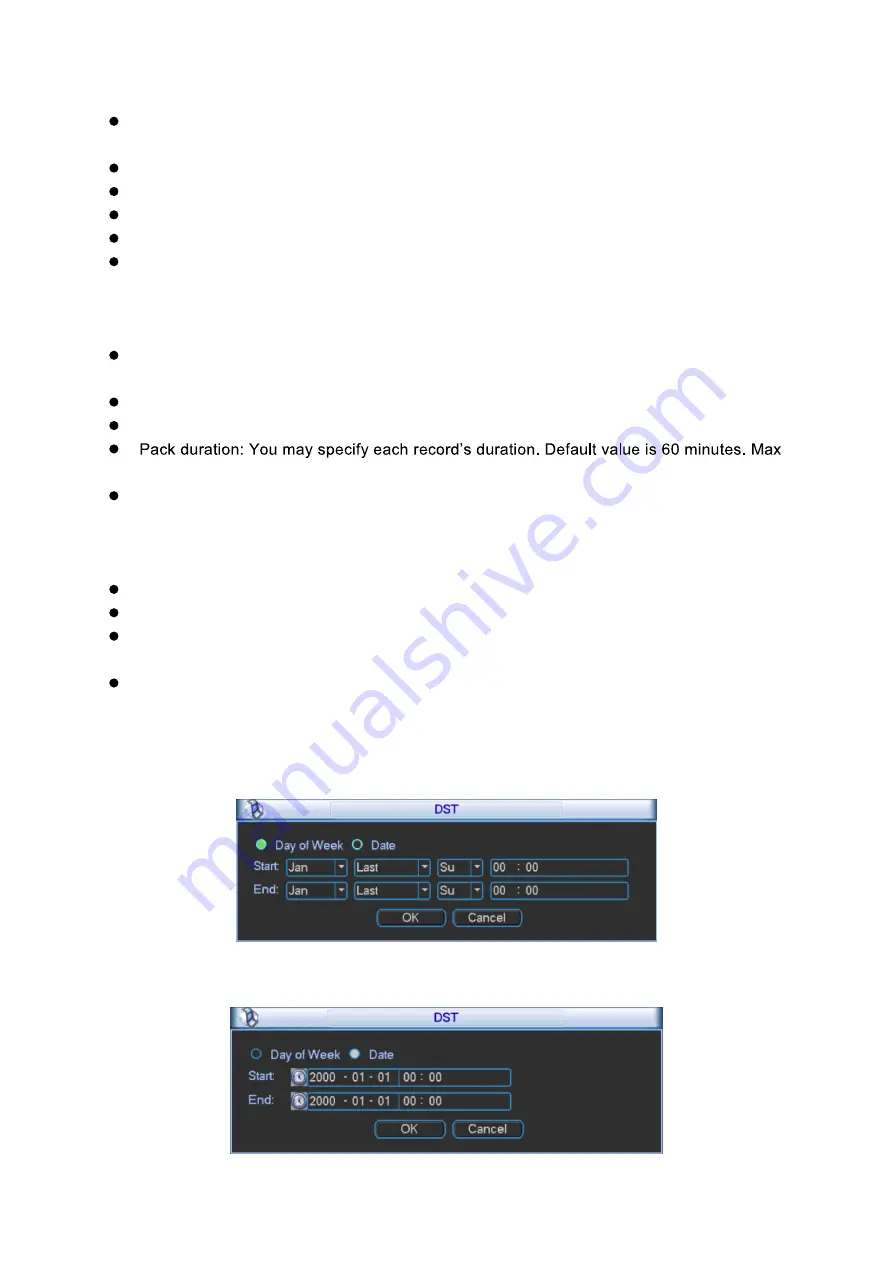
DST: Here you can set DST time and date. Please enable DST function and then click set
button. You can see an interface is shown as in Figure 3- 32. Here you can set start time
and end time by setting corresponding week setting. In Figure 3- 32, enable date button, you
can see an interface is shown as in Figure 3- 33. Here you can set start time and end time
by setting corresponding date setting.
Figure 3- 32
Содержание KSC-USB-NET
Страница 1: ...i Video Matrix Platform V 2 0 0 ...
Страница 4: ...iv 5 DSS OPERATION 169 6 FAQ 170 6 1 FAQ 170 6 2 Maintenance 173 APPENDIX A MOUSE CONTROL 174 ...
Страница 34: ...28 Figure 3 9 Switch to input device list Please see Figure 3 9 ...
Страница 37: ...31 Figure 3 12 Step 2 Click add You will see Figure 3 13 Figure 3 13 ...
Страница 70: ...64 Figure 3 54 Buzzer Buzzer rings when motion detection alarms 3 2 4 6 2 Video Loss ...
Страница 74: ...68 Display is shown below as in Figure 3 59 Figure 3 60 and Figure 3 61 Figure 3 59 ...
Страница 75: ...69 Figure 3 60 ...
Страница 88: ...82 Figure 3 80 Click Add to add new Raid Select corresponding level Figure 3 81 ...
Страница 94: ...88 Figure 4 4 4 3 1 Add TV Wall For first time login user you shall add TV wall see Figure 4 5 Figure 4 5 ...
Страница 139: ...133 Figure 4 68 Figure 4 69 ...
Страница 148: ...142 Figure 4 81 Select slot and channel OSD Custom Step 1 Check Custom OSD see Figure 4 82 ...
Страница 173: ...167 ...
Страница 174: ...168 ...
Страница 175: ...169 5 DSS Operation Besides web based operation you can log in device via Digital Surveillance System DSS ...
Страница 182: ......
Страница 183: ......
Страница 184: ......
Страница 185: ......
Страница 186: ......
Страница 187: ......
Страница 188: ......