


2. Merge database fields into the selected layout.
After you have created all fields and joined fields that you will want to use in your layout, you can
merge (put) the desired fields into the layout.
1. In the [Tool] menu, click the [Merge into Layout] command to display the Merge Fields
dialog box.
If more than one layout is open, the Select Layout dialog box is displayed first. In the Select
Layout dialog box, click the layout that you wish to merge (put) the fields into, then click
to display the Merge Fields dialog box.
●
A database can only be linked with one layout. If a layout which is already linked to a database
is selected, an error message is displayed.
●
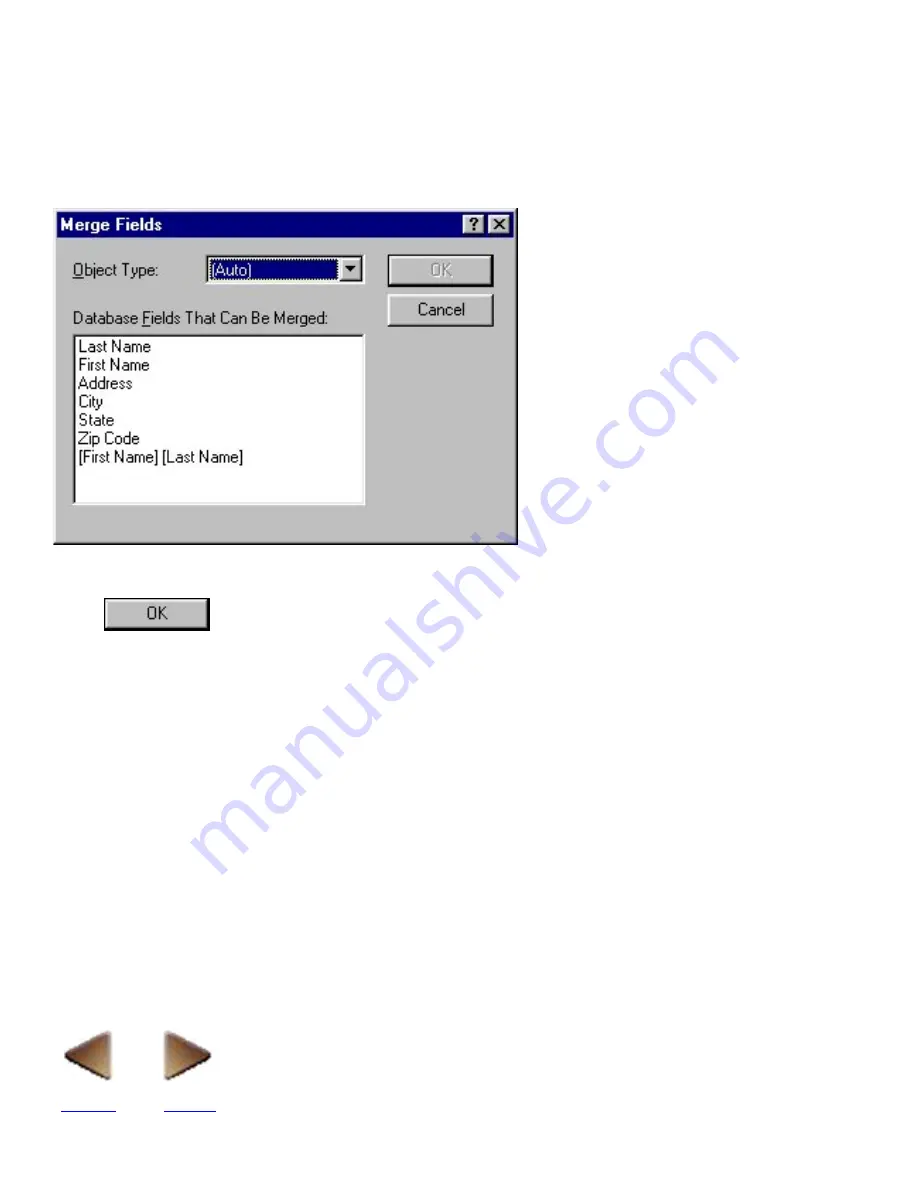
2. In the "Database Fields That Can Be Merged:" list box in the Merge Fields dialog box, click
the field that you wish to merge into the layout.
To select more than one field, hold down the keyboard's Ctrl key while clicking all of the fileds
that you wish to merge. To select a range of fileds, click the first filed in the range, and then
hold down the keyboard's shift key while clicking the last field in the range of fields that you
wish to select.
●
For this example, click the joined field "[First Name] [Last Name]", and then hold down the
shift key before clicking the Address field.
●
3. In the "Object Type:" box, pull down the list of object formats and select the format of the
selected field.
Let's set all of these fields to "(Auto)".
●
BACK
NEXT
Содержание PT-9200PC
Страница 12: ...5 To deselect the objects click anywhere in the layout area outside of the selected objects NEXT ...
Страница 14: ...BACK NEXT ...
Страница 17: ...3 Click 4 In the Template list view select your desired template Let s select on NAMEPLT2 LBL ...
Страница 20: ...10 After selecting the desired options click to add the layout to the print area ...
Страница 21: ...BACK ...
Страница 32: ...BACK ...
Страница 38: ...2 Click to display the Add a Joined Field dialog box NEXT ...
Страница 40: ...7 Click to close the Define Joined Fields dialog box BACK NEXT ...
Страница 69: ...NEXT ...
Страница 76: ...Click this button to import the data BACK NEXT ...
Страница 78: ...BACK NEXT ...
Страница 82: ...BACK NEXT ...
Страница 85: ...BACK NEXT ...
Страница 87: ...BACK NEXT ...
Страница 89: ...BACK NEXT ...
Страница 98: ...BACK NEXT ...
Страница 102: ...BACK NEXT ...
Страница 104: ...BACK NEXT ...
Страница 107: ...BACK NEXT ...
Страница 109: ...Click this button to close the Replace dialog box BACK NEXT ...
Страница 119: ...BACK NEXT ...
Страница 122: ...BACK NEXT ...
Страница 129: ...BACK NEXT ...
Страница 133: ... Shape list box BACK NEXT ...
Страница 135: ...BACK NEXT ...
Страница 139: ...Calendar Click this option if you want a calendar to be added to the layout BACK NEXT ...
Страница 141: ...BACK NEXT ...
Страница 143: ...Color Select the color that the monthly holidays will be displayed in BACK NEXT ...
Страница 145: ...BACK NEXT ...
Страница 154: ...Top Center Bottom BACK NEXT ...
Страница 157: ...BACK NEXT ...
Страница 161: ...Click this button to close the Frame Properties dialog box and apply the selected settings BACK NEXT ...
Страница 164: ...BACK NEXT ...
Страница 166: ...BACK NEXT ...
Страница 184: ...BACK NEXT ...
Страница 192: ...Brother Home Page Selecting the Brother Home Page command in the Help menu displays Brother s home page BACK ...
Страница 203: ...Ungroup V View commands W Window command Z Zoom 1 Zoom 2 ...