-33-
11.
CHECKING DETECTION OF FABRIC THICKNESS
(If a new main PC board is installed, this adjustment must be performed.)
STANDARD
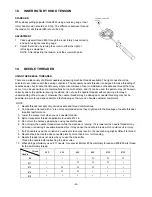
When the fabric thickness is set to 0 mm and 3 mm in test mode "2", the buzzer should sound twice if operation is
normal.
ADJUSTMENT
1.
Select test mode "2".
2.
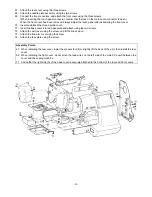
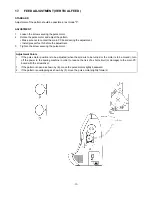
Install the J presser foot and then lower the presser foot and
set the needle bar to the lowest position.
3.
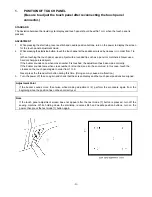
Press 0 mm on the display. (The buzzer should sound twice.)
4.
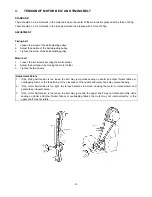
Insert a spacer with a thickness of 3 mm beneath the J presser
foot.
5.
Press 3 mm on the display. (The buzzer should sound twice.)
NOTE: If the values read in steps (3) and (5) are normal, the
buzzer will sound twice each time. If they are not normal,
the buzzer will sound four times each time.
If there is an abnormality, perform the procedure again
starting from (2).
Adjustment Points
1.
Be sure to install presser foot J when adjusting the fabric
thickness detector.
2.
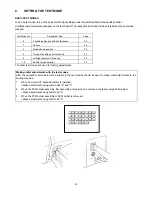
If you do not have spacer when setting the thickness to 3 mm,
place a 3 mm hexagonal screwdriver between presser foot J
and needle plate.
Содержание PC8200 SUPER GALAXIE 2000
Страница 1: ...SERVICE MANUAL FOR COMPUTERIZED SEWING MACHINE PC8200 SUPER GALAXIE 2000 9 1997 ...
Страница 4: ... 2 1 MECHANICAL CHART EMBROIDERY UNIT MECHANISM ...
Страница 6: ... 4 3 ELECTRONIC PARTS ARRANGEMENT CHART PC 8200 Model 985 4 CONTROL SYSTEM BLOCK DIAGRAM ...
Страница 16: ... 14 ...
Страница 18: ... 16 ...
Страница 20: ... 18 ...
Страница 23: ... 21 2 LEAD WIRE ARRANGEMENT PC 8200 Model 985 ...
Страница 53: ... 51 Main PC board Power supply unit ...
Страница 54: ... 52 LCD unit Other PC boards 985 ...
Страница 55: ... 53 PC8200 SG2000 H7070093 ...

