28
6
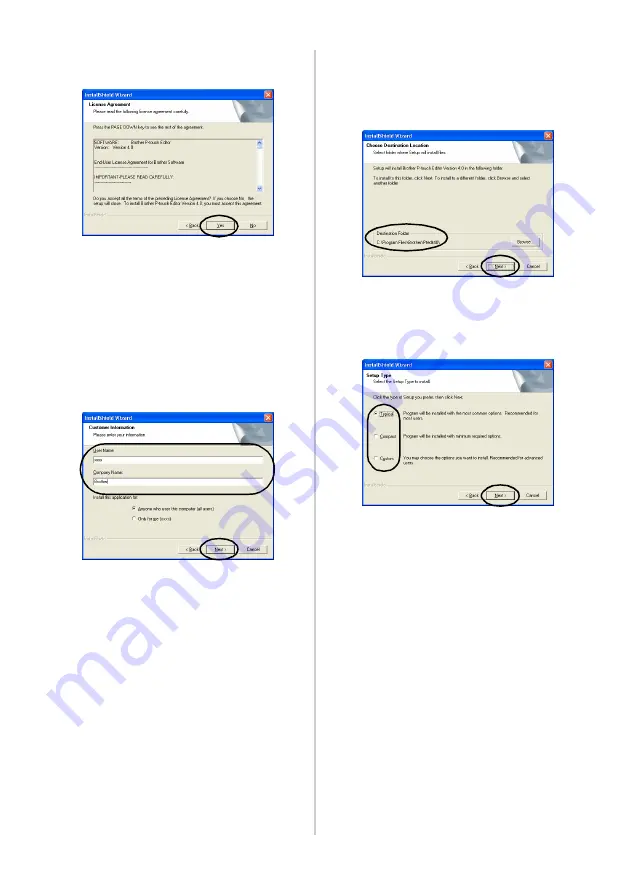
Read the license agreement carefully,
and then click [Yes].
→
The Customer Information dialog
box appears.
7
Type the User Name and the Company
Name, and then click [Next].
Click “Only for me (system)” if the only
person authorized to use this software is
the person whose user name and
password were used to logon when the
computer was started.
→
The Choose Destination Location
dialog box appears.
8
Select the destination folder where the
files will be installed, and then click
[Next].
To select another destination folder, click
[Browse].
→
The Setup Type dialog box appears.
9
Select the type of setup you prefer, and
then click [Next].
The following items will be installed.
Typical
P-touch Editor, P-touch Library, Western-
language fonts, Symbol fonts, Help, Clip
Art, Auto Format Templates, and Layout
style will be installed.
Compact
Only P-touch Editor and the clip art will be
installed.
Custom
Click [Next] and select the items you want
to install on the Select Features dialog box.
Содержание P-touch 9500PC
Страница 1: ...Referencia rápida Español Consulta rápida Português Quick Reference English ...
Страница 2: ...Referencia rápida Español ...
Страница 9: ...8 ...
Страница 85: ...84 ...
Страница 119: ...Consulta rápida Português ...
Страница 126: ...8 ...
Страница 202: ...84 ...
Страница 214: ...96 Depois de imprimir Para mais informações consulte Depois de imprimir P 82 em Criar etiquetas versão do Windows ...
Страница 236: ...Quick Reference English ...
Страница 243: ...8 ...
Страница 319: ...84 ...
Страница 331: ...96 After printing For details refer to After printing P 82 in Creating labels Windows version ...
Страница 353: ...Printed in China LN3621001 ...


