


152
Colour Enhance
On
Off
*
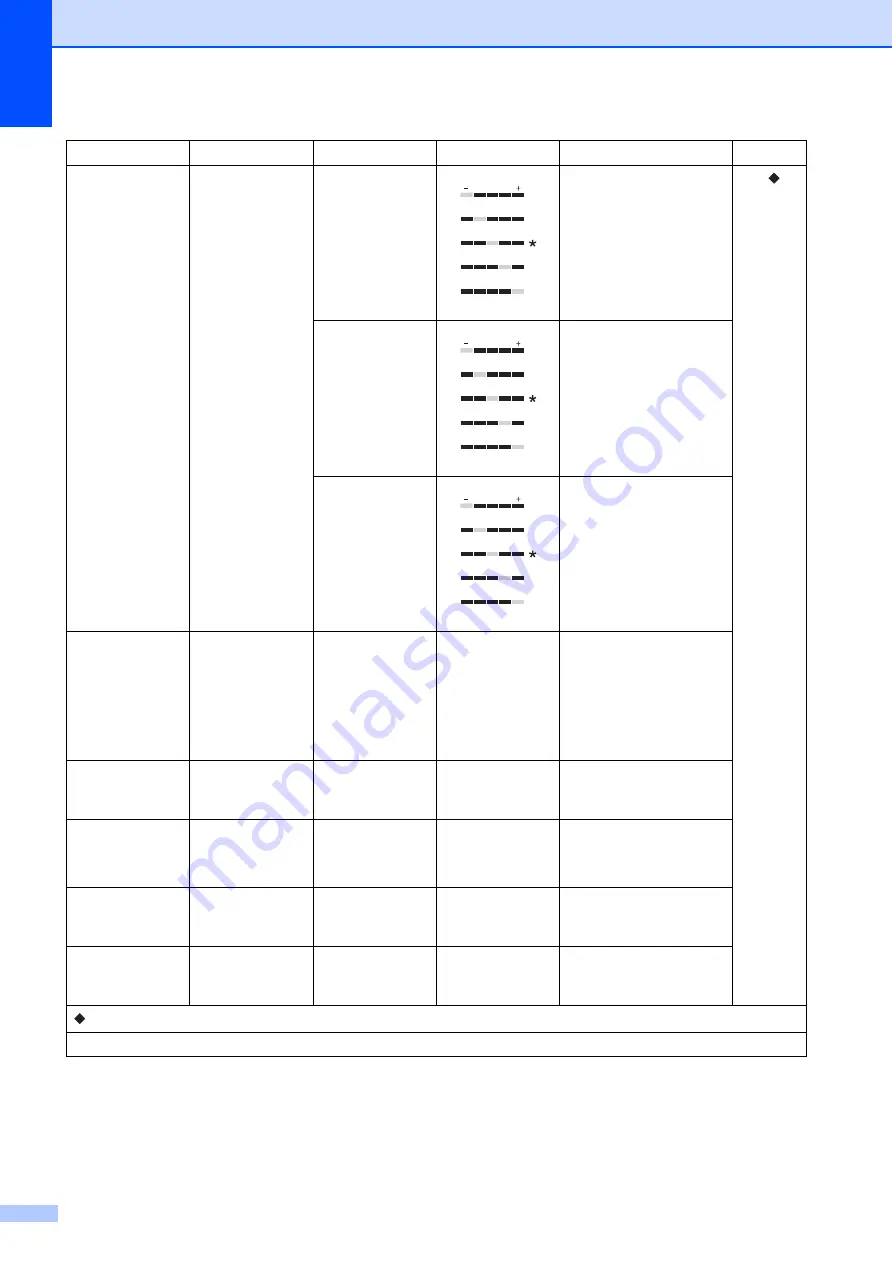
White Balance
Adjusts the hue of the
white areas.
See
.
Sharpness
Enhances the detail of the
image.
Colour Density
Adjusts the total amount
of colour in the image.
Cropping
On
*
Off
—
—
Crops the image around
the margin to fit the paper
size or print size. Turn this
feature off if you want to
print whole images or
prevent unwanted
cropping.
Borderless
On
*
Off
—
—
Expands the printable
area to fit the edges of the
paper.
Date Print
(Not available for
DPOF printing.)
On
Off
*
—
—
Prints the date on your
photo.
Set New Default
Yes
No
—
—
You can save your print
settings as the default
settings.
Factory Reset
Yes
No
—
—
You can restore all the
settings back to the
factory default.
Option1
Option2
Option3
Option4
Descriptions
Page
See Advanced User’s Guide.
The default settings are shown in Bold with an asterisk.
+2
+1
-1
-2
0
+2
+1
-1
-2
0
+2
+1
-1
-2
0


