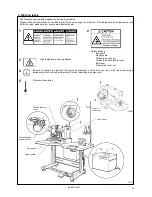
3. INSTALLATION
12
KE-434C,435C
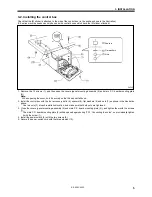
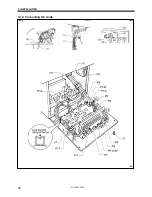
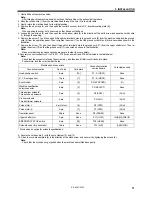
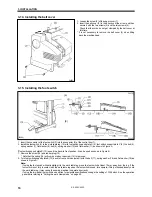
11. Replace PROM control assembly with one which contains sewing data.
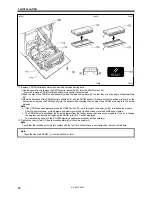
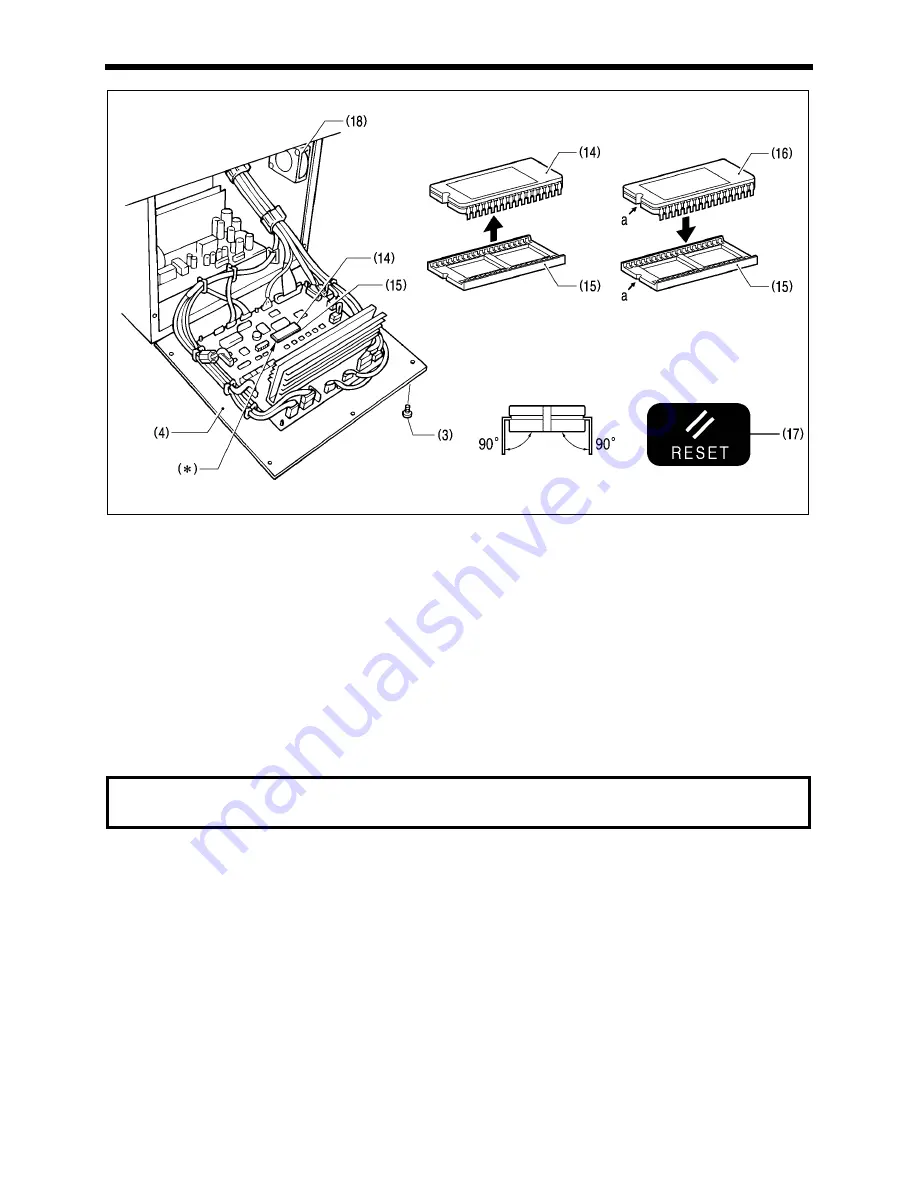
1) Use the special tool to remove the PROM control assembly (14) from the PROM socket (15).
* Store the removed PROM control assembly in the special case provided.
2) Bend the pins of the PROM control assembly which contains sewing data (16) so that they are at an angle of approximately
90°.
3) Make the directions of the PROM control assembly (16) and the PROM socket (15) same so that the portions (a) come on the
same side, and press the PROM gently into the socket while checking that the pins of the PROM are going into the socket
properly.
Note:
•
If the PROM has been replaced, press the RESET switch (17) while turning on the power in order to initialize the memory.
All of the user programs, cycle programs and memory switches which have been recorded will then be cleared.
•
The PROM which is installed at the time of shipment from the factory does not include any sewing data. If you try to change
the program number without replacing the PROM, error “E-b1” will be displayed.
To create sewing data, use the PS-3000 electronic pattern sewer/reader (sold separately).
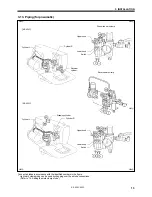
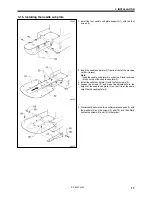
12. Tighten the cover (main P.C. board mounting plate (4)) with the six screws (3).
Note:
Check that the cords do not come into contact with the fan (18) and that they are not clamped by the cover at this time.
Note:
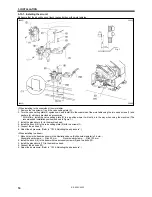
Check that the main PROM (
*
) is version MN-G or later.
2479Q
2544Q
2597Q
2595Q
2596Q


