WINDING/INSTALLING THE BOBBIN
26
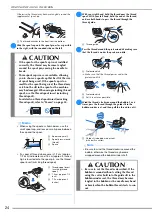
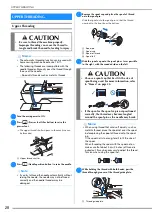
f
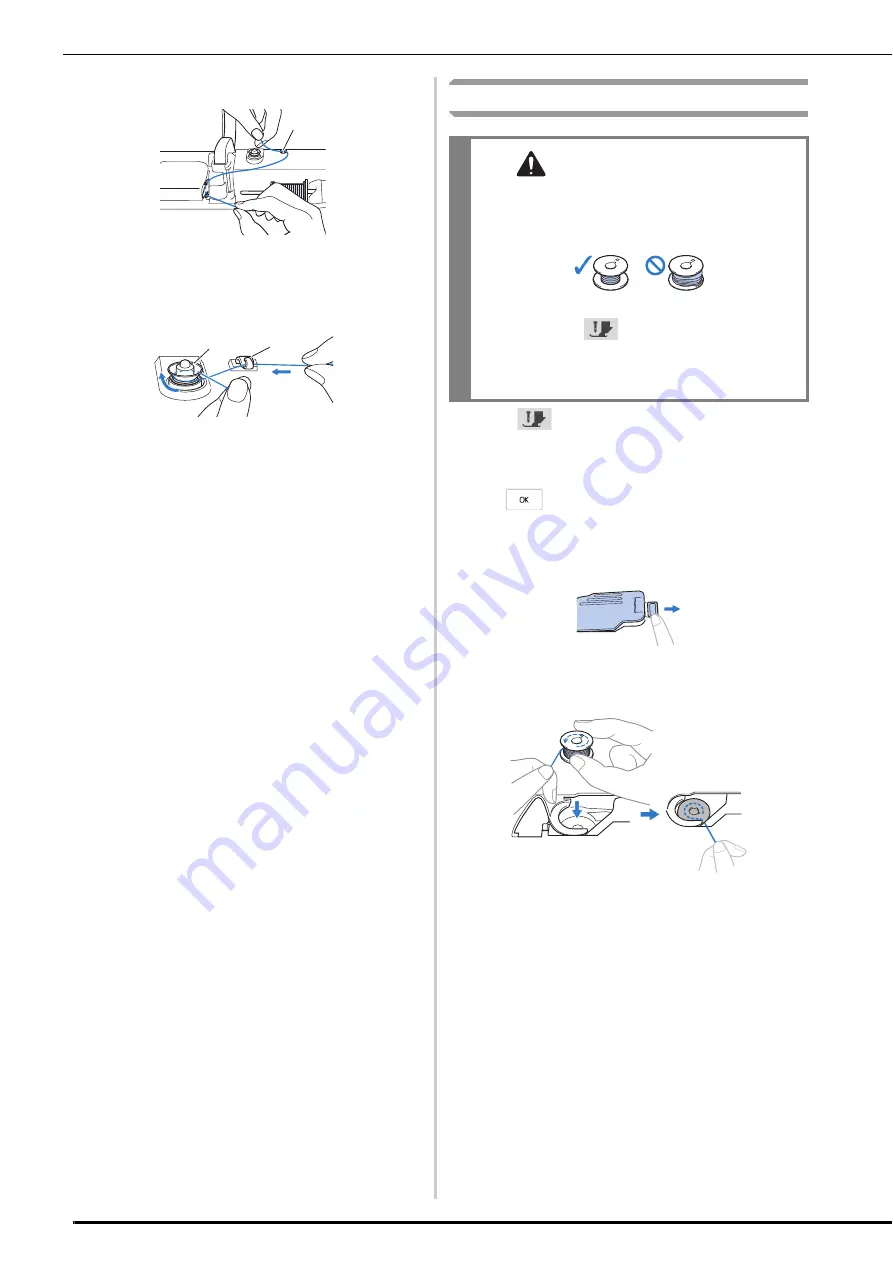
Pass the thread through the thread guide.
1
Thread guide
g
Pass the thread around the pretension disk making sure
that the thread is under the pretension disk.
Pull the thread as far as possible.
1
Pretension disk
2
Thread guide
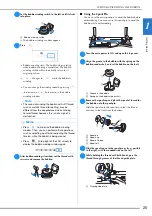
h
Follow steps
g
through
j
on page 24 through
page 25.
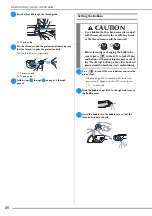
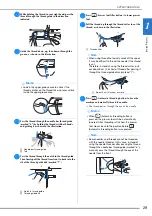
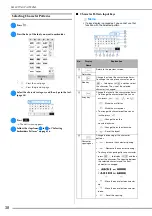
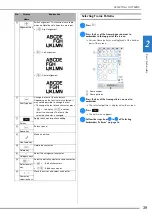
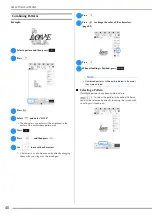
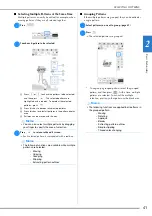
Setting the Bobbin
a
Press
to lock all keys and buttons and raise the
presser foot.
*
If the message [OK to automatically lower the
presser foot?] appears on the LCD screen, press
to continue.
b
Slide the bobbin cover latch to the right and remove
the bobbin cover.
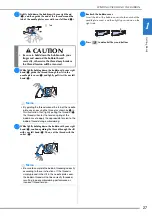
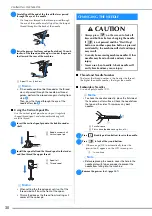
c
Insert the bobbin into the bobbin case so that the
thread unwinds to the left.
a
a
b
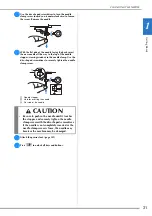
CAUTION
• Use a bobbin that has been correctly wound
with thread, otherwise the needle may break
or the thread tension will be incorrect.
• Before inserting or changing the bobbin, be
sure to press
in the LCD to lock all keys
and buttons. Otherwise injuries may occur if
the “Start/Stop” button or any other button is
pressed and the machine starts embroidering.
Содержание 882-W80
Страница 2: ......
Страница 10: ...CONTENTS 8 ...
Страница 34: ...CHANGING THE NEEDLE 32 ...
Страница 35: ...Chapter 2 Basic Embroidery ...
Страница 70: ...ADJUSTMENTS DURING THE EMBROIDERY PROCESS 68 ...
Страница 71: ...Chapter 3 Advanced Embroidery ...
Страница 86: ...EMBROIDERY APPLICATIONS 84 ...
Страница 87: ...Chapter 4 My Design Center ...
Страница 106: ...STIPPLING 104 ...
Страница 107: ...Chapter 5 Appendix ...
Страница 123: ......

