Operating the hotplate
en
17
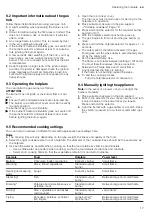
9.2 Important information about the gas
hob
Follow these instructions when using your gas hob.
¡
A slight whistling when operating the burner is nor-
mal.
¡
Odour formation during the first uses is normal. This
does not indicate a risk or malfunction. It will stop
after a while.
¡
An orange flame is normal. This is caused by dust
in the air, overflowing liquids, etc.
¡
If the burner's flame accidentally goes out, switch off
the burner's selector and wait at least 1 minute be-
fore igniting the burner again.
¡
A few seconds after switching off the hob, you may
hear noises, such as a slight clicking, from the
burner. This is not unusual, but shows that the pilot
is deactivated.
¡
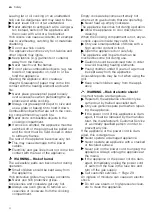
Keep the ignition plugs clean. If the ignition plugs
are dirty, the igniter is damaged. Clean the ignition
plugs regularly with a small, metal-free brush. En-
sure that the ignition plugs are not exposed to any
heavy knocks.
9.3 Operating the hotplate
You can ignite the gas burner as follows.
ATTENTION!
The burner may not ignite or the burner flame is not
even.
▶
Ensure that the hotplate burners are clean and dry.
▶
The burner cup and burner cover must be in exactly
the right position.
The burner may go out accidentally.
▶
If the burner's flame accidentally goes out, switch off
the burner's selector and wait at least one minute
before igniting the burner again.
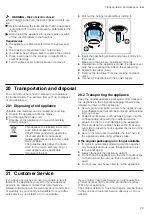
1.
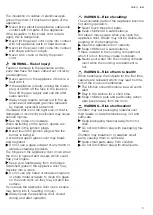
Open the top cooker cover.
The top cover must remain open for as long as the
hotplate is in operation.
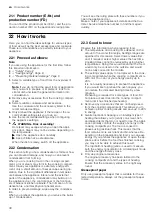
2.
Place suitable cookware on the pan support.
→
3.
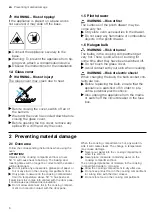
Press and hold the selector for the required burner
and turn it to .
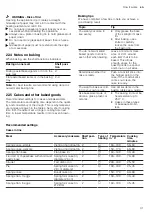
4.
With the hotplate selector pushed in, press .
a
The gas begins to flow out and the gas burner ig-
nites.
5.
Press and hold the hotplate selector for approx. 1–3
seconds.
a
The safety pilot is therefore activated. If the gas
flame goes out, the gas supply is automatically shut
off by the safety pilot.
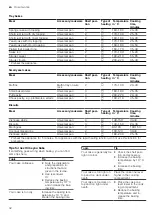
6.
Set the desired flame size.
The flame is not stable between settings Off and .
You must therefore always choose a position
between the large flame and small flame.
7.
Check whether the flame is burning.
If the flame is not burning, repeat the steps.
8.
To end the cooking process:
‒
Turn the hotplate selector clockwise to .
9.4 Manually igniting the appliance
Note:
In the event of a power cut, you can light the
burners manually.
1.
Place suitable cookware on the pan support.
2.
Push in the selector for your chosen burner and turn
it anti-clockwise to the power level you require.
Press and hold the selector.
3.
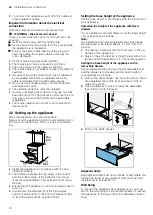
Light the burner with a gas lighter or a match. Keep
the selector pressed in for a few seconds after igni-
tion.
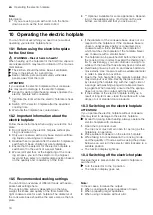
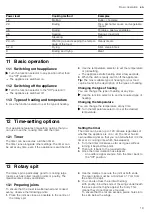
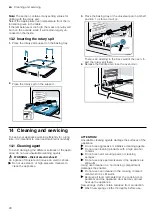
9.5 Recommended cooking settings
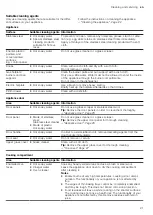
You can find an overview of different foods with appropriate heat settings here.
Notes
¡
The cooking time will vary depending on the type, weight, thickness and quality of the food.
¡
Select the right cookware size for each hotplate. The diameter of the cookware base should be the same size as
the hotplate.
¡
Use as little water as possible when cooking, so that the food retains its vitamins and minerals.
–
Use as little water as possible when cooking, so that the food retains its vitamins and minerals.
–
Select short cooking times so that the vegetables remain firm and full of nutrients.
Example
Food
Hotplate
Power level
Melting
Chocolate, butter, margarine
Economy burner
Small flame
Warming
Stock, tinned vegetables
Standard output
burner
Small flame
Heating and keeping
warm
Soups
Economy burner
Small flame
Steaming*
Fish
Standard output
burner
Between large and small flame
Braising*
Potatoes and miscellaneous ve-
getables, meat
Standard output
burner
Between large and small flame
Boiling*
Rice, vegetables, meat dishes
(with sauces)
Standard output
burner
Large flame
Frying
Pancakes, potatoes, schnitzel,
fish fingers
Large burner**
Wok burner**
Between large and small flame
Between large and small flame


