DIVAR IP 7000 (3U)
Maintenance | en
43
Bosch Sicherheitssysteme GmbH
Installation Manual
2016.08 | V2.1 | DOC
See also
–
Installing a hard drive into a front drive bay, page 43
10.4.3
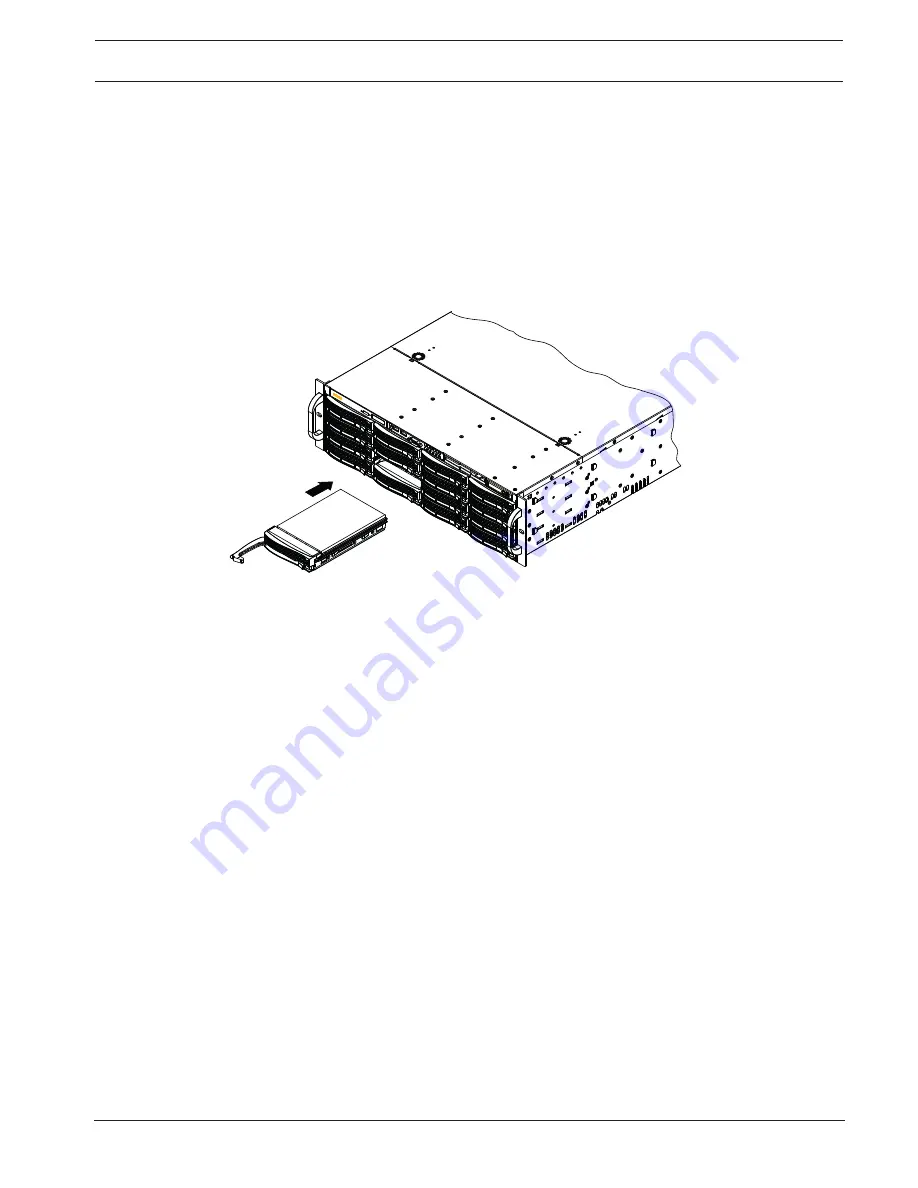
Installing a hard drive into a front drive bay
To install a hard drive into a hard drive bay:
1.
Push against the upper part of the hard drive handle.
2.
Push the hard drive horizontally into the hard drive bay, orienting the hard drive so that
the release button is on the right.
3.
Push the hard drive carrier into the bay until the handle retracts and the hard drive clicks
into the locked position.
10.5
Identifying a faulty SSD drive
The system provides tools for hard drive monitoring that are pre-installed on the system.
Use the Intel Rapid Storage tool to identify a faulty SSD drive, if the RAID 1 mirror that holds
the operation system partition is running in degraded mode.
To identify and replace SSD drives:
1.
Turn on the unit and log on as user BVRAdmin. The default screen is displayed.
2.
Double-click the
Intel Rapid Storage
icon on the screen.
3.
Check the status of the listed SSD drives and note the port numbers.
–
SATA port 0: refers to the SSD located in the upper tray
–
SATA port 1: refers to the SSD located in the lower tray
4.
After you have identified the faulty SSD drive, open the corresponding tray on the back of
the system and replace the SSD drive.
See also
–
Installing a SSD hard drive into a rear drive bay, page 43
10.6
Installing a SSD hard drive into a rear drive bay
This chapter describes the removing and installing of SSD hard drives on the rear side of the
chassis.
10.6.1
Removing a hard drive from the rear drive bay
The unit features two hot-swappable hard drives on the rear side which can be removed
without powering down the system.
The hard drives are mounted in hard drive carriers to simplify their installation and removal
from the chassis. These hard drive carriers also help promote proper airflow for the hard drive
bays.


