41
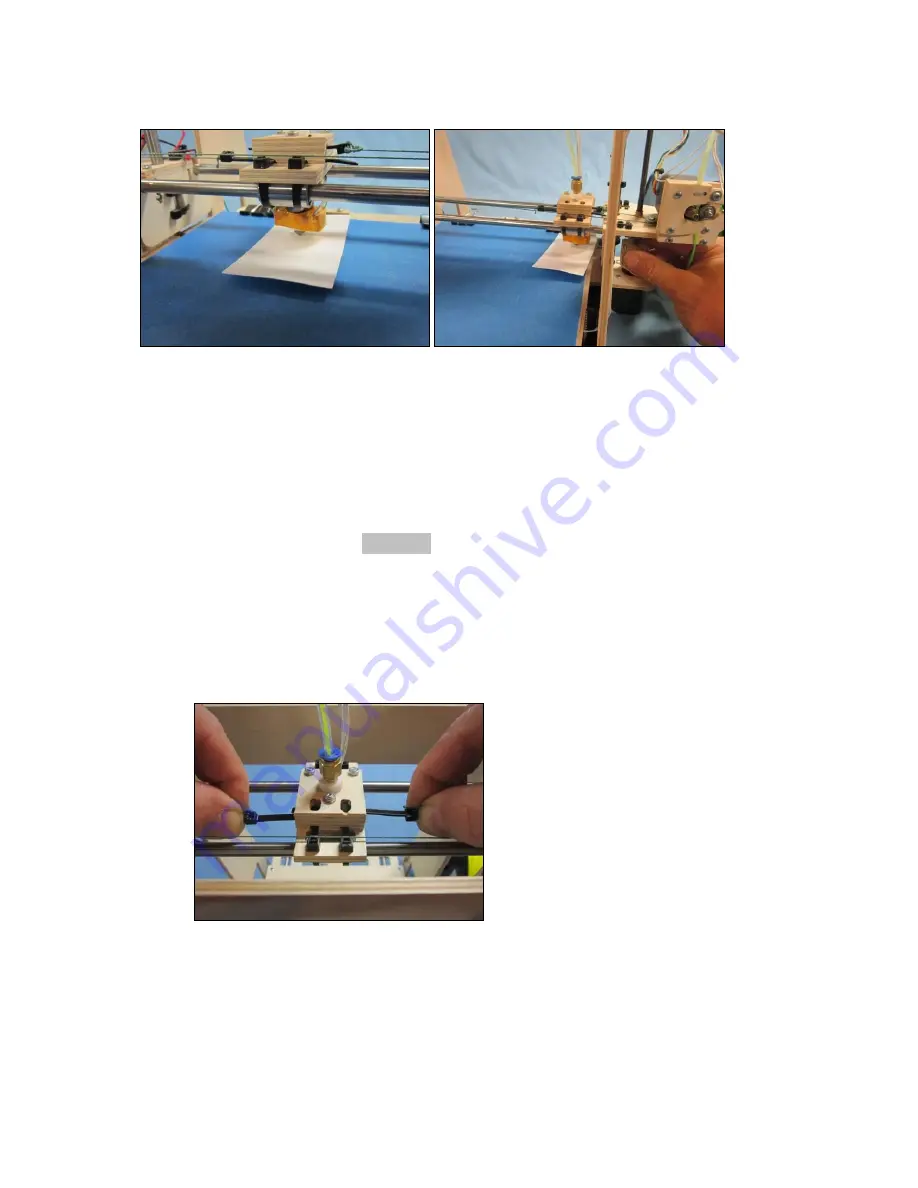
5. Once you get the set height for the left side, move the Y axis to the right a little at a
time while adjusting the height of the nozzle from the bed to the set height my manually
adjusting the right Z stepper motor.
6. Repeat steps 4 and 5 until the nozzle is the same distance from the bed for Y travel.
7. Note the Z position displayed in the software. If the number is positive, then subtract
this number and add the gauge thickness from the Z max length. For example. If the Z
max length was set to 210 and once moved to the set position the software position reads
7.1 mm. then the Z max length would need to be set to 210 - 7.1 + 0.35 = 203.25
8. Set this value in the firmware for the Z max length.
9. Home the Z axis and use the G0 Z0.35 command to verify.
10. Download a file and print a part.
Tips and tricks
Isopropyl alcohol to clean blue painters tape to ensure first layer sticking
First layer is key. Experiment to learn what is the best layer height.
Different colors will have different printing characteristics
The string drive may loosen as the knots pull tight. Simply tighten them by
pushing the nylon ties to the next click.
Содержание RP9
Страница 1: ...RP9 Assembly Instructions ...


