56
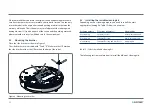
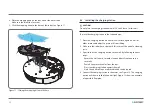
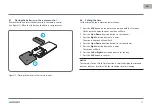
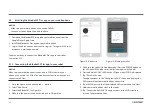
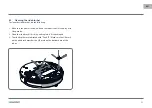
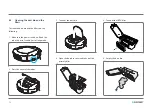
4. Place the mopping pad on the rear side of the water tank.
Make sure the blue side faces out.
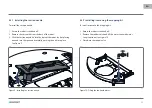
5. Click the mopping kit onto the base of the robot. See Figure 11.
Figure 11 - Clicking the mopping kit onto the base
5.4 Installing the charging station
1
CAUTION!
Do not place the charging station within 120 cm/4 feet of a stairwell.
•
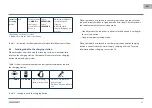
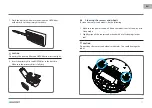
To place the charging station in the required area:
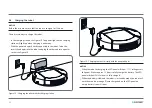
1. Place the charging station on a hard level surface, against a wall or
other immovable object to prevent it from sliding.
2. Make sure the robot has a clear path for return at the end of a cleaning
cycle.
3. If possible, fix the charging station to the wall, by following the next
steps:
• Ensure the wall is hard, smooth, clean and dust-free to ensure a
secure fix.
• Peel off the protective film from the rear.
• Press the charging station against the wall.
Note: the adhesive tape is removable and can be reused.
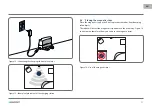
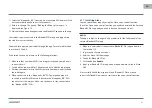
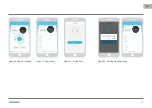
4. Connect the charging station to the mains, see Figure 12. The charging
station will show a solid blue power light. Figure 13 shows an example
of a possible floorplan.

