EN
6
7
Battery charge
don’t start the
charging
process and no
fault indicator
lights on.
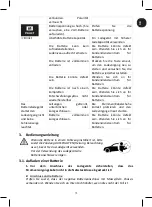
Leads disconnected, leads short-
circuited.
Position the clamps/rings
correctly and start charging the
battery again.
Battery completely short-
circuited.
The battery may be defective.
Contact your battery service
center.
3.
Instructions manual
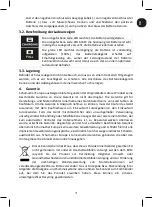
Turn OFF ignition (heating, lighting…) before using the
charger when battery is installed in the vehicle.
Clean the battery terminals before using the charger.
3.1.
Charging a battery
1.
Before connecting the charger: make sure that the power supply lead is not
plugged into the mains !
2.
Connection to the battery
Check first if the negative terminal is connected/grounded to the chassis. If not,
contact your reseller.
Connect the outlet cable to the charger.
Output cable with clamps
Connect the red clamp (+) to the positive terminal (+) of the battery, then connect
the black clamp (-) to the earth/chassis of the vehicle (a heavy gauge metal part of
the frame or engine block. Do not connect to the carburetor or fuel lines).
Output cable with rings
Loosen and remove each nut from the bolts at the battery terminals. Connect the
positive ring (+) to the positive terminal (+) of the battery, then connect the negative
ring (-) to the negative (-) terminal of the battery. Replace and tighten back the nuts
to secure them.
In both cases: make sure that the charger outlet lead make tight connections.
3.
Connection to the mains
Plug the power supply lead of the battery charger into the mains.
The power LED “ON” is lighting up green = “Stand by” mode.
4.
Selection of the charging mode
Press the button once to activate the unit, and then
choose the charging parameters,
for the type of battery and the charging current by pushing the selection push button.
The charging process will start automatically.
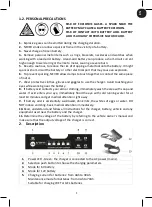
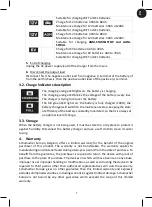
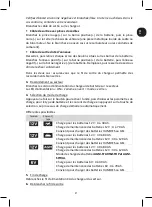
Different possibilities:
Voltage
Current/
Type
Charge for 12V batteries: 4Ah to 30Ah.
Maintenance charge for 12V batteries: 4Ah to 70Ah.


