SB-160-3
23
8.2
Replace oil filter
◦ Prepare a new oil filter.
5
5/8-18 UNF
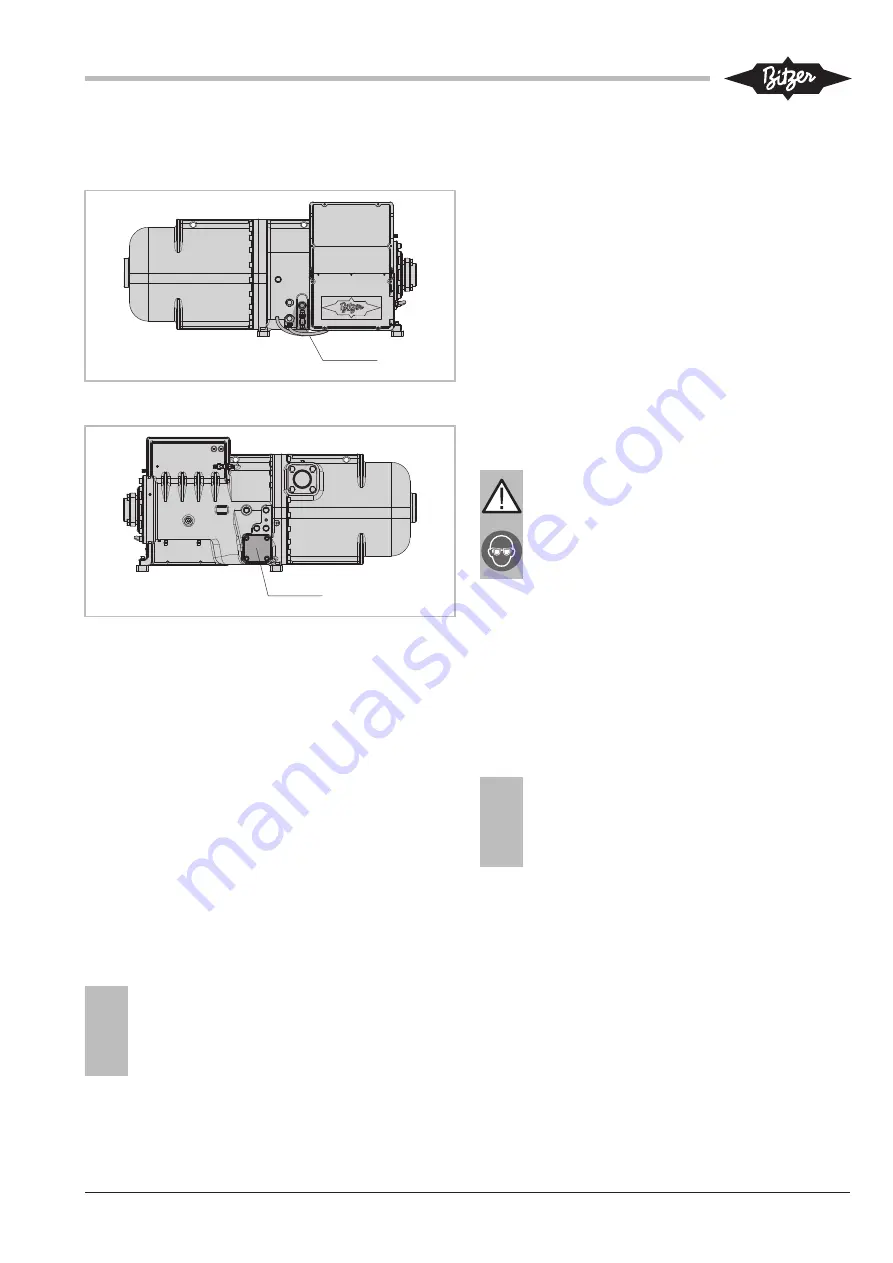
Fig. 14: Drain the oil at the oil valve for maintenance (5)
18
4 x M16x50
Fig. 15: Oil filter flange (18)
• Place a flat pan under the oil valve for maintenance
(5) and the oil filter flange (18).
• Drain oil and dispose of it properly.
• Open the rectangular flange of the oil filter and re-
move it by pulling it forward.
The integrated oil filter is mounted on the rear side of
the flange.
• Unscrew the oil filter from the flange.
• Mount a new oil filter on the flange.
• Replace the O-ring on the hole at the top of the
flange.
• Insert the flange with the new oil filter and the new
flat gasket. Orient the hole with the O-ring upward.
Screws: M16x50
!
!
NOTICE
Risk of damage to the compressor.
Tighten screws and nuts only to the prescribed
tightening torque and, if possible, crosswise in
at least 2 steps.
• Charge with new oil.
• Test tightness before commissioning.
8.3
Integrated pressure relief valve
The valve is maintenance-free. Its response pressure
difference is 21 bar.
However, after repeated venting, it may leak perman-
ently because of abnormal operating conditions. The
consequences are reduced performance and a higher
discharge gas temperature.
8.4
Integrated check valve
After being shut off, the compressor runs in reverse dir-
ection for a short time (approx. 5 s until pressure com-
pensation in the oil separator takes place). This period
will be longer if the check valve is damaged or clogged.
The valve needs to be replaced then.
Replacing the integrated check valve
WARNING
The compressor is under pressure!
Serious injuries are possible.
Depressurize the compressor!
Wear safety goggles!
• Remove the discharge gas shut-off valve or the pipe
connection.
The check valve lies below it.
• Replace the check valve and both gaskets.
• Carefully mount the discharge gas shut-off valve or
the pipe connection.
When turning or mounting shut-off valves:
!
!
NOTICE
Risk of damage to the compressor.
Tighten screws crosswise in at least 2 steps to
the prescribed tightening torque.
Test tightness before commissioning!


