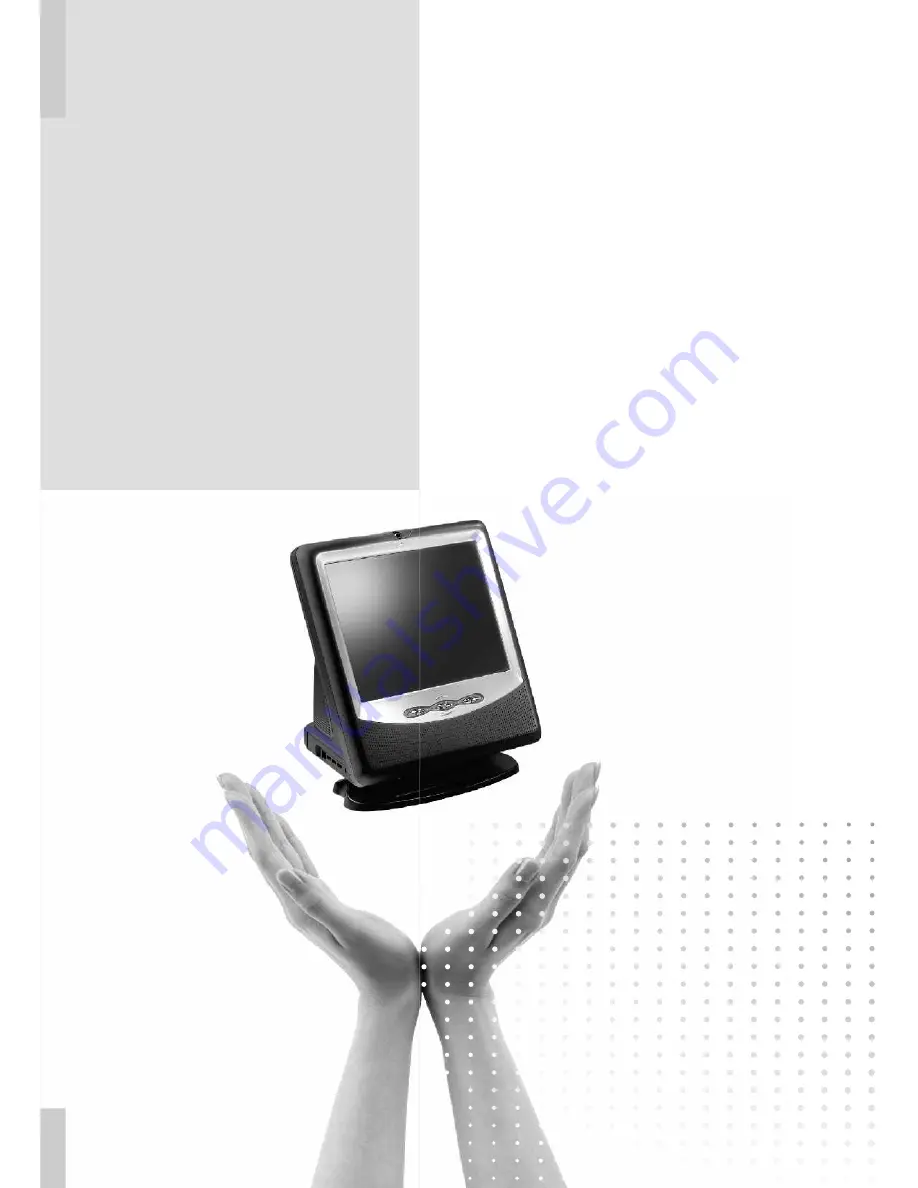
background image

Table of the Content

Section 1

Introduction

1.1  Introducing All-In-One LCD-PC
1.2  Unpacking & Checking the Equipments
1.3  Identifying Parts of Your LCD-PC
1.4  Installation and Initial Setup

Basic Operations

2.1  Adjusting the Display
2.2  Controlling the Audio
2.3  Using Optical Drives
2.4  Using PC Camera
2.5  Turning off Your LCD-PC

Connections

3.1  Connecting Peripheral Devices
3.2  Connecting USB Devices
3.3  Connecting IEEE 1394 Devices
3.4  Connecting Audio Equipment
3.5  Connecting Modem
3.6  Connecting LAN
3.7  Connecting Printer

Drivers and Utility

4.1  Installing Drivers and Utility

Trouble Shooting

5.1  Before You Start..
5.2  System Does Not Start
5.3  RF Keyboard and Mouse Problem
5.4  USB Problem
5.5  Software Problem
5.6  The LCD Display Problem
5.7  PC Camera Problem

Taking care of your LCD-PC

6.1  Caring for Your LCD-PC
6.2  Safe Use of This System

Section 2

Section 3

Section 4

Section 5

Section 6

2
3
4
4

8

10
10
13
16

18
19
20
21
22
23
24

26

30
31
32
33
34
35
36

38
40

Section 1

d

uc

o

t

r

io

t

n

n

I

Содержание EDEQ 4000

Страница 1: ...50 L4PVA 01...

Страница 2: ...All in One LCD PC User s Manual...

Страница 3: ...er readable form or otherwise reproduced in any way without the express written permission Overview Product features and specifications described in this manual are subject to change without notice Ma...

Страница 4: ...n the user is encouraged to try to correct the interference by one or more of the following measures Reorient or relocate the receiving antenna Increase the separation between the equipment and receiv...

Страница 5: ...tion 4 Section 5 Section 6 2 3 4 4 8 10 10 13 16 18 19 20 21 22 23 24 26 30 31 32 33 34 35 36 38 40 Table of the Content Section 1 Introduction 1 1 Introducing All In One LCD PC 1 2 Unpacking Checking...

Страница 6: ...Section 1 duc o t r io t n n I...

Страница 7: ...sting as the CRT monitor In addition LCD display does not tire the viewing eyes Thus allowing you to focus on the display longer than CRT monitor does This LCD PC provides plentiful support for expans...

Страница 8: ...e container If anything is missing or broken inform your dealer immediately You should savethe packaging If you ever needto ship your system or send it in for service the shipping container will be us...

Страница 9: ...Identifying parts of your LCD PC 1 3 Left side view Identifying parts of your LCD PC 1 3 Front view USB 2 0 IEEE 1394 Modem Microphone Power button Display control Digital camera 4 4...

Страница 10: ...VD CD R CD ROM Rear view Right side view Chapter 1 1 PS 2 Midi game port Printer port VGA out Audio ports DC in Serial port LAN USB 2 0 Audio ports Audio in Audio out Mic in Supports 5 1channel audio...

Страница 11: ...sertion Push the stand up towardsthe back I O end to lockthe quick joints in place Note To uninstall the stand just push the quick joint hookon the bottom of the unitto slide out the stand for picture...

Страница 12: ...Do notunplug the power from the outletby pulling on the cord 1 Connect the power cord to theAC adapter 2 Plug the power cord into asuitable power outlet The green powerindicator on the power adapter...

Страница 13: ...8...

Страница 14: ...Section 2 Basic Operations...

Страница 15: ...play Press these buttons onthe front of the LCD PC to navigate the menu and select the options that display on the screen Press these buttons toadjust the option you have chosen from the display menu...

Страница 16: ...pull down menu Click on Properties to openthe Display properties window Use the tabs on the DisplayProperties window to select thefollowing display properties Background Screen Saver Appearance Effect...

Страница 17: ...volumeby moving the volume tab onthe audio program that you are using Overview The CD ROM DVD ROM or Combo drive let you read information from CD DVD Your computer identifies it as drive D if you did...

Страница 18: ...tray for theCD DVD ROM disk 2 Place the CD DVD on the tray Do not apply excessive force onthe disk tray 3 Press the tray back intothe CD DVD ROM drive until it clickslocked 4 To remove a CD DVD wait...

Страница 19: ...he URL for PowerDVD http www gocyberlink com english index jsp NOTE Most of the DVD titles intoday s markets are governed by a regional codethat divides the world into six separate regions Thesix regi...

Страница 20: ...P users applications with Windows operating system as anexample for setting configurations View Your First Image Start the image editing or videosoftware to ensure that everything isproperly set up 1...

Страница 21: ...you cannot see an image on your computer screen consult the Troubleshooting section at the endof this manual Meet People Over The Internet There are some freewares that could be used with the PC Came...

Страница 22: ...hoo Messenger Webcams 4 For MSN Messenger user todo this Apply an MSN ID from thewebsite www msn com Download MSN Messenger from messenger microsoft com andinstall it Invite your friend to get anMSN I...

Страница 23: ...ease wait for 5 seconds Turning the computeroff and on immediately may cause damages to your system 18 Turning Off Your LCD PC 2 5 To turn off yourcomputer 1 Click the Start Button in theTaskbar 2 Sel...

Страница 24: ...Section 3 Connections Section 3 Connections...

Страница 25: ...th your system IF your devices support USB andIEEE 1394 connection Please refer to section 3 2 andsection 3 3 for the instruction For devices that must be connectedvia parallel serial and game midipor...

Страница 26: ...er for thedevice If the OS does not havethe driver for your device installthe driver from the driver CDthat is provided by the device manufacturer NOTE The USB devices support hot plugging which elimi...

Страница 27: ...use cables TheDriver CD that comes with your LCD PChas the driver for IEEE 1394port Match the shape of the IEEE1394 connector to the IEEE 1394port located to the left sideof your LCD PC Insert the con...

Страница 28: ...audio application supporting 5 1 Channel Picture belowrepresents the standard location of allspeakers in 5 1 Channel sound track Connect the plug of your frontspeakers to the green Speaker out port R...

Страница 29: ...followthe instructions listed below Test the line firstwith a telephone to make surethere is a dial tone Connect the phone line to theFax MODEM port Install the Fax MODEM device driver toactivate the...

Страница 30: ...adband Internet connection by using the LAN port Connect your LCD PC to anetwork as follows The LAN jack is located on theback of your LCD PC See picturebelow Plug an RJ 45 network cable inthe LAN jac...

Страница 31: ...nufacturer Note To install the printerdriver please refer to the guideyour printer provides for you 26 Connecting Printer 3 7 Some printers connect through the parallelport which is located on therear...

Страница 32: ...Section 4 Drivers and Utility...

Страница 33: ...OM or Combo depends on your configuration and the Installation Utility will auto run or you can launch the Driver CD Installation Utilitymanually There are two kindsof Installation Procedure Automatic...

Страница 34: ...nto theoptical drive 2 Double click on My Computer 3 Double click on your optical driveto browse the CD 4 Double click the Setup exe file torun the utility manually 5 Use the mouse cursor to clickthe...

Страница 35: ...at steps 2 to 4 ifyou want to install more 6 When you are done simply closethe Installation Utility 30 Installing Utilities We also provide you some very useful utilities to enhance the experience of...

Страница 36: ...Section 5...

Страница 37: ...t keep a few things in mind An LCD PC is just a collectionof parts Do not panic Chancesare that your problem is pretty simple What has changed since it lastworked Sometimes some small upgrade that see...

Страница 38: ...gthe computer into adifferent outlet 2 Check the powercord Use aknown good powercord 3 Check the connectionof the powercord on bothends Make surethat the plugis securely plugged into boththe electrica...

Страница 39: ...connected on the PS 2 port The mouse pointer does not movewhen you move the mouse orwhen you type on an office application but nothing happened 1 Check if the LED light onthe receiver is blinking when...

Страница 40: ...u plug in any USB device it shows up as an unknown device in the Device Manager and you never get achance to install the drivers forit Follow the next steps tocorrect it 1 Install the driver for your...

Страница 41: ...If uninstalling still causes problems runyour anti virus program to scanfor virus 4 If above solution still do notwork and you are using WindowsXP run System Restoration function The System Restoratio...

Страница 42: ...ssingthe Suspend Resume switch Press the button again or the power switch to wake up your computer and reactivate the screen Note Suspend mode Suspend to RAM STR occurs whena system enters a low power...

Страница 43: ...ight source behind the object orperson being viewed by thePC Camera Make sure that the lens isclean 38 PC Camera 5 7 Your LCD PC may include aPC Camera It is a greatfeature for you to chat withyour lo...

Страница 44: ...of yo e r u a r c LC g D n i P k C a T Section 6...

Страница 45: ...disconnect cords remember topull them by the plugs andnot by the cords themselves This will prevent damage to thecords plugs ports and jacks Perform system maintenance regularly Windows provides tools...

Страница 46: ...ge amount of force toprevent it from breaking The LCD display panel is coveredwith glass If the glass getsdirty you can clean it thesame way you would clean a computer monitorscreen Wipe the LCD surfa...

Страница 47: ...LCD PC is droppedor the chassis is damaged Never push any objects of anykind into chassis openings They maytouch dangerous voltage points or short parts which couldresult in fire or electrical shock...

Страница 48: ......

Страница 49: ......

Страница 50: ......

Отзывы: