6
1.4
Installation and Initial Setup
Installing the LCD-PC Stand
The LCD-PC comes with a stand that allows you to tilt the LCD panel. Follow the next steps to install it
into your system.
Place a thick layer of soft cloth on a stable desk
Place the unit face down with the soft cloth to prevent the LCD panel from possible scratches.
Pick up the stand with the arrow marking towards the down (LCD panel side) end.
Insert the 6 quick joint hooks on the stand into the quick joint insertion.
Push the stand up (towards the back I/O end) to lock the quick joints in place.
Note:
To uninstall the stand, just push the quick joint hook on the bottom of the unit to slide out
the stand.
*for picture illustrated steps please refer to quick set-up guide
7
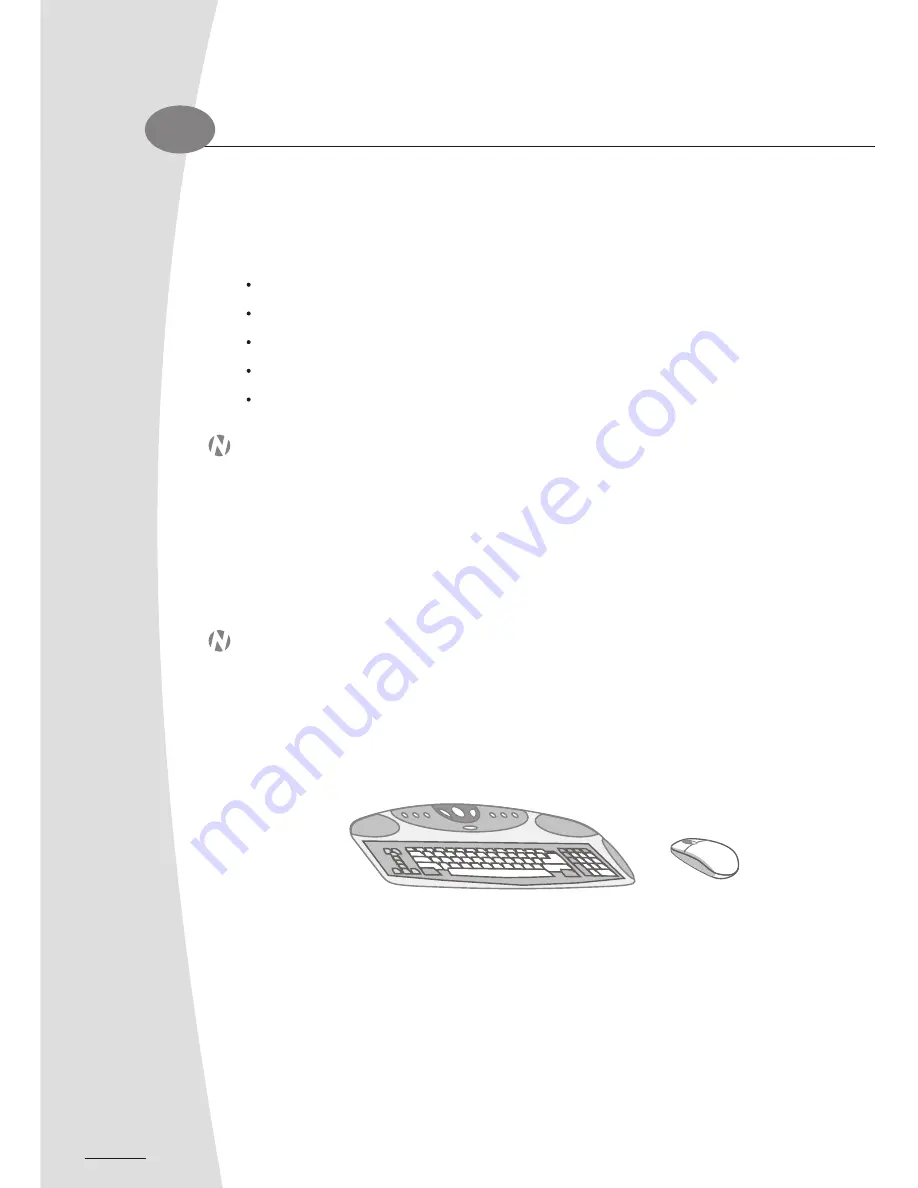
Connecting the Mouse and Keyboard
Note:
To start your computer, you first need to connect the mouse and keyboard that are shipped
with your LCD PC.
The mouse and keyboard PS/2 ports and cable connectors are color-coded
.
The green PS/2 port is
designated for mouse, and the purple one is for keyboard.
RF Wireless Keyboard, and Mouse owners, please refer to the RF keyboard and mouse quick start
guide that comes with the system.
Chapter 1
1
Connecting Power
Caution!
Please use the AC adapter that is supplied to you with your computer or by your computer vendor
only! You may damage your LCD-PC if you use one that is not approved for this system.
When unplugging the AC power cord from an electrical outlet, please grip the plug and remove it
from the electrical socket. Do not unplug the power from the outlet by pulling on the cord.
1.Connect the power cord to the AC adapter.
2.Plug the power cord into a suitable power outlet. The green power indicator on the power adapter
will turn on when you connect AC power.
3.Plug the cable from the AC adapter into the AC adapter jack on the rear side of the computer.
4.Press the power switch located on the front panel of the screen display. The blue LED will turn on to
indicate the LCD-PC is turned on. (If the system switches to standby mode, the
indicator will start flashing.)
Содержание EDEQ 4000
Страница 1: ...50 L4PVA 01...
Страница 2: ...All in One LCD PC User s Manual...
Страница 6: ...Section 1 duc o t r io t n n I...
Страница 13: ...8...
Страница 14: ...Section 2 Basic Operations...
Страница 24: ...Section 3 Connections Section 3 Connections...
Страница 32: ...Section 4 Drivers and Utility...
Страница 36: ...Section 5...
Страница 44: ...of yo e r u a r c LC g D n i P k C a T Section 6...
Страница 48: ......
Страница 49: ......
Страница 50: ......


