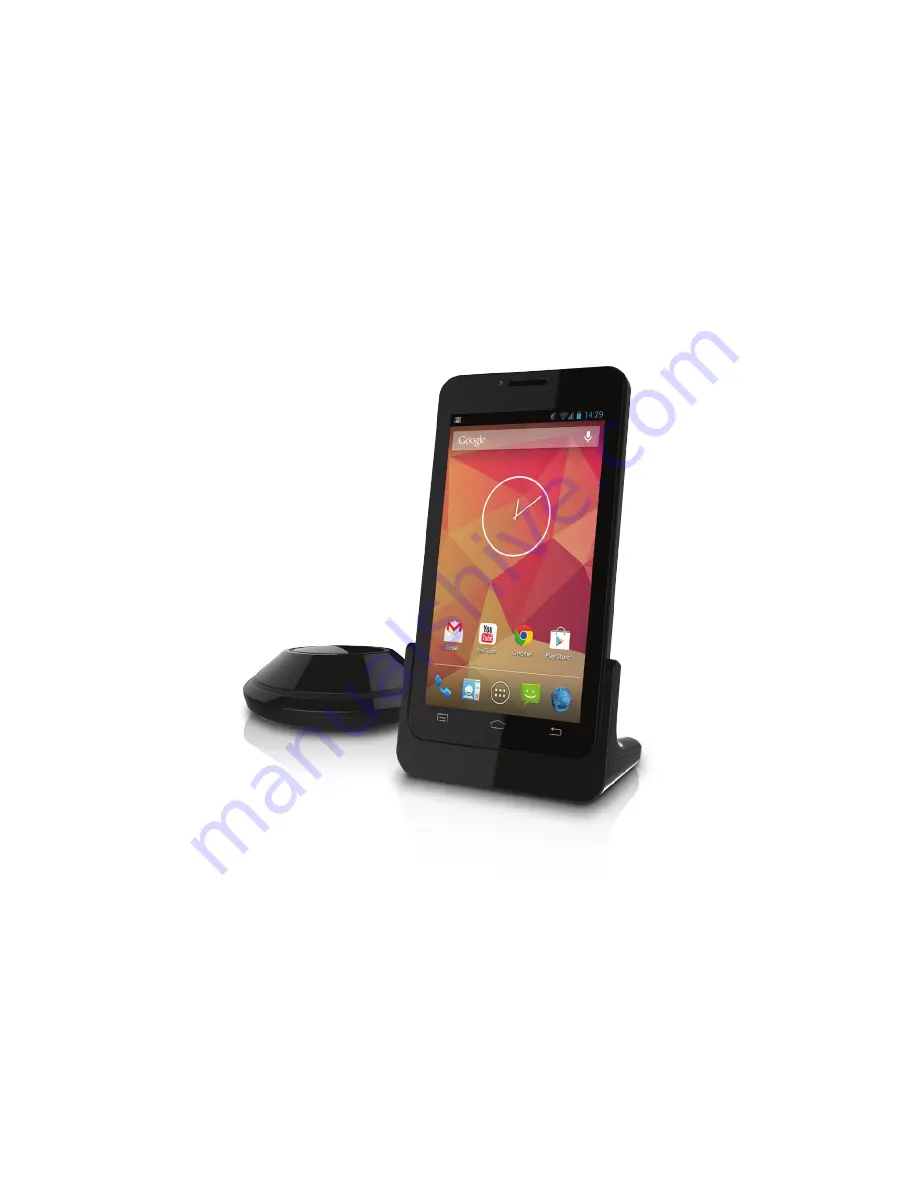
background image

USER GUIDE

Smart 66

Android Smart Home Phone

Images not to scale.

Warning:

 Before operating this unit, please read these instructions carefully.

On the web: www.binatoneglobal.com

For product-related questions, please call 

US and Canada: (1) 866-779-1632

Содержание Smart 66

Страница 1: ...roid Smart Home Phone Images not to scale Warning Before operating this unit please read these instructions carefully On the web www binatoneglobal com For product related questions please call US and...

Страница 2: ...acts Address book 28 13 INTERNET FUNCTION 32 14 Bluetooth Setup 34 15 USING THE WEB BROWSER 34 16 email 37 17 Photos video 41 18 sound recorder 43 19 FM Radio NOt available in all countries 43 20 MUSI...

Страница 3: ...Record Videos Listen to Music Internet Access Email Handsfree Speakerphone 1000 Contacts Phonebook Up to 500 Calls Log Up to 32GB Micro SD Memory Card Support not supplied 4 GB Internal Storage Space...

Страница 4: ...Use of this product requires responsible adult supervision Only use the charger and power adapters provided Only use the telephone line cable supplied with this product Do not place the phone unit in...

Страница 5: ...or notification panel 6 Power Button Press and hold to turn the handset power on off Press briefly to put the handset in to or out of sleep mode 7 Volume Adjust the volume up down 8 Remove Back Cover...

Страница 6: ...function on Silent only mode set Vibrate only mode set Handset number or NA Displays when you have a new voicemail message 4 3 Program Launcher The Program Launcher icon is at the bottom of the screen...

Страница 7: ...ink of this as using the right click button on a mouse Tap an item on the screen then hold in place for 2 3 seconds Drag Move items on screen or switch between screens Tap an item on the screen then h...

Страница 8: ...base When out of range of the base the signal strength indicator will show no bars and if you are on a call the line will hang up If this happens move back within range The handset will automatically...

Страница 9: ...nlock the screen to return to the last page you were viewing Your handset is set by default to sleep after 2 minute of inactivity You can change this by going to Settings Display Sleep then select the...

Страница 10: ...page all handsets registered to the base Press and hold to register a new handset to the base see Section 5 3 or 10 1 2 Power Line In Connect to the Micro USB plug base power adaptor 3 Phone Line In...

Страница 11: ...Cable and Telephone Line Cord IMPORTANT To make or receive telephone calls the base must be plugged into an electrical outlet at all times although the handset will still be able to access Wi Fi witho...

Страница 12: ...is only necessary when you buy extra handsets or if a handset has become faulty 5 4 Charge the Handset Battery When using your Smart 66 Android Smart Home Phone for the first time connect the supplie...

Страница 13: ...use It is normal for your battery to become slightly warm during use To help increase the battery operating time Reduce screen brightness Turn Wi Fi off when not in use Reduce the display sleep settin...

Страница 14: ...Insert the battery and put the cover back on 6 Turn the phone on 5 9 Switching Your Phone On 1 Press and hold Power on the side of the handset until the startup image appears It takes about one minut...

Страница 15: ...ot video Hubble Home Application supports Camera and Monitor working on Hubble platform Clock View the time and set alarms Contacts Manage your contacts phone book DECT Manager Register your handset t...

Страница 16: ...oogle maps application Maps To open Google maps Music Play music Phone Make and receive telephone calls Play Store To access the Google Play Store Settings Access Wi Fi networks device personal and sy...

Страница 17: ...to bring up accented versions If the tilt orientation sensor is switched on turn your handset to landscape mode for a larger keypad 6 2 Switch Between Input Modes Tap ABC 123 to switch between letters...

Страница 18: ...d you are typing To accept the suggested word simply tap on the suggested entry To reject the suggested word simply continue typing For the dictionary to suggest changes Spelling correction must first...

Страница 19: ...network you want to connect to If the network is secured you will be prompted to enter a password If your Wi Fi network is not shown on the menu try scanning for it by tapping Scan 4 Tap on the Passw...

Страница 20: ...ap Settings Date time Select time zone 2 Scroll to your time zone and tap it to select 8 2 2 Select 24 Hour Format Tap Settings Date time Use 24 hour format to enable it tap again to disable The 24 ho...

Страница 21: ...ard To move the box to another area on the picture tap and hold inside the box then drag it to the desired position 5 Tap OK to set that picture as the wallpaper 9 1 3 Reposition Items on Your Home Sc...

Страница 22: ...2 Tap Settings Audio profiles Volumes 3 Drag the slider to the left or right to decrease or increase each of the volumes 4 Tap OK to confirm 9 2 3 Set Phone Ringtone This option enables you to set th...

Страница 23: ...et to Base Your handset needs to be registered to the base station before it can be used Note Your Smart 66 Handset is pre registered to the Base and should not need to be registered again Handset reg...

Страница 24: ...Code then key in the local area code number and press OK to confirm 3 After receiving local phone call select the corresponding local call phone number from the call log menu 4 Press to show the lists...

Страница 25: ...entry to call that number 3 Tap to end the call 11 3 Clear Call Log 1 From the Home screen tap 2 Tap and tap Delete then select the calls from the call log to delete either individually or tap on 0 se...

Страница 26: ...or decrease the volume 11 9 Mute the Microphone During a Call During a call tap mute Note The Mute button is lit when the microphone is muted 11 10 Caller Identity Delivery CID The Caller Identity Del...

Страница 27: ...contact you want to call tap the contact to make the call or tap to return to the previous menu Tip You can also slide the contacts list up and down to find a contact tap to select 12 4 Send or Recei...

Страница 28: ...rs and when the notification bar is opened it will show Finished importing vC Tap on the notification to confirm and to remove the notification 12 5 Add a New Contact You can add new contacts in eithe...

Страница 29: ...D card to phone or from phone to SD card 1 From the Home screen Tap Contacts 2 Tap Import export 3 Select where you want your contacts copied from Next 4 Select where you want your contacts copied to...

Страница 30: ...to accept or tap X to reject the photo then repeat from above to take another photo An image position box will appear at the centre of the picture To resize the picture tap and hold the edge of the bo...

Страница 31: ...ERNET FUNCTION Before you can use the Internet to send and receive email browse the web etc you must be joined to a Wi Fi network that is connected to the Internet For Wi Fi networks that are not pass...

Страница 32: ...forget the Remembered network then perform the setup again 13 2 Select Wi Fi Sleep Policy You can specify when to put the Wi Fi connection to sleep 1 From the Home screen tap 2 Tap to select Settings...

Страница 33: ...ee section 12 4 for how to Send or Receive Contacts Using Bluetooth 15 USING THE WEB BROWSER You can use the Browser to surf the web The Browser is fully optimised and comes with advanced features tha...

Страница 34: ...age When viewing a web page double tap the screen to zoom in and out or zoom out in by touching the screen with two fingers and pinching spreading fingers out 15 6 1 Open a New Browser Window You can...

Страница 35: ...ownloads From the Home screen tap File Manager Phone storage MyFavourite Note All downloaded applications are saved to your Phone storage 15 9 Manage Bookmarks You can store bookmarks on your phone 15...

Страница 36: ...ail 2 As you begin to enter your email address a list of extensions will pop up if your email extension is part of an online service that is recognised and you can tap yours or continue to type in the...

Страница 37: ...ose an Email Message 1 From the Home screen tap Email 2 From the Inbox tap the at the bottom left corner of the screen or the top of the screen if in landscape mode 3 Tap To and enter the recipients E...

Страница 38: ...following additional options Reply all Forward Forwards conversation including attachments Move Move the email to another location Settings Allows you to configure some general settings 16 7 Open an A...

Страница 39: ...to fill in an email address If you want to share an attachment you should select Forward 16 10 Delete an Email Message You can delete an email message in two ways While viewing your list of email mess...

Страница 40: ...and follow the instructions Tip View to the camera video gallery by swiping the full screen image to the left 17 4 Camera Options You can zoom in and out by double tapping on the screen or by using tw...

Страница 41: ...video gallery by swiping the full screen image to the left Deleting a video In gallery mode select the image and tap tap Delete then OK to confirm 17 7 Video Options When in camera mode tap then tap o...

Страница 42: ...headphones into the 3 5mm headphone socket in the top edge of the handset 1 From the Home screen tap FM Radio 2 Plug in appropriate headphones 3 Tap to turn the radio on off Tap to scan down up to the...

Страница 43: ...r music is organised into different categories by Artist Albums Songs or Playlists Select a tab and tap a song from the list to start playing Tap to open an options menu for Library Party shuffle Add...

Страница 44: ...layback window tap 2 Tap Add to playlist then tap the playlist you want the song added to 20 8 Play Songs in a Playlist 1 From the main music library tap Playlists 2 Tap the playlist that you wish to...

Страница 45: ...you wish to rename A pop up options menu appears 3 Tap Rename 4 Modify the playlist name and tap Save 20 13 Set a Song as a Ringtone You can use songs as your phone ringtone 1 From the main music lib...

Страница 46: ...facilitate the installation of applications to the Smart 66 using the Google 1 In the application lists tap Play Store If necessary sign in to your Google account or open a new account and follow the...

Страница 47: ...more albums Tap on an image to open an album 2 To return to the main Gallery screen at any time tap the top left corner of the screen repeatedly to step back through each folder file selection Tip Ta...

Страница 48: ...the Home screen tap Clock Settings Home time zone 23 5 Set an Alarm 1 Tap Clock tap one of the displayed times 2 Enter the time and tap OK The alarm switch will automatically switch to the ON position...

Страница 49: ...settings is displayed 2 Tap the ON OFF switch to deactivate an alarm When disabled the switch should be in the OFF position 23 8 Activate an Alarm in Silent Mode You can set your alarm clock to indica...

Страница 50: ...countdown timer to its previous start time 23 11 Stop Watch You can run a stopwatch function with interval timings Tap Clock Tap START to start the timer Tap STOP to pause the timer Tap to reset the...

Страница 51: ...when in monthly view 24 2 View Agenda for the Day In any Calendar view tap the date box at the top left of the screen Agenda Tap the date box and select Day Week or Month to return to a Calendar view...

Страница 52: ...eek view tap and hold the Calendar screen then tap New event to open the add event screen and enter the information as above If you are in landscape mode tap to open the event details screen 24 7 View...

Страница 53: ...the DONE section with an associated time 6 To delete a task from the ToDo list tap on the task then tap the icon and tap Delete to confirm 26 calculator You can use the Calculator to perform simple a...

Страница 54: ...folder icon on the bottom left corner of the screen or top right if viewing in landscape mode 3 Enter a name for the new folder and tap Done 4 Tap OK 27 3 Rename a File 1 Tap and hold the file or fol...

Страница 55: ...dset using a Micro SD Card Install 1 Copy the Apps files onto a Micro SD card 2 Insert the Micro SD card into the card slot of the handset 3 Run File Manager 4 Select the Apps folder from the SD card...

Страница 56: ...icates your battery status and how much battery life is being used by certain activities Apps View and configure Apps Applications that have been downloaded are on your SD Card Running or All Select a...

Страница 57: ...future features 1 Tap Settings About Phone System updates 2 Follow on screen instructions Note Plug the charger into the handset when upgrading firmware You can also check for software updates from S...

Страница 58: ...handset Check the wireless signal indicator in the status bar at the top of the screen If there is no signal you are not connected Check that the wireless router is properly connected Cannot make or...

Страница 59: ...r If you have subscribed to high speed Internet service Digital Subscriber Line DSL through your telephone lines you must install a DSL filter between the base and the telephone wall jack The filter w...

Страница 60: ...that may result in fire or electric shock 9 Unplug this product from the electrical outlet before cleaning 10 Do not use liquid cleaners or aerosol cleaners 11 Do not disassemble this product If serv...

Страница 61: ...es may damage the unit 9 Because this phone operates on electricity you should have at least one phone in your home that operates without electricity in case of a power failure 10 To avoid interferenc...

Страница 62: ...Part 15 of the FCC rules Operation is subject to the follow ing two conditions 1 this device may not cause harmful interference and 2 this device must accept any interference received including inter...

Страница 63: ...the modular jack until the problem has been corrected Repairs to this telephone equipment can only be made by the manufacturer or its authorized agents For repair procedures follow the instructions o...

Страница 64: ...ies that the Industry Canada technical specifications were met The Ringer Equivalence Number REN for this terminal equipment is 0 0 The REN is an indication of the maximum number of devices allowed to...

Страница 65: ...o SD not included up to 32GB SDHC Handset port type Micro USB Headphone 3 5mm jack Handset Speaker Mono Wi Fi Connection 802 11b g n Handset Camera Front facing VGA 640x480 Internal Memory 4GB DECT Fr...

Отзывы: