82
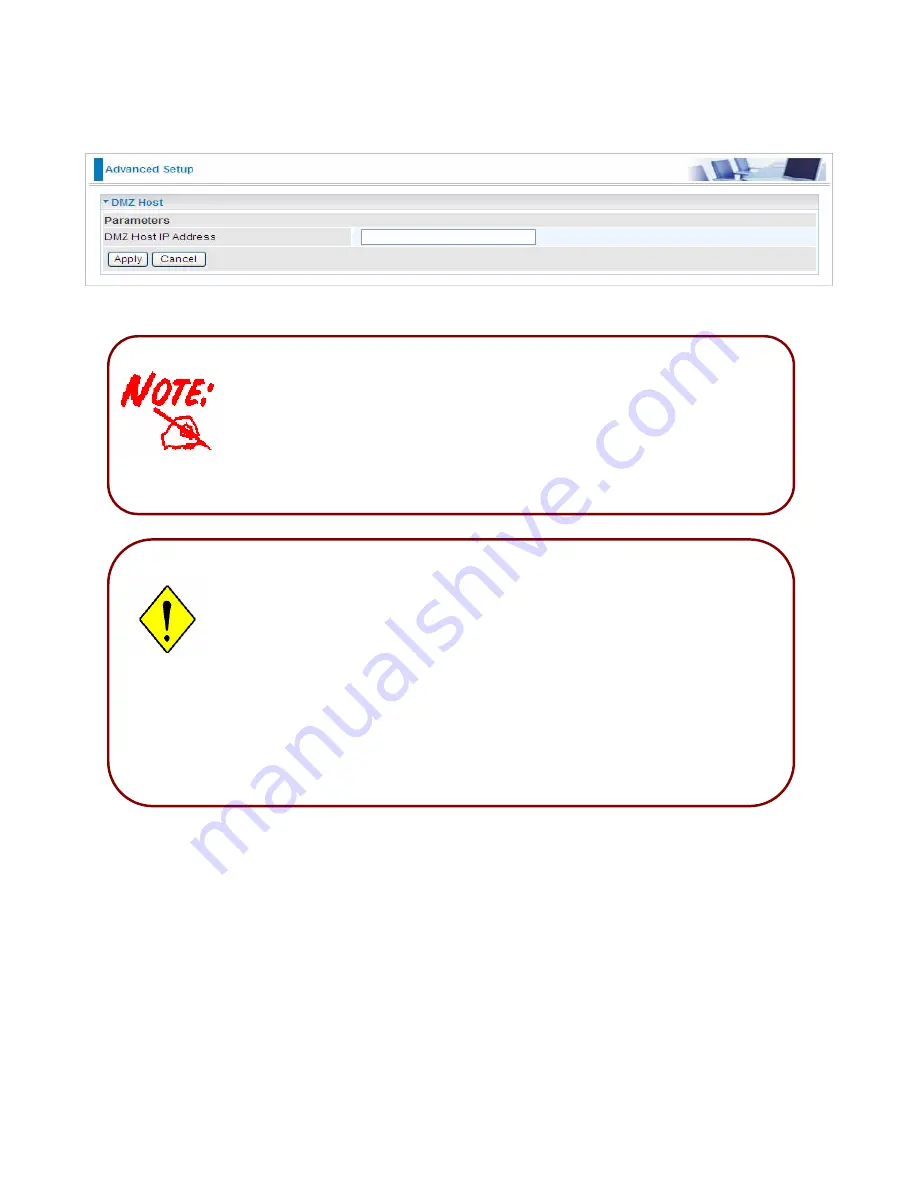
DMZ Host
The DMZ Host is a local computer exposed to the Internet. When setting a particular internal IP
address as the DMZ Host, all incoming packets will be checked by the Firewall and NAT algorithms
then passed to the DMZ host, when a packet received does not use a port number used by any
other Virtual Server entries.
DMZ Host IP Address:
Enter the IP Address of a host you want it to be a DMZ host.
Using port mapping does have security implications, since outside users are
able to connect to PCs on your network. For this reason you are advised to use
specific Virtual Server entries just for the ports your application requires instead
of simply using DMZ or creating a Virtual Server entry for “All” protocols, as
doing so results in all connection attempts to your public IP address accessing
the specified PC.
If you have disabled the NAT option in the WAN-ISP section, the Virtual Server
function will hence be invalid.
If the DHCP server option is enabled, you have to be very careful in assigning
the IP addresses of the virtual servers in order to avoid conflicts. The easiest way
of configuring Virtual Servers is to manually assign static IP address to each
virtual server PC, with an address that does not fall into the range of IP
addresses that are to be issued by the DHCP server. You can configure the
virtual server IP address manually, but it must still be in the same subnet as the
router.
Attention
Содержание BiPAC 7800NL
Страница 6: ...3 Firmware Upgradeable Device can be upgraded to the latest firmware through the WEB based GUI ...
Страница 12: ...9 Important note for using this router ...
Страница 17: ...14 Connecting Your Router Users can connect the ADSL2 router as the following ...
Страница 57: ...54 The device summary information ...
Страница 64: ...61 Click Next to check the settings If you confirm click Apply to submit the settings ...
Страница 67: ...64 Click Next to go on to check the settings Click Apply to apply your settings ...
Страница 69: ...66 IPv6 disabled Click Apply to apply your settings ...
Страница 109: ...106 In listing table you can remove the one you don t want by checking the checking box and press Remove button ...
Страница 121: ...118 in the system tray Step 6 Double click on the icon to display your current Internet connection status ...
Страница 127: ...124 Click Import Certificate button to import your certificate Enter the certificate name and insert the certificate ...
Страница 128: ...125 Click Apply to confirm your settings ...
Страница 142: ...139 Add Enrollee with PBC Method 1 Select radio button Push Button and Click Or Press the physical button on router ...
Страница 145: ...142 Configure AP as Enrollee Add Registrar with PIN Method 1 Set AP to Unconfigured Mode and Click Config AP button ...


