21
www.bikefriday.com
800-777-0258 • +1-541-687-0487
Pedal Thread Directions
Bike pedals have two dif-
ferent thread directions.
The right pedal has a
right-hand (clockwise)
thread, and the left pedal
has a left-hand (counter-
clockwise) thread. Pedals
are usually stamped with
an R or L on the pedal
axle near the threads.
Always grease your pedal
threads on new pedals
before their first instal-
lation.
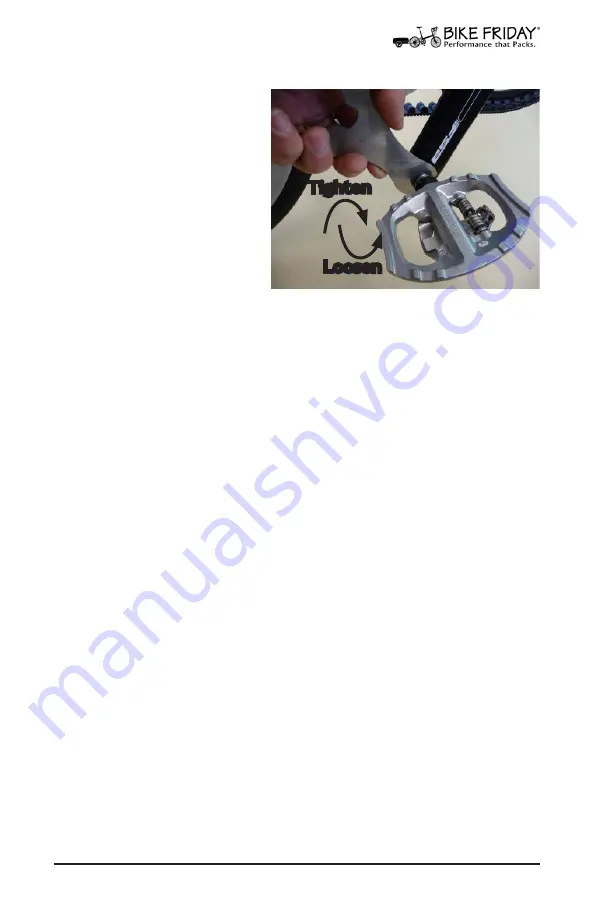
Fig. 25 Pedal tightening for drive side.
Reverse direction for non-drive side.
Loosen
Tighten
Installing Pedals
Mechanic’s Tip: The quick and easy way to remember which
way to thread your pedals on is applicable to either side of
the bike [SEE PHOTO ABOVE]. You can put a wrench on the
pedal’s wrench flats, and using a back pedaling motion will
screw the pedals on. Use grease before threading pedals.
Note: We recommend starting thread engagement with your
hands instead of a wrench (see below), so use this tip as
a practical way to know which way to begin threading the
pedals.
Thread in the Pedals
Using your finger, start the pedal threads into the proper
crank arm. Be careful not to cross-thread the pedals! Once
the pedal threads are started, you may use a wrench to fin-
ish threading them in, and then tighten securely.
Mechanic’s Tip: The threads on a pedal are steel (hard) and
the threads on a crank arm are aluminum (soft). It is very
important that the pedal is tightly secured to the crank arm.
With grease on threads there is no need to over tighten. If
the pedals are not tightly secured, the “slop or play” in the
connection will allow the steel threads to rip out the alu-
minum crank threads. Your bicycle may have shipped with
a set of pedal washers. For some cranks, the use of the
washer in between the pedal and the crank arm creates a
more solid and secure base or foundation for the pedal to
contact the crank arm with. If included, use them!
Assembly: Pedals


