


50
Using BenQ Joybee 120 MP3 Player
“Connection Completed” will display on the screen of Joybee
120.
If the dialog box “Windows found new hardware” keeps
appearing on the PC screen after the connection, press
Next or OK to close the dialog box.
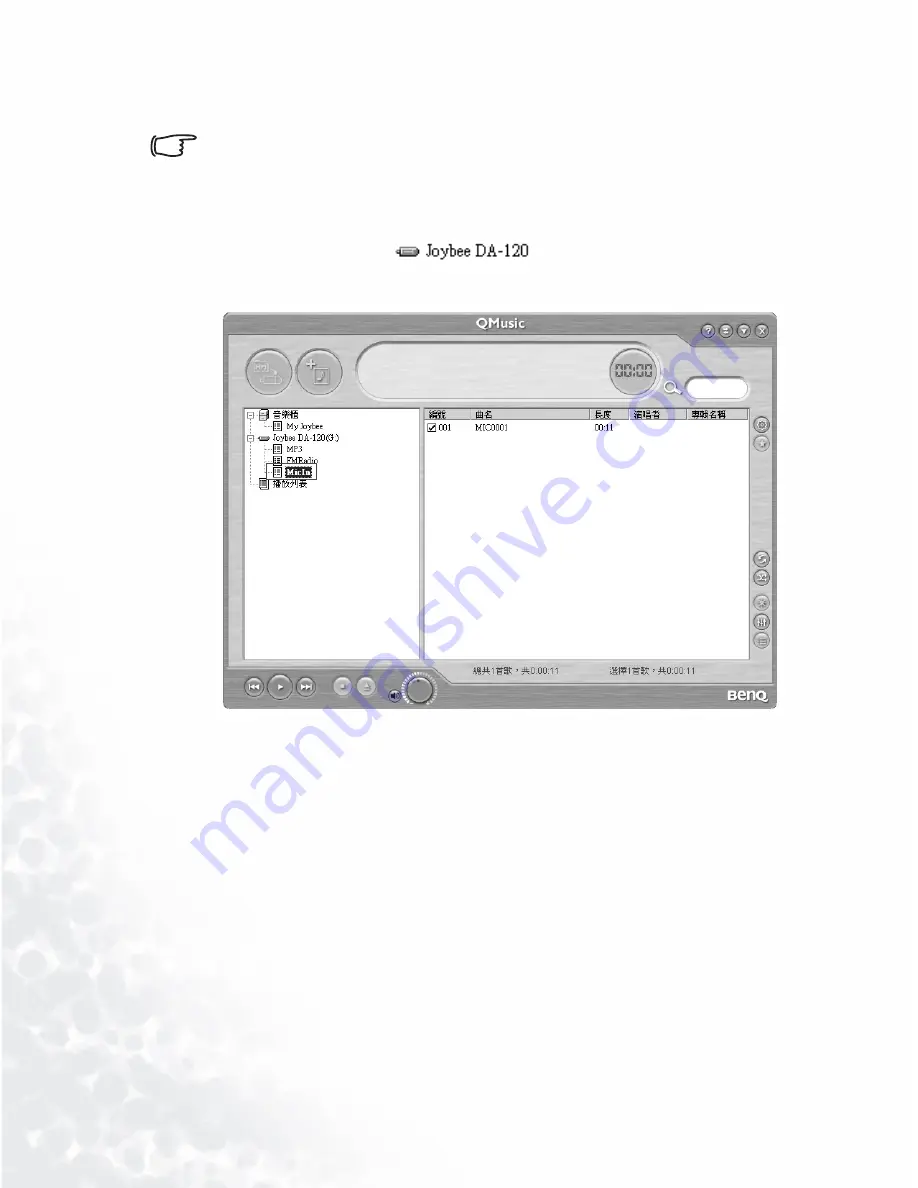
4. Select the location of files to be deleted by clicking on a subdi-
rectory under the
icon on the left panel of
QMusic, e.g.
MicIn
.
5. Files in the selected directory will be displayed on the right
panel. Click on the file to be deleted. It will be highlighted. If
you want to select more than one file, press and hold the
Ctrl
key on the keyboard and click on the next file with the left
button of the mouse. If you want to select all files, click on the
first file on the right panel, press and hold the
Shift
key on the
Содержание Joybee 120
Страница 1: ...Welcome Joybee 120 MP3 Player User s Manual ...
Страница 4: ... Memo ...
Страница 8: ...4 ...
Страница 34: ...26 Using BenQ Joybee 120 MP3 Player 3 Click on the icon on the left panel ...
Страница 36: ...28 Using BenQ Joybee 120 MP3 Player Updatingfiles automaticallywithQMusic 1 Click on MyJoybeeon the left panel ...
Страница 48: ...40 Using BenQ Joybee 120 MP3 Player recorded These files will be saved under the FM Radio folder in Joybee 120 ...