Eng
lish
Using the Camera
20
4. To exit from the menu, press the [
] button.
Icon
Item
Option
Functional Description
[
]
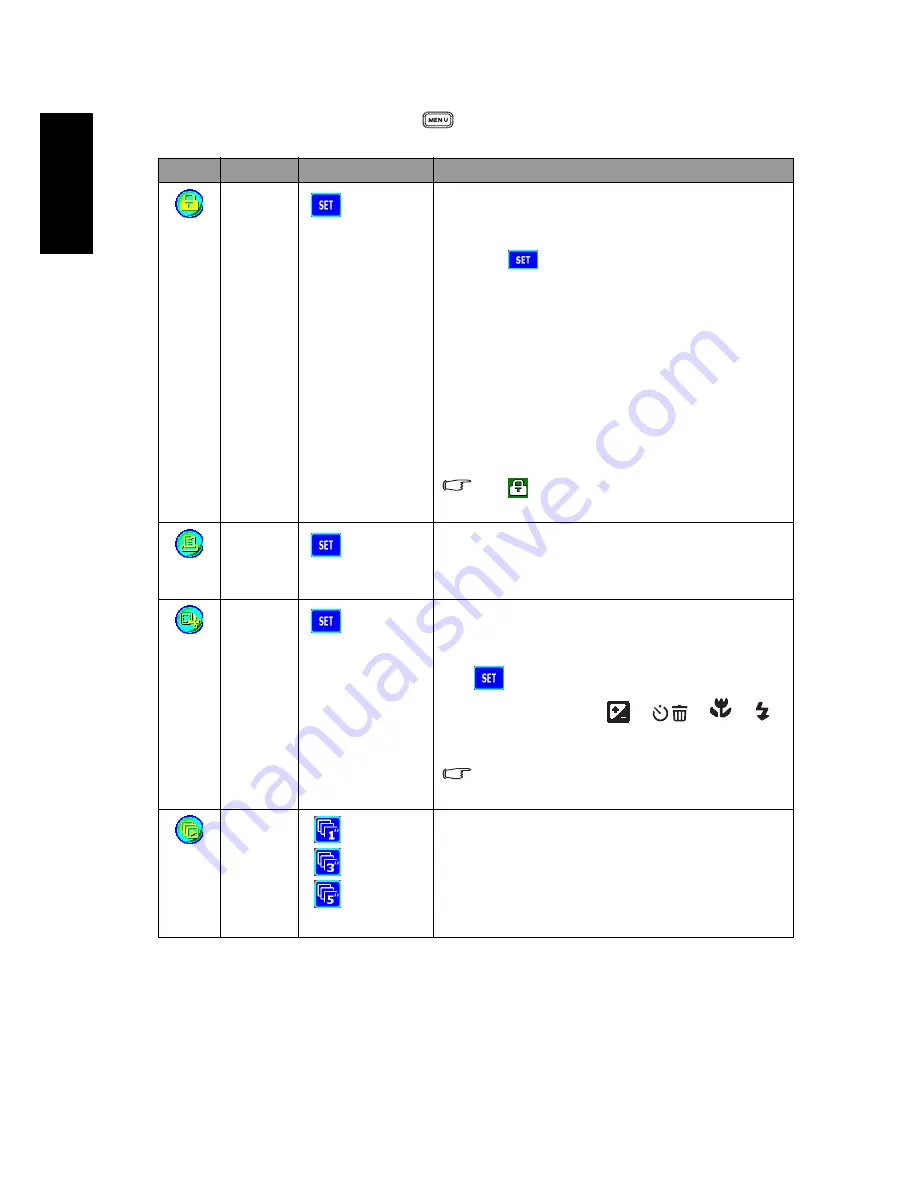
Protect
[
]
Sets the files to the read-only status to prevent them from
being erased by mistake.
To protect your files, follow the steps below.
1. Press [
] when the [Protect] menu is displayed.
2. You can choose to protect or unprotect the files as
follows.
–
Choose [Protect One] and press the
OK
button to
protect the current selected file. If you wish to can-
cel protecting the current file, choose [Unprotect
One] and press the
OK
button.
–
Choose [Protect All] and press the
OK
button to
protect all the files. If you wish to cancel protecting
all the files, choose [Unprotect All] and press the
OK
button.
–
To quit the menu, press [Exit].
An
icon will be displayed if the file is
protected.
[
]
Printer
[
]
Allows you to connect the camera directly to a PictBridge
compliant printer, so that images can be printed directly
without being transferred to your computer. For more
information, refer to 4.3 “Printer Mode” on page 26.
[
]
Trim
[
]
Allows you to trim a portion of a captured image.
To trim a captured image, follow the steps below.
1. In Playback Mode, choose Trim and then press
[
].
2. Use the zoom key and [
]/[
]/[
]/[
]
buttons to move to the portion you want.
3. Press the
OK
button.
A trimmed image will be saved as another
file and has a smaller size.
[
]
Slideshow
[
] 1 sec.
[
] 3 sec.
[
] 5 sec.
This function enables you to set the time interval while
playing back your images automatically in sequential order
as a slide show. This is a very useful and entertaining fea-
ture for reviewing captured images and for presentations.
Once you select an option, the slideshow will begin imme-
diately. If you wish to stop, just press the
OK
button.


