Eng
lish
Using the Camera
15
•
Count: 2 ~ 99 counts (specifying how many shots can be taken).
3. Use the [
]/[
] buttons to adjust the settings, and then press the
OK
button.
To capture images with Interval Shoot function:
1. In Snapshot Mode, toggle the [
] button to select Interval Shoot mode.
2. Press the shutter button to start. Images will be captured according to the preset Interval
and Count.
3. If you wish to stop, press the shutter button.
3.2
Movie Mode
With the specially designed pause function of the camera, you can pause your recording
session whenever you want to best suit your need. Experience this feature with the following
easy steps.
1. Toggle the [
] button to enter Movie Mode. The video clip recording screen is
displayed.
2. Frame the subject in the LCD screen with the zoom button, if desired.
•
Optical zoom should be set before recording.
•
Optical zoom cannot be used during recording.
3. Press the shutter button to start recording.
•
To stop the recording session, press the shutter button again.
•
To pause the recording session, press the
OK
button. To resume, press the
OK
but-
ton again.
•
The flash cannot be used in Movie Mode.
•
EV compensation cannot be set or activated in Movie Mode.
•
While a video is being recorded to an SD memory card, neither open the battery/SD mem-
ory card cover, nor remove the battery/SD memory card. Doing so might damage the SD
memory card or destroy the data.
•
The length of the recording depends on the remaining capacity of your memory card or
the camera’s built-in memory. The remaining time is displayed on the upper right corner
of the LCD monitor.
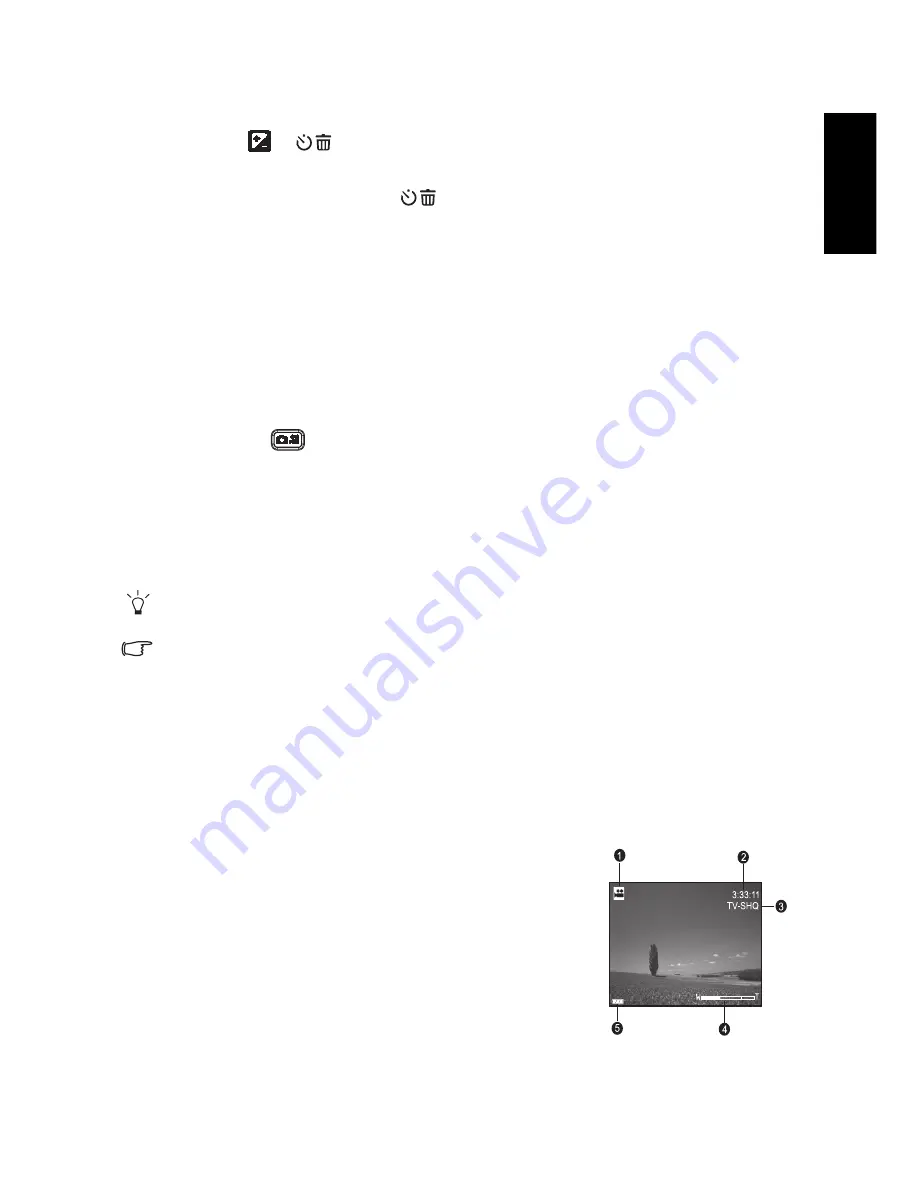
3.2.1 Movie Mode LCD Monitor Information
1. Movie Mode
2. Available recording time
3. Movie Quality
4. Zoom status
5. Battery power level indicator


