9
3.
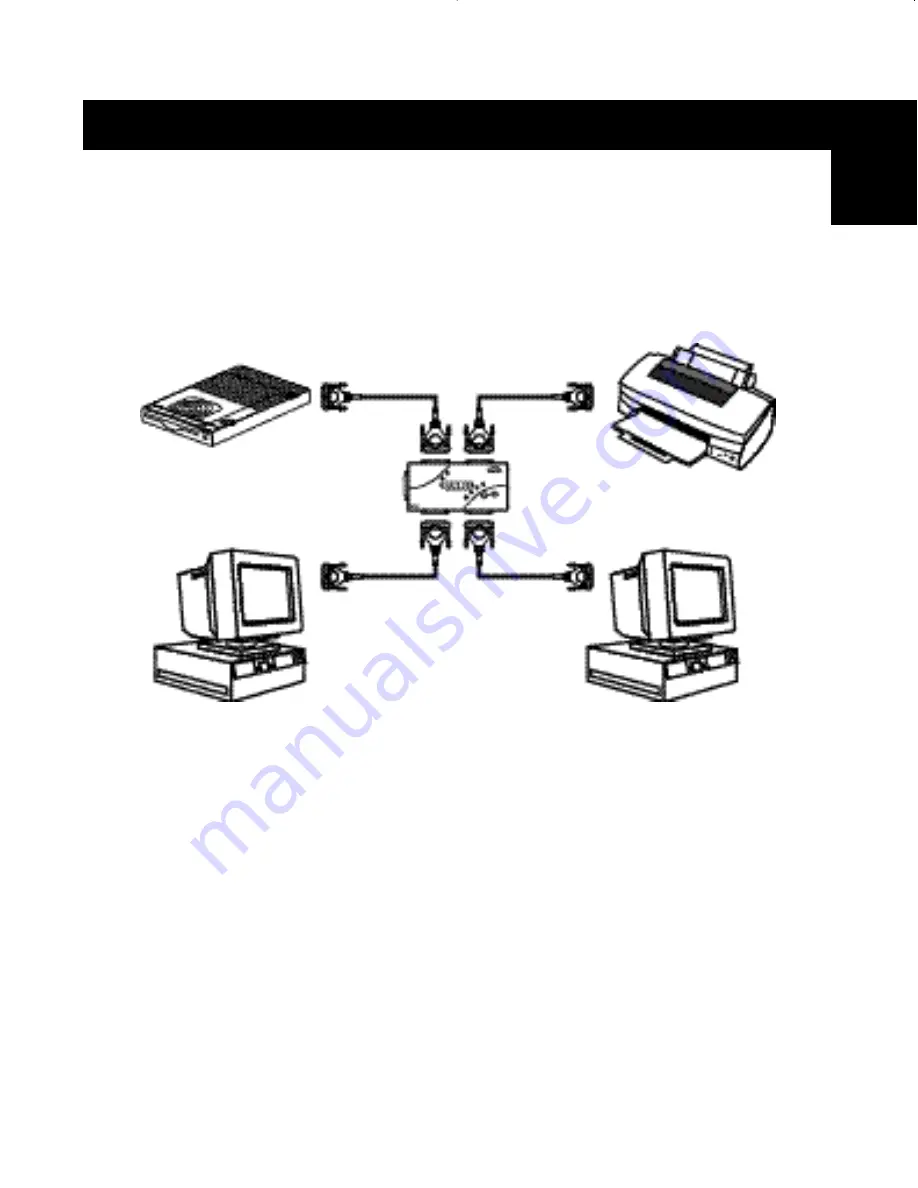
Connect both computers and the devices to be shared to the Bitronics
Switch as shown below. Two cables that connect computers to the
Bitronics switch are included. Take note of which port each device is
connected to:
Connect the power adapter to the power jack on the side of the switch,
and plug it into an outlet. The example shown has a Zip
®
Drive connected
to Port A and an InkJet printer on Port B of the switch.
Windows
®
95 / 98 and NT
®
(continued)
Device A
connected to Port A
These two cables
are included
En
Device B
connected to Port B
P73043/F1U127uKIT univ/man.qxd 4/28/00 1:58 PM Page 9
Содержание Bitronics F1U127
Страница 1: ......
Страница 3: ......
Страница 4: ...Table of Contents En Fr De Ne It English 1 Fran ais Europe 37 Deutsche 75 Nederlands 113 Italiano 149...
Страница 5: ......


