background image


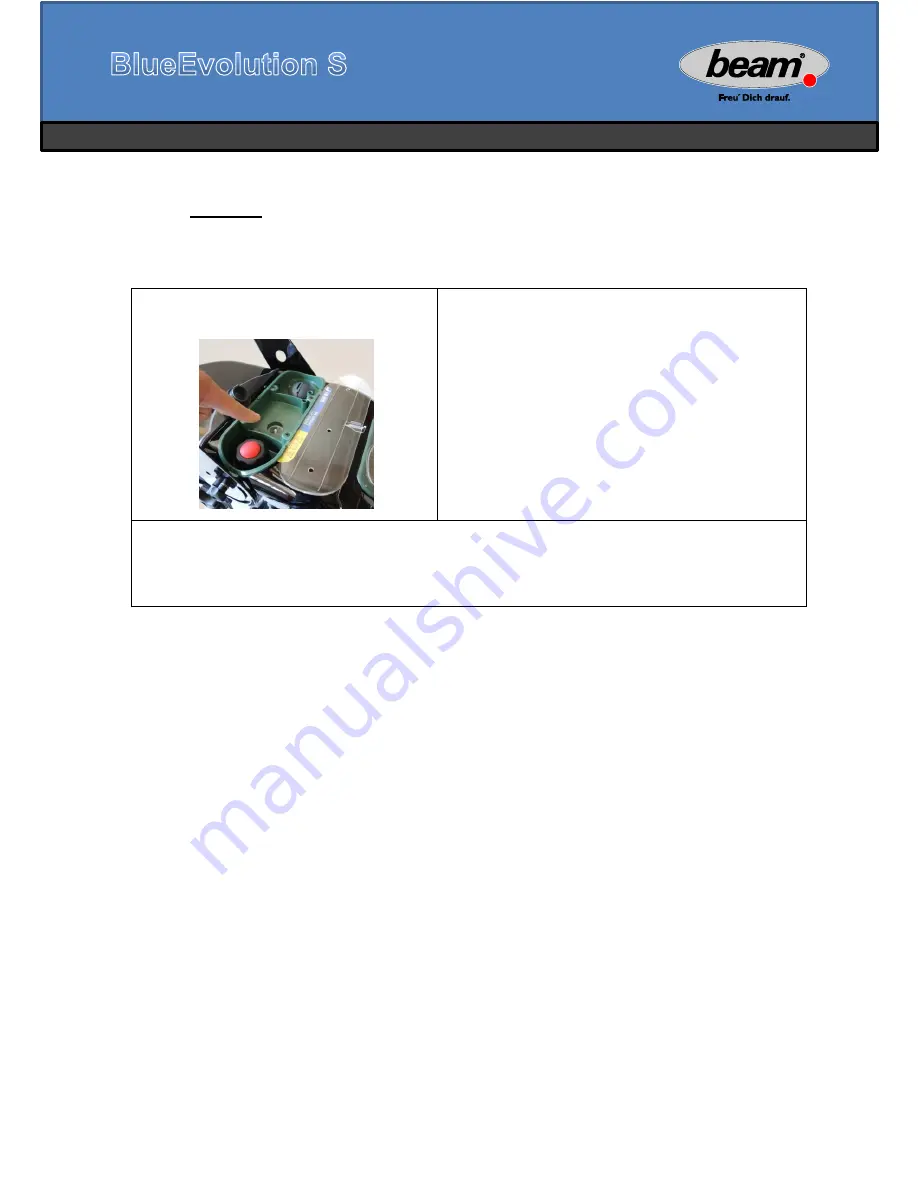
3.  Rinsing 


Pour  0.5  litres 

of clear tap water into the reservoir “Hot 

Water Extraction”. Hold the handle over a suitably sized 

container  to  catch  the  mixture.    Now  press  steam  lever 
(P) until all the water has rinsed through. 

Repeat the procedure to rinse out any limescale and 
vinegar residue.  


Hot water module discaling 

Your appliance is now ready for use again. 
 

Содержание BlueEvolution S

Страница 1: ...Look foward to it 960080 003 User Manual digi ...

Страница 2: ...s And many more possibilities for use The revolution in commercial cleaning The BlueEvolution is more flexible than any other professional steam cleaner Both the steam and suction power have 3 settings You can also regulate the hot water inflow continuously using a control valve which allows you to set the soaking effect on the device individually Full power for a greater clean Kind to the environ...

Страница 3: ...alve hot water module Filler holes Accessories box A ON OFF button boiler B ON OFF button suction C ON OFF button hot water module D Optical display suction mode E Service indicator probe cap F Indicator water low G Iron symbol H Display operating pressure I Operating temperature symbol L Heating symbol M Steam symbol N Hot water module Description of equipment A B C D E F G H I L M N ...

Страница 4: ... Do not use the steam jet for direct cleaning of electronic equipment e g com puters televisions telephones etc Before cleaning ovens fridges etc always disconnect the power irst to ensure these are switched off You must follow the manufacturers speciic instruc tions Warning The appliance may not be used to clean items that contain asbestos or other harmful substances Caution In the following inst...

Страница 5: ...the cap O and ill the water tank with normal tap water using the funnel Re close the tank cap Fill the tank P for the hot water module likewise with normal tap water If your water is particularly hard you may also use distilled water mixed with tap water in this tank Re close the tank cap The following combined functions are possible depending on the application area Steam cleaning Steam cleaning ...

Страница 6: ...ox 2 0 litres Re insert the ilter bowl ensuring the switch cam on the cover is in the correct position WARNING The appliance can suck in up to approx 1 5 litres of liquid If you exceed this amount the ill level sensor will stop suc tion automatically and LED D page 2 on the display will lash INFO If you only wish to suction liquid such as accidental water spills it is not necessary to ill the appl...

Страница 7: ...team lever P on the handle to emit steam You can set the steam mode by pressing buttons T2 or T2 on the side of the handle There are 3 steam modes to choose from Mode 1 minimal steam volume use on sensitive sur faces like wood parquet upholstery etc Mode 2 medium steam volume use on windows glass tiles stone etc Mode 3 maximum steam volume use on all resistant surfaces that have previously been sc...

Страница 8: ... on the control valve which is located under the control panel Suction Press button B on the display to activate suction LED D for suction turns red Suction mode 3 max Press button T3 on the handle to switch on suction Briely press button T5 or T5 on the side to vary suction power MIN LED D turns green MED LED D turns orange MAX LED D turns red Press button T3 briely to turn suction off again INFO...

Страница 9: ...80203 Upholstery mattresses and carpet cleaning Upholstery mattresses car seats doormats and vehicle interior cleaning Glass surfaces windows display windows mirrors Glass surfaces windows and mirrors Hard loors e g tiles granite marble wood PVC laminate etc Almost all surfaces window frames sills interior doors kitchen cupboards synthetic surfaces etc On sensitive surfaces e g parquet use steam m...

Страница 10: ...t jet to three jet by attaching to the three jet nozzle and turning the brush Can be used with or without the spot jet nozzle and the three jet nozzle For dry suction the joint nozzles can be used directly on the pipe or steam suction hose Warning Do not use on sensitive surfaces or glass Warning Do not use on sensitive surfaces or glass Carpets mats dry suction without steam Spot jet nozzle Item ...

Страница 11: ...ING Regularly remove and clean the installation parts from the ilter bowl in the event of heavy soiling Return to the correct position afterwards Water shortage reservoir A lack of water in the reservoir O is indicated by sym bol F lashing on the display and by a simultaneous acou stic signal To restart work ill the tank as described in the section on Filling reservoir O Water shortage hot water m...

Страница 12: ... you lush a VAH listed peroxide based sur face disinfectant through the accessory parts in suction mode 1 See the manufacturers information for application times INFO Repeat the rinsing process with clear water if there is a lot of foam Alternatively the steam suction hose can also be cleaned using a suitably sized sponge soaked in disinfectant 4 Empty the ilter bowl clean and re insert without co...

Страница 13: ...x fill level approx 3 3 litres Water filter difference min to max approx 1 3 litres Underpressure 2100 mm H O Length steam suction hose approx 3 2 metres Weight approx 26 2 Kg Size l x w x h 580 x 380 x 930 mm Safety test CE incl hot water module 2 litres for the stubbornest dirt beam reserves the right to make technical changes or chan ges to accessories in the course of further development Order...

Страница 14: ...caling Service Maintenance Part 1 Steam very wet Limescale in boiler and probe cap Check the probe cap and perform Boiler descaling Service Maintenance Part 2 Hot water is switched on Briefly press button T4 on the handle or button C on the display There is no hot water Hot water not switched on Briefly press button C on the display and then button T4 on the handle Reservoir tank P is empty Fill r...

Страница 15: ...onal work Hotwater module discaling Boiler discaling Filter change Additional work Hotwater module discaling Boiler discaling Filter change Additional work Hotwater module discaling Boiler discaling Filter change Additional work Hotwater module discaling Boiler discaling Filter change Additional work Hotwater module discaling Boiler discaling Filter change Additional work Service Maintenance Servi...

Страница 16: ...onal work Hotwater module discaling Boiler discaling Filter change Additional work Hotwater module discaling Boiler discaling Filter change Additional work Hotwater module discaling Boiler discaling Filter change Additional work Hotwater module discaling Boiler discaling Filter change Additional work Hotwater module discaling Boiler discaling Filter change Additional work Service Maintenance Servi...

Страница 17: ...Service Maintenance Part Hot water module descaling ...

Страница 18: ...loosen the middle fixing screw by hand which will enable you to fold down detach and remove the sound proofing casing Place a suitable container under the appliance and open the drain plug by turning it to the left with the included Inbus key label yellow ring Hot Water Extraction Drain the reservoir and then screw the drain plug back in and tighten slightly Descaling instructions hot water module...

Страница 19: ...ol valve for hot water to max by turning fully to the left Button T2 Button T4 Press button T2 select minimum steam mode Press button T4 to switch on the hot water module Hold the handle over a suitably sized container to catch the mixture Now press steam lever P until all the vinegar water mix has rinsed through Press the lever at short intervals if there is heavy limescale This increases the imp...

Страница 20: ...traction Hold the handle over a suitably sized container to catch the mixture Now press steam lever P until all the water has rinsed through Repeat the procedure to rinse out any limescale and vinegar residue Hot water module discaling Your appliance is now ready for use again ...

Страница 21: ...Service Maintenance Part Boiler descaling ...

Страница 22: ...ld up indicates that descaling is required Warning Only perform probe check on a cooled appliance Fig 01 Warning Descalers can be harmful Read the information on the descaler packaging and follow the safety instructions Descalers or vinegar may cause damage to surfaces Wipe up drops immediately Only use suitable and recommended descalers Only perform descaling on a cooled appliance Recommended des...

Страница 23: ...en the drain plug by turning it to the left with the included Inbus key label blue ring Water Only Drain the reservoir and then screw the drain plug back in and tighten slightly Unscrew the probe cap 1 by pressing down and turning to the left at the same time For thorough cleaning and descaling of the probe cap we recommend 0 1 litres of beam descaler and 0 5 litres water total 0 6 litres of desca...

Страница 24: ...splay The pump runs for approx 50 seconds The water shortage alert then sounds and the water tap symbol F flashes on the display Now disconnect from the mains power again by pulling out the plug Empty the boiler after 15 minutes Place a suitable container under the appliance and open the drain plug on the underside of the appliance by turning it to the left spanner width 13 Drain the boiler and th...

Страница 25: ...n the drain plug on the underside of the appliance by turning it to the left spanner width 13 Drain the boiler and then re close the drain plug using a ring or open end spanner Place a suitable container under the appliance and open the drain plug by turning it to the left with the included Inbus key label blue ring Water Only Drain the reservoir and then screw the drain plug back in and tighten s...

Страница 26: ... sound proofing casing Attach the housing to the appliance and re secure using the central fixing screw Fill the Water Only reservoir with 3 litre of clean tap water Plug in the appliance and press button A on the display The boiler must be refilled back to the minimum fill level following descaling It may be necessary to press button A on the display several times until this is done Water Only Re...

Страница 27: ...Service Maintenance Part HEPA filter water filter and O rings ...

Страница 28: ...e housing by hand and remove the sound prooing casing The ilter is located at the back of the sound prooing ca sing Re install the sound prooing casing after replacing the HEPA ilter and secure in place using the ixing screw Ensure the ilter is correctly positioned in the slot The HEPA ilter must be replaced with a new ilter if it be comes worn or damaged after an extended period of use WARNING Cl...

Страница 29: ...r damage The O rings will last longer if they are coated regularly with a lubricant silicone spray or a non acidic grease Checking the O rings Check the O rings on the safety handle for damage Pos 1 1 O ring on the suction pipe Pos 2 2 O rings on the steam spout Check the O rings on the connector for damage Pos 3 2 O rings on the brass spout Checking O rings on the extension pipes Check the O ring...

Отзывы: