8 Operation
8.1
Use of the control panel
8 Operation
50
8.1.1
Browsing the menus
1.
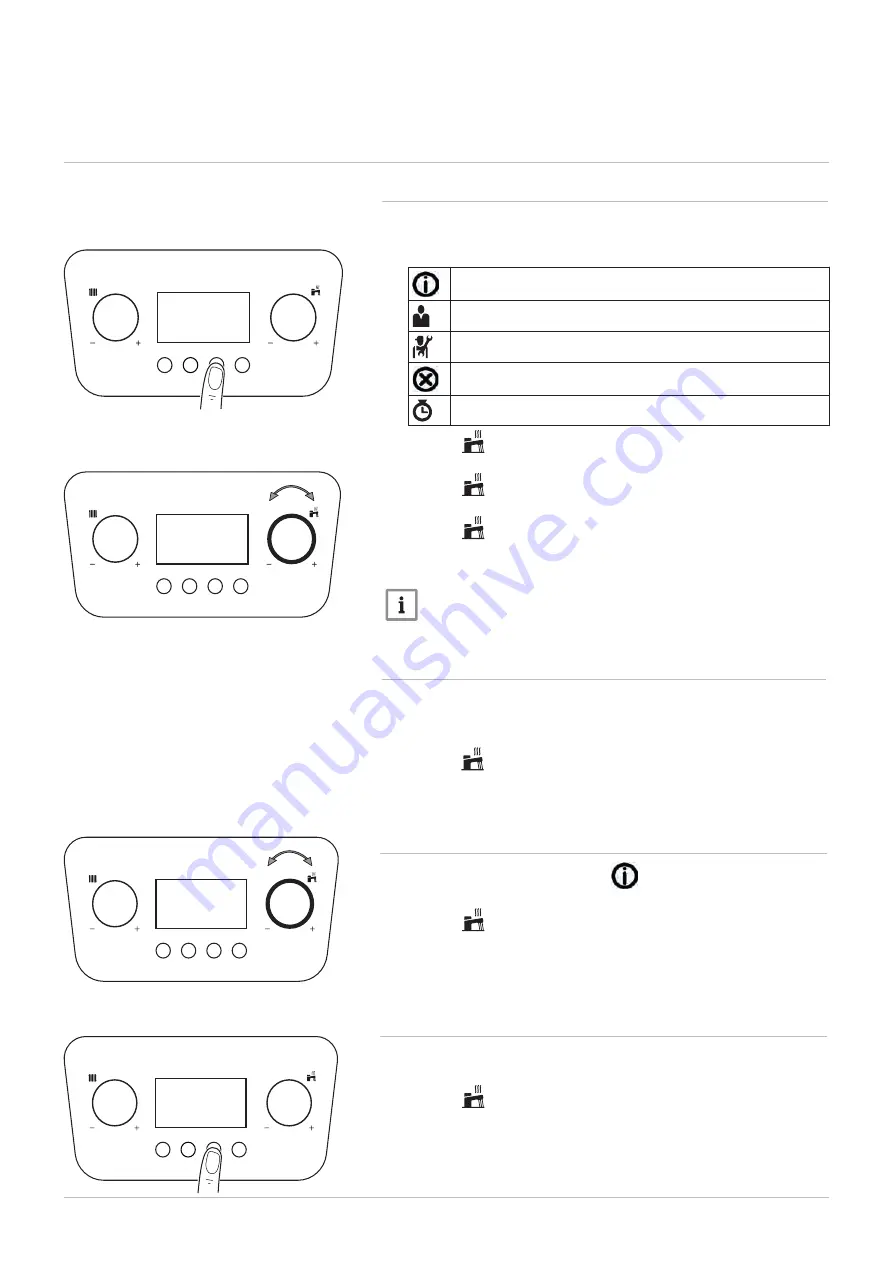
To activate the control unit, press any button.
2.
To access the settings available from the menu, press the F3 key.
Tab.2
5
Available menu options
Information menu
User menu
Installer menu
Error menu
Counter menu
3. Turn the
knob to select the menu or to scroll through the settings.
4. Press the F4 key to confirm selection of the required menu.
5. Turn the
knob to scroll through the list of settings. Press the F4
key to confirm selection of the setting.
6. Turn the
knob to modify the setting. Press the F4 key
to confirm the setting has been changed.
7. Press the F1 key to return to the home screen.
Important
The display shows the home screen if no keys are pressed for two
minutes. If this happens, the procedure needs to be repeated.
Fig.5
6
Accessing the menu
BO-0000230-14
F1
F1 F2
F1
Fig.5
7
Scrolling through the menus and/or
settings
BO-0000230-4
8.1.2
Running the automatic detection function
After removing or replacing a
PCB accessory
board (
not main PCB
), an
auto-detect must be carried out.
1. Select the installer menu and type in the password to enter
2. Turn the
knob until AD is displayed
3. Press the F4 button and -AD- appears on the display
4. Press the F4 knob again to activate the function
8.1.3
Information menu display
.
1. Navigate to the Information menu
2. Press the F4 key to open the menu.
3. Turn the
knob to scroll through the values.
4. Press the F1 key several times to go back to the home screen.
Fig.5
8
Scrolling through the values
BO-0000230-4
Counter menu display
1. Navigate to the Counter menu.
2. Press the F4 key to open the menu.
3. Turn the
knob to scroll through the values.
4. Press the F1 key several times to go back to the home screen.
Fig.5
9
Scrolling through the values
BO-0000230-14
F1
F1
F1 F2
8.1.4
F1
F1
F1 F2 F3 F4
F1
F1
F1 F2 F3 F4
F4
F
4
Combi 2


