139
R5913593 /01
Njord
11.9.2 Blend & Blend mask
About masking and blending width or height
Offset is used to clip the image on one or multiple sides (masking). This is used to hide parts of the picture that
should not be shown on the screen. For example: if the source is a Windows PC, you can hide the menu bar
using this method.
The larger the Mask value, the more the image is masked (by black bar) at the corresponding side. E.g. Top
mask of 100 will blank the top 100 lines.
Height or width is used to create a blending zone with a smooth brightness drop off. This is used to
compensate for the double brightness in overlap areas. The value is the size of the blended area in pixels.
How to set up basic blend zones?
1.
In the main menu, select
Installation
→
Blend and Mask
→
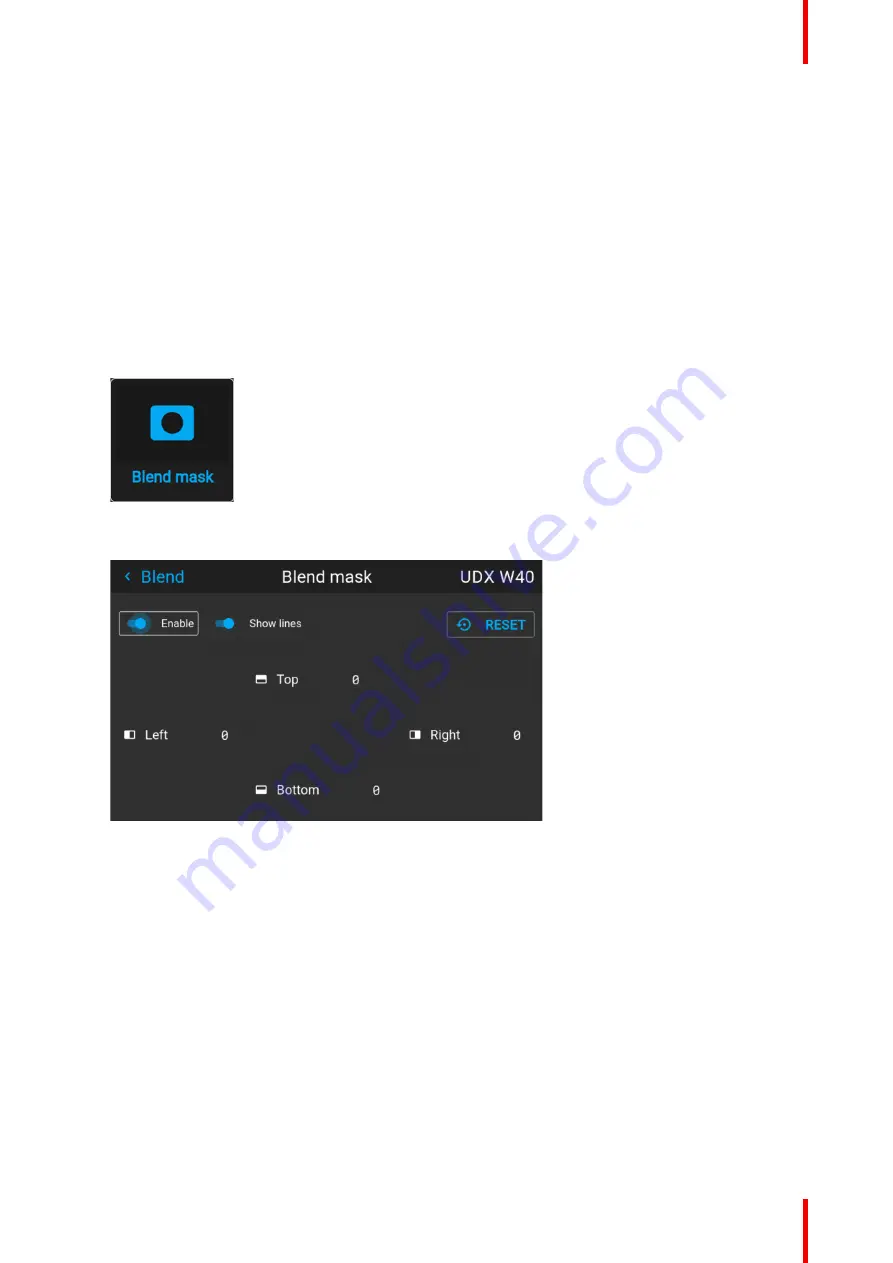
Blend mask
.
Image 11
–
52 Blend menu, Blend mask
The Blend mask menu is displayed.
Image 11
–
53 Example of the blend mask menu
2.
To enable the blend mask, put the
Enable
slider to the right. The color of the slider becomes blue when
enabled.
3.
To project masking lines on the screen, put the
Show lines
slider to the right. The color of the slider
becomes blue when enabled.
4.
Determine the start position of the mask (1) for the masking height and width, together with the desired
size of the mask (2) to determine the width of the masked area.
When the helping lines are activated, you will get a visual indication of the screen of the installed blending
area.
Содержание Njord
Страница 1: ...ENABLING BRIGHT OUTCOMES Installation Manual Njord...
Страница 24: ...R5913593 01 Njord 24 Installation process...
Страница 35: ...35 R5913593 01 Njord 360 360 Image 3 9 Prepare to install...
Страница 40: ...R5913593 01 Njord 40 Prepare to install...
Страница 68: ...R5913593 01 Njord 68 Getting Started...
Страница 82: ...R5913593 01 Njord 82 Pulse Remote Control Unit...
Страница 108: ...R5913593 01 Njord 108 GUI Image...
Страница 109: ...109 R5913593 01 Njord Advanced picture adjustments 10...
Страница 141: ...141 R5913593 01 Njord Image 11 55 Set up for projector 1 Image 11 56 Set up for projector 2 GUI Installation...
Страница 156: ...R5913593 01 Njord 156 12 2 IR control GUI System Settings...
Страница 178: ...R5913593 01 Njord 178 GUI System Settings...
Страница 182: ...R5913593 01 Njord 182 GUI Status menu...
Страница 186: ...R5913593 01 Njord 186 Flight case and rigging frame...
Страница 192: ...R5913593 01 Njord 192 Pulse SFP input use cases...
Страница 198: ...R5913593 01 Njord 198 Projector covers...
Страница 199: ...199 R5913593 01 Njord Product maintenance 17...
Страница 202: ...R5913593 01 Njord 202 Product maintenance...
Страница 203: ...203 R5913593 01 Njord Risk group 3 Safety 18...
Страница 210: ...R5913593 01 Njord 210 Risk group 3 Safety...
Страница 211: ...211 R5913593 01 Njord Input specifications A...
Страница 218: ...R5913593 01 Njord 218 Input specifications...
Страница 222: ...R5913593 01 Njord 222 B 3 DMX chart Extended DMX chart...
Страница 228: ...R5913593 01 Njord 228 Index...
Страница 230: ...R5913593 01 Njord 230 List of tools...
Страница 231: ......


