6. Random Access
Setting up the Shape for Projector 1
1. Use the combination of
ENTER
and the cursor key
←
or
→
to select
right all
2. Push the cursor key
↑
or
↓
to select % of image. (menu 6-115)
3. Push the cursor key
←
or
→
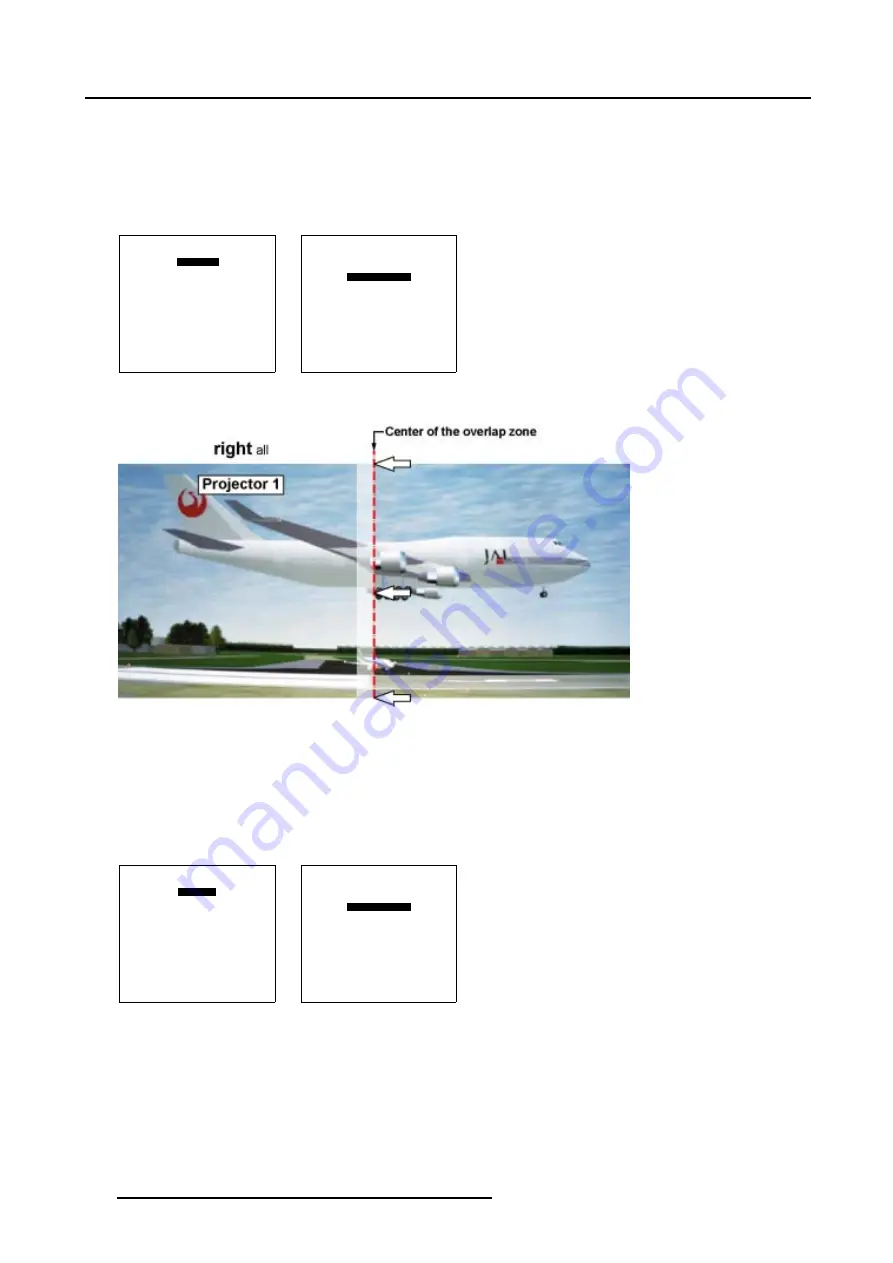
to coincide the right side of the image of Projector 1 with the center of the overlap area. (image 6-47)
4. Use the subpixel selections for fine adjustments.
SHAPE
right all
% of image = 0
%% of image = 0
Menu 6-114
SHAPE
right all
% of image = 0
%% of image = 0
Menu 6-115
Image 6-47
Basic Shape set up for Projector 1
Setting up the Shape for Projector 2
1. Use the combination of
ENTER
and the cursor key
←
or
→
to select
left all
2. Push the cursor key
↑
or
↓
to select % of image. (menu 6-117)
3. Push the cursor key
←
or
→
to coincide the left side of the image of Projector 2 with the center of the overlap area. (image 6-48)
4. Use the subpixel selections for fine adjustments.
SHAPE
left all
% of image = 0
%% of image = 0
Menu 6-116
SHAPE
left all
% of image = 0
%% of image = 0
Menu 6-117
102
R5976755 BARCO GALAXY WARP™ 7 HC 05/04/2004
Содержание Galaxy WARP 7 HC
Страница 1: ...Barco Galaxy WARP 7 HC Owner s Manual R9040325 R5976755 00 05 04 2004...
Страница 4: ......
Страница 8: ...Table of contents 4 R5976755 BARCO GALAXY WARP 7 HC 05 04 2004...
Страница 36: ...4 Connections 32 R5976755 BARCO GALAXY WARP 7 HC 05 04 2004...
Страница 43: ...5 Getting Started Image 5 6 RCU to IR Sensors R5976755 BARCO GALAXY WARP 7 HC 05 04 2004 39...
Страница 122: ...6 Random Access 118 R5976755 BARCO GALAXY WARP 7 HC 05 04 2004...
Страница 150: ...9 Standard Source Files 146 R5976755 BARCO GALAXY WARP 7 HC 05 04 2004...


