


601
–
426-03
F70 Series
32
+
-
-
+
Image 2-5
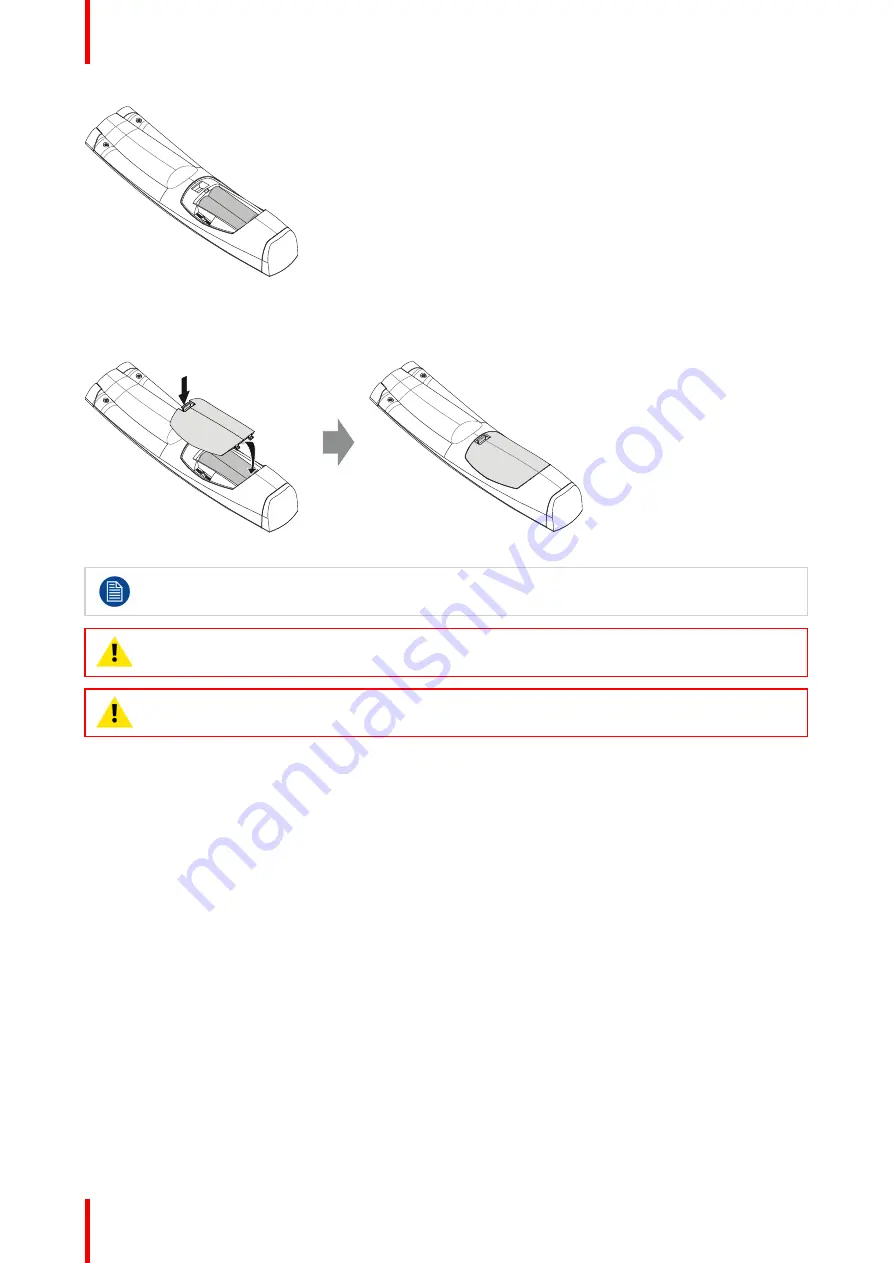
3.
Insert (1) both lower tabs of the battery cover in the gaps at the bottom of the remote control, and press (2) the
cover until it clicks in place.
+
-
-
+
1
2
Image 2-6
When replacing batteries, the broadcast address of the RCU will be reset to its default value '0'.
CAUTION:
Replace with the correct battery type. Use two AA size batteries. There is a risk of
explosion if the battery is replaced with an incorrect type.
CAUTION:
Replace the battery as explained above. There is a risk of explosion if the battery is
incorrectly installed.
2.7.2 Remote control, protocol setup
About the used protocol
The protocol is the code send out by the remote control when a button is pressed. Depending on this code, the
projector can decode the signals. The remote control can be used with two different protocols, RC5 and NEC.
Depending on the projector to control the remote control can be switched between these protocols.
Which protocol to use
•
The
NEC
protocol have to be used for Barco projectors based on the Pulse platform: Loki, Balder, F70,
F80, F90, HDX 4K, UDX, ...
•
The
RC5
protocol have to be use all other Barco projectors: HDX W, HDF W, HDQ 2K, ...
How to set
1.
Remove the cover. For more info on how to remove, see
“
Remote control, Battery installation
”
, page 31.
2.
Place the switch in the NEC position.
Содержание F70 - 4K6
Страница 1: ...ENABLING BRIGHT OUTCOMES User Manual F70 Series...
Страница 8: ...601 426 03 F70 Series 8 14 3 FS70 4K6 132 14 4 FS70 W6 134...
Страница 26: ...601 426 03 F70 Series 26 Safety...
Страница 38: ...601 426 03 F70 Series 38 Getting to know the projector...
Страница 46: ...601 426 03 F70 Series 46 Lenses...
Страница 68: ...601 426 03 F70 Series 68 Getting started...
Страница 74: ...601 426 03 F70 Series 74 Source menu...
Страница 76: ...601 426 03 F70 Series 76 Image 7 2 Image sub menu visible on the LCD Image menu...
Страница 120: ...601 426 03 F70 Series 120 Status menu...
Страница 124: ...601 426 03 F70 Series 124 3D...
Страница 125: ...125 Overview Update Projector Firmware 601 426 03 F70 Series User Maintenance 12...
Страница 127: ...127 601 426 03 F70 Series Cleaning the projector 13...


